Knit bag for beginners - Instructions for a knitting bag

- Material and preparation
- Basics
- Instructions - knit bag
- Quick start Guide
- variations
This little bag is an ideal storage place for your phone and other important things. In our guide you will learn how to make the pretty accessory from only three parts. The knit bag in the pearl pattern succeeds beginners easily.
To knit a bag seems difficult to you "> Material and preparation
We used a thick polyacrylic yarn with a running length of 52 meters per 100 grams. For a small knit bag with the dimensions 17 x 21 centimeters you have to expect 200 to 250 grams of wool. This costs five to eight euros. On the banderole of your yarn you will find information on the recommended needle size. Take two thicker thinner needles to make the knitting bag sturdy and not too stretchy. We have used needle gauge eight while the manufacturer suggests ten to twelve.
If your bag is to have the same dimensions as ours, you will first need a stitch sample. Knit a piece in a pear pattern and count how many stitches and rows correspond to ten centimeters. Here we had twelve stitches and 21 rows. Adjust the mesh numbers in the manual if your values differ significantly.
You need it for a small bag:
- 200-250 g thick wool
- a pair of knitting needles
- darning needle

Basics
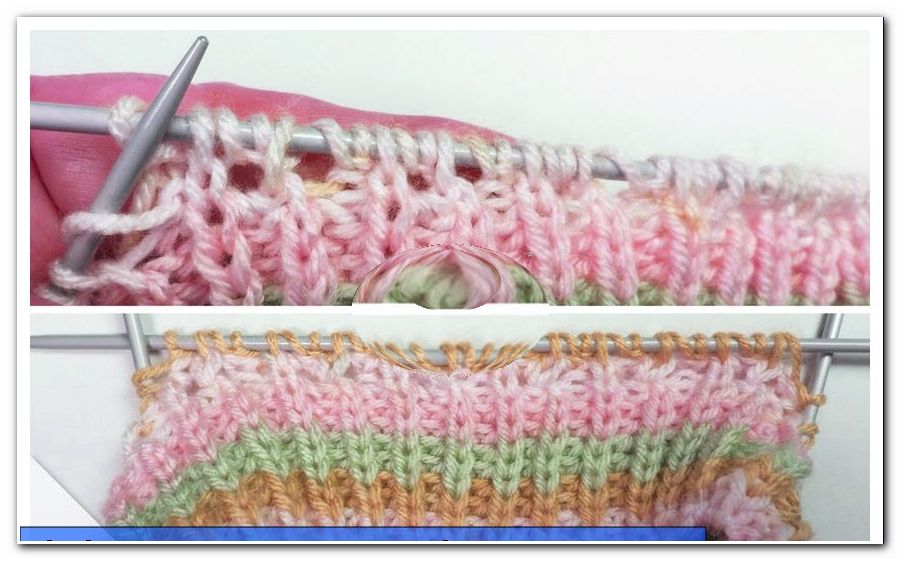
Double stitches
Knit the stitch as normal, but without letting it slide off the left needle. Insert again and work the stitch again. The second time you knit crossed. Instead, pick up the back of the stitch instead of the front as usual.
Knit two stitches together
Pinch in two stitches at the same time and knit together. After that you have a stitch less on the needles.

seed stitch
The entire bag is worked in this pattern. Knit one stitch on the right and one on the left. In the next and all subsequent rows, a flat v-shaped mesh will be placed on each nodule and vice versa.

Tip: Remember that with a right-hand stitch, the knot is created behind the work and on the left in front of it. The V is on the other side.
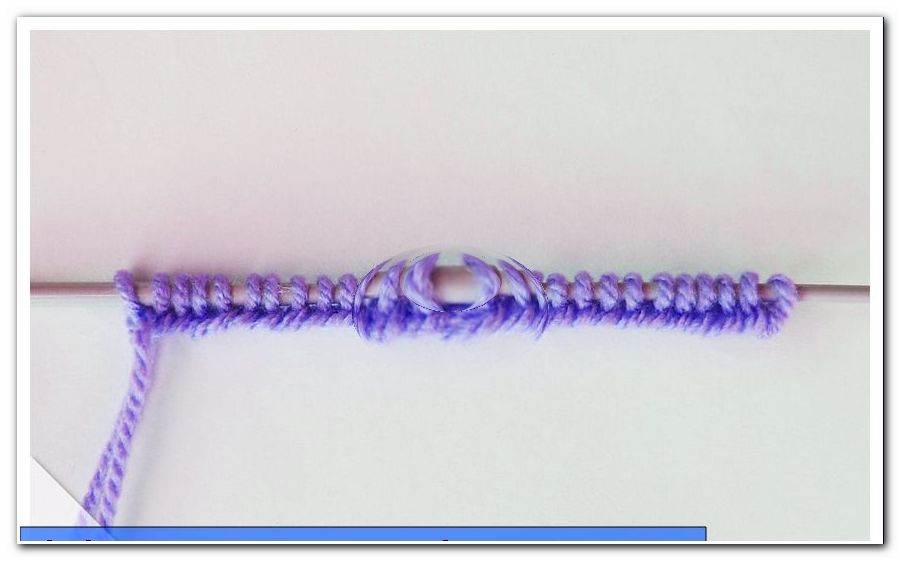
Kettrand
For beautiful edges, at the beginning of each row lay the thread before work and lift off the first stitch without knitting it. The last stitch you always knit right. All edges work this way.

Instructions - knit bag
front
Hit 16 stitches. In the second, fourth and sixth row you double the second and the penultimate stitch respectively. Then you have 22 stitches on the needles.

Continue to knit until the front measures 13 centimeters in total. Then chain it off.

Rear wall and flap
The back panel will knit like the front piece, but do not bind it yet.

The back wall goes directly into the flap. Keep knitting until the piece is 24 inches high. Then a rounding begins according to the following scheme:
1st row: Knit the second with the third and the penultimate with the penultimate stitch.
2nd row: Without declines.
3rd row: Like the 1st row.
4th row: Without declines.
5th row: Like the 1st row.
6th row: Without declines.
Unlock the remaining 16 stitches.

handle
The handle simultaneously forms the bottom and the side parts. Make five stitches and knit at least 140 centimeters. Check regularly if the handle is long enough for you.

Complete
Now all three parts of your knitting bag are ready and need only be joined together.

First, sew the handle into a ring.

Lay the handle and back wall together and connect the edges. You sew on the side, which is the outside of the finished knitting bag. Be careful not to fasten the flap, which means you only sew around half of the piece of knit. In between, put on the front part to check. The seam should end on both sides two to three centimeters above the front.
Tip: Use a different colored thread to mark how far you need to sew.
At the other edge of the handle you now sew the front part. The seam is also outside.

Finally, sew all thread ends. Your knitting bag is ready!

Quick start Guide
1. Knit the bag in beaded pattern with the edge of the kitten. Cast on 16 stitches for the front piece and increase three stitches on both sides in the first six rows. Knit a total of 13 cm and bind off.
2. Start the back wall with flap as well and knit 24 centimeters. Remove three stitches on both sides in the last six rows, then bind off.
3. Cast on five stitches for the handle and knit 140 centimeters, bind off and sew into a ring.
4. Sew the front and back panels to the edges of the handle, which also serves as sidewalls and floor.
variations
1. The knitting bag will be particularly stable when you make it from felt wool. This mattes during washing and runs in about 40 percent. Work the parts bigger and follow the instructions on the banderole of the yarn.
2. If you can crochet, a hanger made of strong stitches is a good alternative.
3. Reinforce the handle with a ribbon that you sew on the inside. This is especially recommended if you want to fill your knitting bag with heavy objects.
4. Decorate your bag to taste, for example, with pearl ribbons or knitted or crocheted flowers.
5. Attach a magnetic fastener or push-button to the flap and front panel.