Napkins fold: butterfly

- Folding napkin into a butterfly
- Instructional Video
Find suitable ideas for your table decoration in spring and summer ">
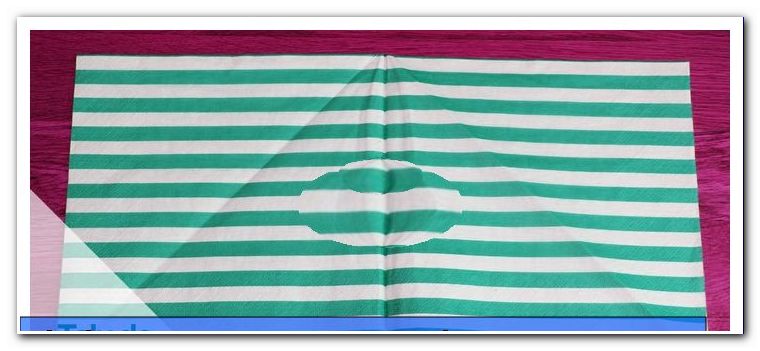
For the napkin butterflies, use paper or cloth napkins in cheerful colors, matching the color scheme of your table decoration, of course. Likewise, you may also like to use even patterned napkins with dots or stripes. However, napkins with a single motif in the middle should not be used in this folding technique, as this might not really work in the shape of the butterfly.
Folding napkin into a butterfly
Step 1: Place the square folded paper napkin with the closed corner facing up. Fold the left on the right side.

Step 2: Open this fold again and unfold the napkin once. Lay them on the table in front of you. The two diagonals now run from the middle to the left and bottom right.
Step 3: Now drive with your left hand under the upper left layer of the napkin and fold this corner to the right. Press everything flat. On the left side you can see one half of a triangle.

Step 4: Then flip the triangular layer on top right to the left.

Step 5: Step 3 is repeated with the right side. Step 4 repeat in connection with the left, triangular layer - out comes a right-angled triangle.

Step 6: Now fold the left top tip up to the middle. Likewise, do it with the right tip.

Step 7: Now turn the napkin on the back. Fold up the upright, right-angled corner. Fold it up so far that it protrudes over the edge.
Step 8: Trace the wrinkles created at step 7, left and right, with your fingers, so that their faces make acute triangles.

Step 9: Now turn the napkin on the back again and fold the tip protruding from step 7 up or down.
Step 10: Keep your fingers well together as you fold the butterfly. Lift the napkin and fold the wings together. Lay the napkin on the table and repeat all folds with your fingers.

Step 11: Now the butterfly only has to be brought into shape. To do this, open the upper wing and trace the fold in the middle with your finger.
Step 12: Turn the butterfly on the backside again - careful, holding it tight - and fold the second wing the same way as the first one.

Tip: Use a paperclip to stabilize the center of the butterfly.
Step 13: Now the butterfly can be placed on a plate or blackboard and draped. With pretty little flowers, pearls or glitter this looks even more enchanting!