Apply sealing slurry - Instructions & PCI / MEM information

Wherever moisture could penetrate a building or its substance, sealing slurries are a simple and at the same time ingenious solution. In many renovations of buildings, sealing slurries are therefore the means of choice against moisture. Here you will find all information about sealing slurries and the instructions for application.
Both indoors and outdoors, the sludge can be used against the consequences of increased moisture. Wet walls and the resulting damage from mold and fungal attack are removed relatively quickly and easily with the sealing slurry . In the instructions you will see how easily you can use sealing slurries in the problem areas of the house . You can prevent moisture damage even on the terrace. Sealing slurry is not excessively expensive, but prevents high follow-up costs.
content
- Material and preparation
- Costs and prices
- use
- MEM sealing slurries
- Mineral sealing slurries PCI
- Apply sealing slurry
- Tips for quick readers
Material and preparation
What you need for applying slurry:
- trowel
- pointing trowel
- hollow trowel
- spatula
- Maurer bucket
- mixing paddle
- Tassel / ceiling brush
- bucket
- high pressure cleaner
- broom
- wire brush
- bar
- spirit level
- grouts
- Dichtschlämme
- water
Costs and prices
Of both variants, there are always products that have been additionally refined or have certain properties . Therefore, the cheapest sealing slurries are not necessarily the most sensible for your particular application. Our prices below are only the basic price, which you must currently estimate in the best case. How much of the sealing slurry you need per square meter naturally depends on whether you apply several layers.
The MEM sealing slurries can be processed in a layer with a thickness of two millimeters, for example. The PCI sealing slurries should be applied in up to three layers, especially with pressurized water. So it varies from application to application how much is actually needed. In any case, however, it is an inexpensive way of sealing that is relatively easy to process.
- MEM sealing slurry: bag of 25 kilos, from around 25.00 euros
- PCI sealing slurry: bag of 25 kilos, from about 27.00 euros
Tip: In addition to the simple cement-based sealing slurries, which are sold in bags as a one-component product, there are also much more expensive two-component slurries, especially from the PCI sealing slurries, which could also be interesting for special applications.
A 30-kilo set of two-component PCI sealing slurries for the swimming pool area, for example, costs around 150 euros. Of course, these are processed very differently and should be used exactly according to the manufacturer's instructions.
use
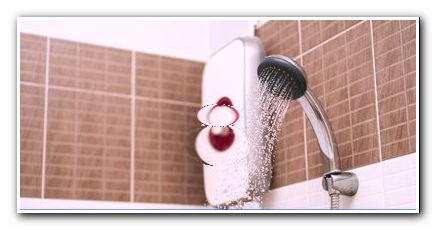
Before buying the sealing slurry, you should check exactly what you need the slurry for. If you want to buy sludge for completely different purposes, you may even want to buy different products. For example, the same sealing sludge is not required for sealing under a shower as for sealing the plinth on an outer facade.
The MEM sealing slurries have slight advantages over the PCI slurries because this product can also be used on porous substrates such as wood or plasterboard. MEM sealing slurry can be spread on a damp surface. In addition, the MEM sealing slurry remains more flexible and is somewhat crack-bridging. We would use MEM for the interior because of the flexibility and for the terrace, the carport or the garage we would rather use PCI sealing slurries .

For a pool or the like, we would also use PCI because this product is suitable for drinking water . However, there are also other variants that have special additional properties that may be very useful for special applications.
MEM sealing slurries
MEM sealing slurry is usually fiber-reinforced and plastic-coated. This makes this cheap seal very abrasion-resistant. Similar to the PCI sealing slurry, the MEM sealing slurry can be used both inside and outside. It does not matter whether you use the sealing slurry with non-pressing or with pressing water. These sealing slurries are even crack-bridging to a certain extent and remain slightly flexible.
- applicable to concrete, wood, tiles, sand-lime brick, clinker, gas concrete, screed, plaster and plasterboard
- plastic coated and fiber reinforced
- applicable inside and outside
- frost resistant
- flexible and breathable
- waterproof from a layer thickness of two millimeters
- for non-pressing and pressing water
- crack bridging
- abrasion and impact resistant
- free of solvents
- can be applied on a damp surface
- dried completely after 12 hours
- resilient after about two days
Mineral sealing slurries PCI
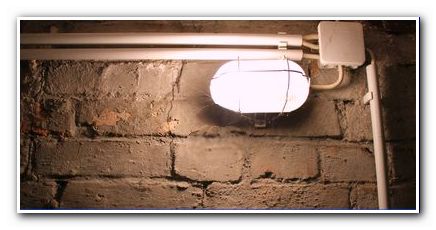
Mainly, PCI sealing slurries are used in the basement and on the outside of the basement. But the sealing sludge has also proven its worth in the wastewater sector. Even for the drinking water sector, PCI sealing slurries are approved by an official test certificate.
- Waterproofing basements, swimming pools and drinking water tanks
- Horizontal lock and sealing on the base
- Intermediate waterproofing under bitumen thick layer
- Sealing under certain PCI plaster for renovation
- Waterproofing basement walls and floors
- Internal sealing against pressurized water and moisture
- Resistant to municipal waste water
- Resistant to strong chemical attack / exposure class XA3
- high resilience against chemical and mechanical influences
- Resistant to wet abrasion in the waste water area
- sulphate resistant
- official test certificate for drinking water area / DVGW worksheet W 347 / W 270
Apply sealing slurry
Care is particularly important when applying the sealing slurry. The respective layers of the sludge must be applied over a large area, but should be very thin. Thick layers burst and tear over time due to the shrinkage when drying.
Tip: There are slight differences between MEM sealing slurries and PCI sealing slurries when it comes to application and drying time. You should therefore always carefully study the manufacturer's instructions.
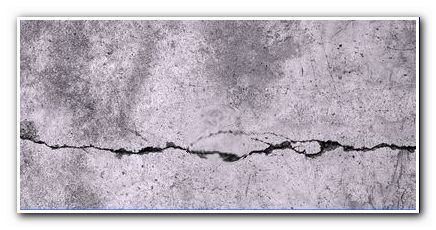
1. Fill in holes and cracks
If there is any damage to the walls or the floor, they must first be sealed with repair mortar. In addition to the trowel, a narrow joint trowel or spatula is well suited for this. The repair mortar must first dry thoroughly before you can continue working.

Tip: You can clean solid walls with a high-pressure cleaner. If you want to coat smaller areas with sealing slurry, you can clean the areas with a hard brush, a street broom or with a wire brush. In any case, any loose plaster and any existing paint must be removed.

2. Moisten the surface
Very dry areas on walls or on the floor should first be slightly moistened with the tassel. Especially if the spots may sand a little, it is essential that you wet them first. Otherwise the sealing sludge cannot bond to the substrate.
Tip: Don't make the wall too wet and don't let the moisture soak in for a long time. Not every sealing slurry can be processed on a really wet wall.
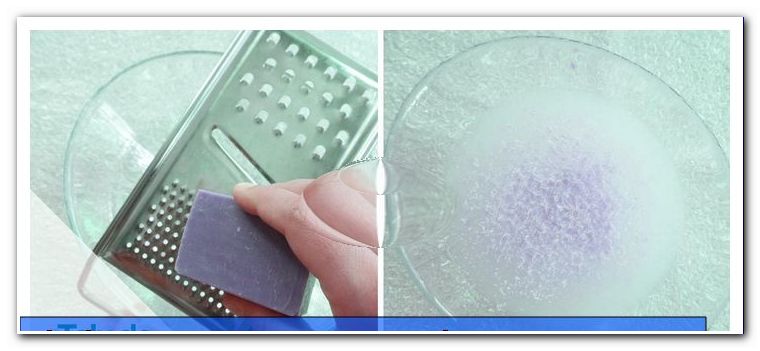
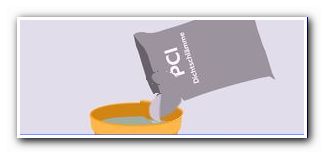
3. Mix the sealing slurry
Check the manufacturer's information on how much water you should use. First put the water in the mason bucket and only then the powder. Mix the mass with the mixer until you have a smooth, smooth mass in your bucket.
4. Spread the sealing slurry
The sealing slurries are applied with a puff or a broad, thick brush . You should apply a large area of approximately two to three layers of the sealant at short intervals. Make sure that you create a thin application evenly everywhere. If in some places only a very small amount of sealing sludge is applied too thinly, it can shrink during drying in such a way that cracks and gaps occur at this point.
Then moisture still runs through the seal or below at this point, which can be worse. Often they cannot see where the moisture is coming from, which causes the following damage.

Tip: The sealing slurry should be spread at least 20 to 30 centimeters high around the base of the building. If you live in an area with heavy rainfall or large amounts of snow, adjust the height of the protective layer as much as possible to the circumstances. The layers in the basement area should be selected to be similarly high.
5. Smooth the sealing slurry
Some products are mixed relatively thickly and either applied directly with a trowel or smoothed out after application with a puff . For example, if you want to seal a basement, you should always start on the walls. Apply the sealing slurry at least up to about 20 centimeters above the outer floor level. Only when you are completely finished with the walls should you start applying the sealing slurry to the bottom of the basement. The sealing slurry must be smoothed, especially on the floor.
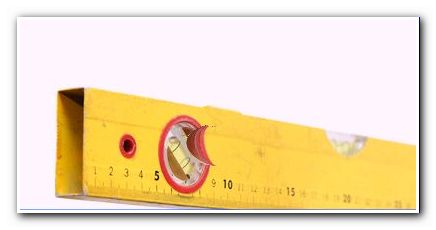
Tip: In the garage, carport or on the terrace it is important that the sealing slurry is removed smoothly, but a certain slope should usually be taken into account. This is the only way to prevent standing water from ruining the newly coated floor. Therefore, pull off the floor with a wide slat and a spirit level.
6. Cross out transitions
While you always have to make sure that the right angle is as exact as possible when doing other work, a rounded transition is the better seal for the sealing slurry. Regardless of whether it is inside the basement or outside on a terrace wall, the transition from the wall to the floor should be semicircular like a gutter. Therefore apply thick sealing slurries at this point and smooth them with a hollow trowel . In this way, these problem areas are sealed perfectly and safely.

Tip: You do not have to buy a hollow trowel for this. You can simply put on rubber gloves and pull off the sealing slurry with a finger to form a gutter.
7. Dry and protect
Depending on the product, the sealing sludge has to dry at rest for about two to four days . However, this means that you have to protect the outdoor sludge from rain, frost or direct sunlight during this time. Ideally, cover the treated areas with a tarp . However, air should still be able to get to the sealing slurry.

Tip: If you have a simple folding pavilion, this is ideal to protect such areas from the weather while the sludge dries. Sealing slurry is very robust, but if there is a risk of frost, the sealant should not be applied anyway, as the frost will tear the slurry inside. This damage will go unnoticed until moisture re-enters and you notice the first moisture damage.
Tips for quick readers
- Clean surfaces thoroughly with a high-pressure cleaner / wire brush
- Seal cracks and holes with repair mortar
- let deep holes and cracks dry completely
- Moisten dry areas only slightly
- Mix the powder sealing slurry with a whisk
- Apply sealing slurry to the walls with a puff
- Spread two to three layers of slurry
- Smooth the sealing slurry a little with a trowel
- Coat the basement floor area with sealing slurry
- pull off the floor with a trowel or board
- Create a semicircular transition from wall to floor
- Pull off the transition with a hollow trowel
- Protect sludge from sun, frost and rain
- Let it dry for about two to four days
- do not continue to treat until fully dry