Instructions: Sew on button - so easy, so fast, that's how it works!

- thread
- stud
- needle
- manual
A typical everyday situation: It has to go fast again, it's late, the visit is just around the corner and you have overslept an appointment and now has to hurry. Then everything has to go very fast: jumped quickly into the shower, the hair lying and now quickly jump into the outfit and you can start - and then suddenly: the button does not withstand the stress and tears off.
What now ">
You need this:

- the buttoned garment
- corresponding button
- matching yarn
- needle
- scissors
- optionally a threader
- possibly a thimble
Tip: If the button completely disappears and is defective, take a closer look at your garment: Most garments that have a button placket or decorative buttons have a matching replacement button on the label. This can easily be separated with a sharp pair of scissors from the label and used as a replacement.
If no same button is available, there are two variants:
- You choose a similar button, that is similar size, color and shape.
- You can see if you can move another button on the garment if necessary. For example, the bottom button of the shirt may be in your pants anyway. In this case, simply separate the button carefully with a sharp pair of scissors and then remove any remaining yarn.
thread
The best is a thread that resembles the thread of the other buttons. If it is a single button, you have the choice: Either the thread matches the color of the button or the fabric or it becomes a eye-catcher with a contrasting color.
Make sure that the yarn is as tear-resistant as possible so that you do not lose the button directly.
stud
Regardless of the color and size of the button, there are other differences: There are buttons with 2 or 4 holes. Here is the buttons with the 4 holes said: Please never cross the button sew on, otherwise there is a thick bead of yarn at the top and bottom and that can quickly look very ugly. The correct technique for sewing four-ply buttons will be explained below.
needle
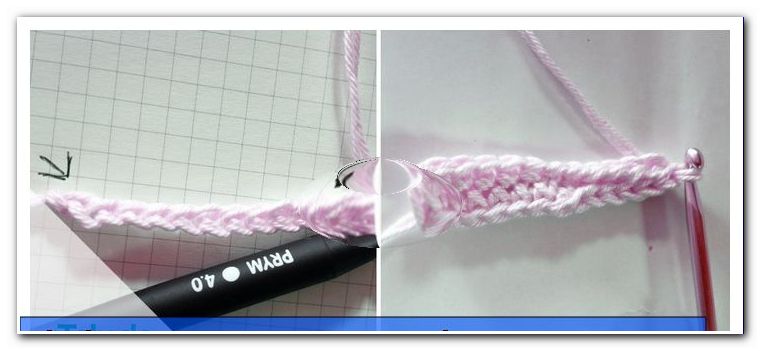
Needles are available in different sizes and thicknesses. Of course, larger and thicker ones are better for a coarser material and, of course, the smaller and narrower ones are the best tools for the classic and delicate fabrics. The needle eye, so the small elongated hole at the end of each needle can be very different.
manual
1. First of all we have to prepare the fabric or garment by removing the remaining yarn. You can do this with a pair of scissors. If available, you can also use a special pair of scissors to cut seams.

Carefully drive the point of the scissors under the remaining threads and start to cut. First cut only the front threads and work carefully through. Should it be a little difficult, try the same from the other side as well. Repeat this process until you can pull the thread completely out of the fabric with your fingertips. Be careful not to cut into the fabric.
2. Now we need the thread. To cut a good length, wrap the yarn 4x around the finger, wind it off again and take another half. This is a good length to sew on a button. Do not forget the trimming.
3. Next thread the thread through the needle. If that's not so easy for you, you can use a needle threader. You've probably seen this part many times before and now you'll learn how to use it: Slide the narrow wire tube through the eye of the needle as far as you can. Now push the previously cut thread through the wire ear protruding through the eyelet and pull it through a bit. Now you can pull the threader out of the needle again. Now the yarn is in place. Be careful not to pull the thread out too far.
4. Make a knot in one of the ends of the thread. To do this, place a loop at the end of the thread and thread the needle through the loop. Repeat this a few times until the knot is thick enough not to slip through the fabric and button.

5. Now we come to the main part of the work: Sew on the actual button. We start with a button with 2 holes. First, pierce with the needle from below into the desired position on the garment and pull the thread through completely. Of course only up to the knot. Because put the button on the needle and let it slide on the garment. Now they can optimize the button a bit in its position. At first, only pierce through the second hole of the button and align the button. Now that it's in the right place, you can sew through the fabric under the button.

Tip: (If it is a button repair, you can use the already existing puncture points of the previous button.) Now you stab again from below through the fabric and the first hole and from the top back into the second hole with fabric. Repeat this four to five times, so that the button sits as firmly as possible on the garment and he stays there for the time being.
6. When the button is firmly in place, we will sew it. For this we turn the fabric or the garment and stab in the already existing threads there. But do not pull the thread through completely and let hang a small loop. Insert the needle into this loop and tighten the thread.

Repeat this two to three times and cut the thread off.
7. For a 4-hole button, of course, it works the same way. Just as with a two-hole button, the thread is first threaded into the needle, a knot made and inserted into the fabric. Then you stab here in the first hole of the button. From above, now pierce the hole above or below and through the fabric. Please do not pierce in the cross-lying hole, otherwise at the end of a thick very ugly bulge arises. Now, the button is sewn like a Zweichlöchriger, so only through the two holes already used. This creates a so-called footbridge. Also sew this bar 4 to 5 times. Then we come to the other two holes and repeat the same as well.

And here, too, we sewed the thread just as described above.
Now the button should sit tight and you can put on your clothes as usual.
Tips for quick readers:
- Remove any remaining yarn from the previous button from the fabric
- Cut the yarn to the appropriate length and thread it through the needle
- Work several knots in the end of the thread
- Insert into the fabric at the desired place and place the button
- Sew through the holes several times and note the number of holes. (Never cross over four-button buttons)
- Sew thread on the underside and cut off
Sewing a button is not that difficult. We hope that you have now become a button expert and keep a cool head even in the most stressful situation, because now you are well informed.