Knit bobble hat - instructions for a stylish bobble hat

- Material and preparation
- Knitting Pattern - Bommelmütze
- The edge stitches
- The relief pattern
- Stop and cuffs
- The hood
- The top of the bobble hat
- The pompom
- Quick start Guide
- Possible variations
A bobble is the eye-catcher on every self-made hat. In this tutorial for a bobble hat in the plastic relief pattern, you will learn how you can easily make the wooly balls yourself.
The wind blows uncomfortably frosty around the ears - now a self-made bobble hat would be nice! No time "> Material and preparation
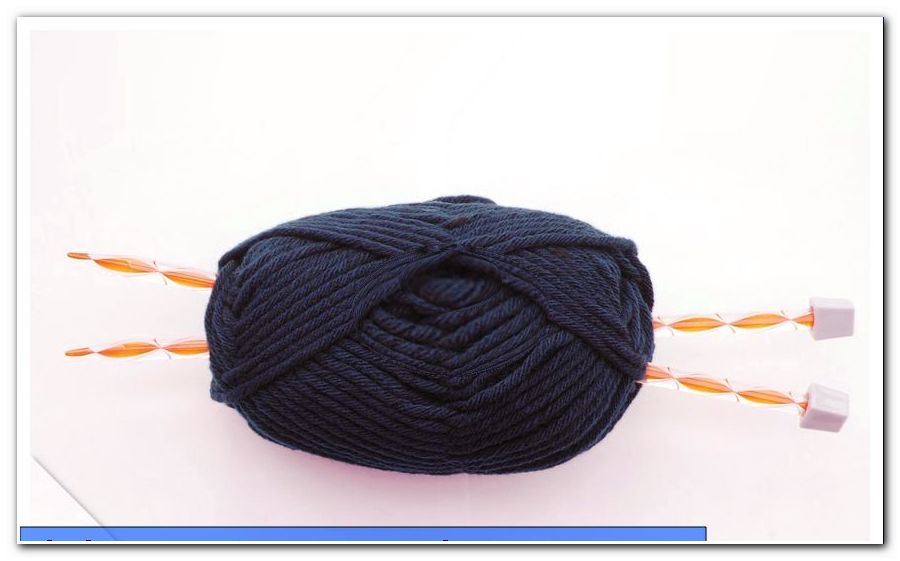
We chose a thick yarn of 25% wool and 75% acrylic for this instruction. The wool ensures a pleasant warmth on the head. Make sure you pay attention to the care instructions on the banderole. It is important that you can wash your cap wool well, because it will come into contact with skin fat on your head. For the required 100 g-ball you should budget 7-10 EUR. Our yarn has a length of 85 m per 100 g .
This instruction results in a head circumference of 58 centimeters a loose-fitting bobble hat. Reduce the number of stitches or use thinner knitting needles if you have a smaller head or if you want the cap to sit very tightly. We used knitting needles in strength 10 . When choosing the needles, look for the recommendation on the banderole of your yarn.
This manual assumes that you master the stitching and right and left stitches. All other required techniques are explained. The bobble hat is knitted in rows and sewn together later. The difficult for beginners handling a needluck with five knitting needles thereby eliminated.
Before you start with your bobble hat, you should make a stitch test. This is the only way to make sure that the hat does not fit your horse or rabbit, but your own. Cast on 8 stitches and knit 17 rows. The finished square should measure about 10 x 10 centimeters. If the size deviates significantly, use a different needle size or change the mesh size. You should already knit your stitch pattern in a relief pattern. This will ensure that the mesh count is really appropriate. In addition, you can already practice the pattern to avoid unsightly mistakes in the finished cap.
Tip: If you want to change the mesh size, make sure that it is divisible by two. Only then does the pattern appear correctly in the finished fabric.
You need this for a bobble hat:
- 100 g thick wool
- knitting needles
- darning needle
- Piece of thick cardboard
- compasses
- sharp scissors
Knitting Pattern - Bommelmütze
The edge stitches
For the edge stitches, that is, the first and the last stitch of each row, there are several possibilities. Because the edges are sewn together later, a knot margin is good. This is simple and gives a firm seam. Simply knit a right stitch at the beginning and end of the row.
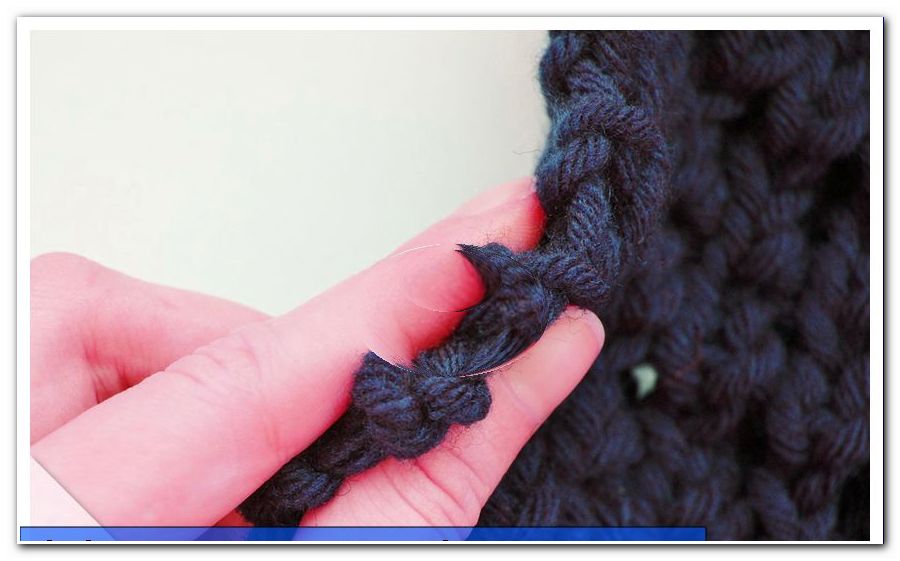
Tip: If you've already learned another kind of edge stitching, you can easily use it as well.
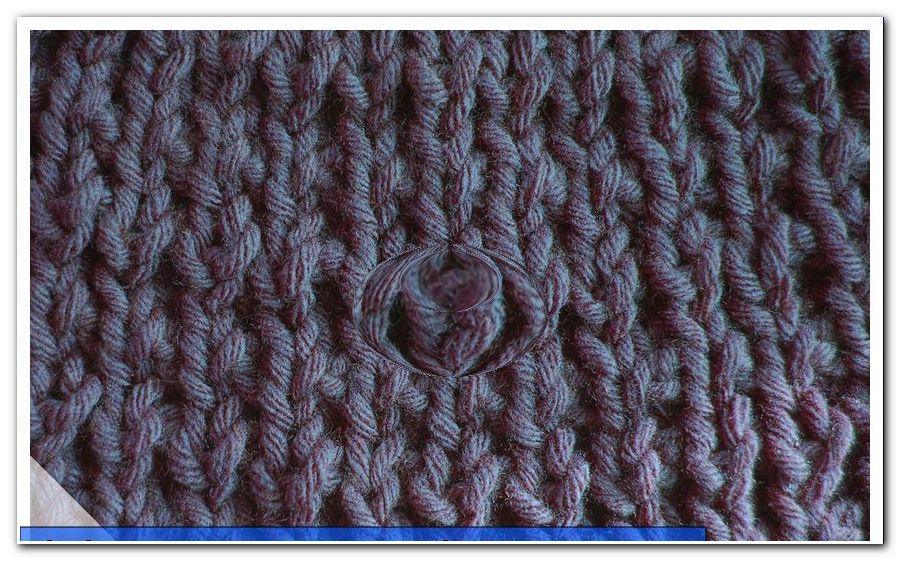
The relief pattern
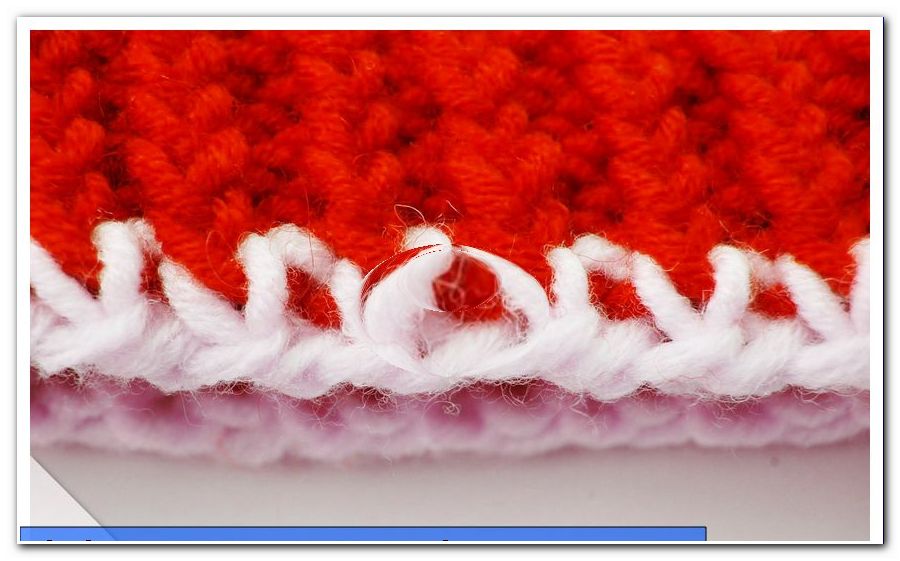
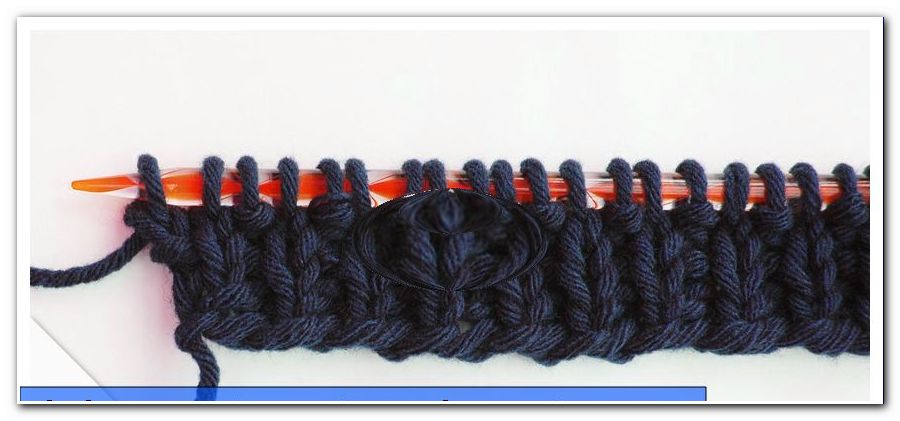
The sculptural relief pattern consists of right and left stitches as well as envelopes. For an envelope, place the yarn over the right needle from front to back. The red mark on the second photo shows how the thread runs.
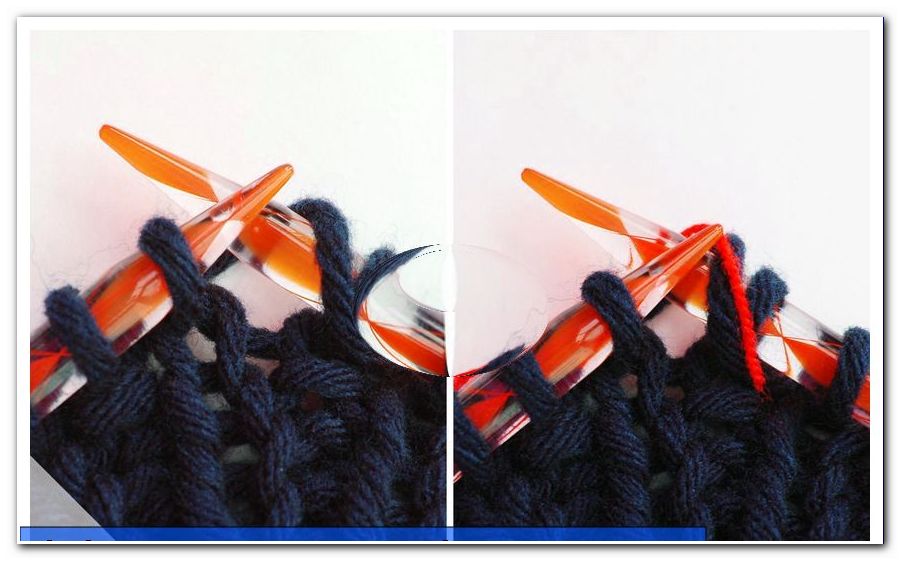
Then you continue to work normally with the next stitch. After each turn, you have one more stitch on the needles.
This is compensated for the relief pattern by knitting two stitches together in the next row. To do this, sting in two stitches at the same time and knit them as normal. How to make two stitches.
In addition, stitches are lifted off to the left in the relief pattern. This means that you do not knit the stitches, just slip them over from the left to the right needle. The thread lies in front of the fabric.
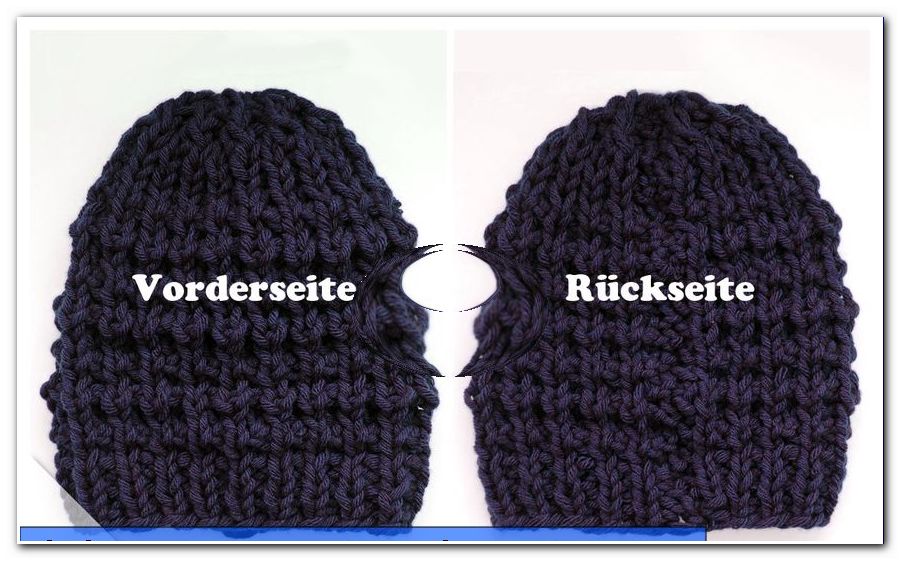
The pattern starts with a back row. This means that the part of the work you see in knitting this row is inside the finished hat. The opposite of it is called back row.
To knit the relief pattern:
1st row (back row): 1 edge stitch, knit all stitches left, 1 edge stitch
2nd row (back row): 1 edge stitch, 1 stitch to the left, knit 1 turn, 1 stitch to the right, repeat everything (except for the edge stitch) to the end of the row, 1 edge stitch
3rd row: 1 edge stitch, knit 1 stitch on the left, knit 2 stitches together to the right, repeat until the end of the row, 1 edge stitch
4th row: 1 edge stitch, knit all stitches on the right, 1 edge stitch
5th row: 1 edge stitch, knit 1 stitch on the left, 1 stitch on the left, 1 YO, repeat to the end of the row, 1 edge stitch
6th row: 1 edge stitch, knit 2 stitches on the left side, knit 1 stitch on the right, repeat until the end of the row, 1 edge stitch
Stop and cuffs
Knit 42 stitches and knit 4 rows in the waistband pattern.
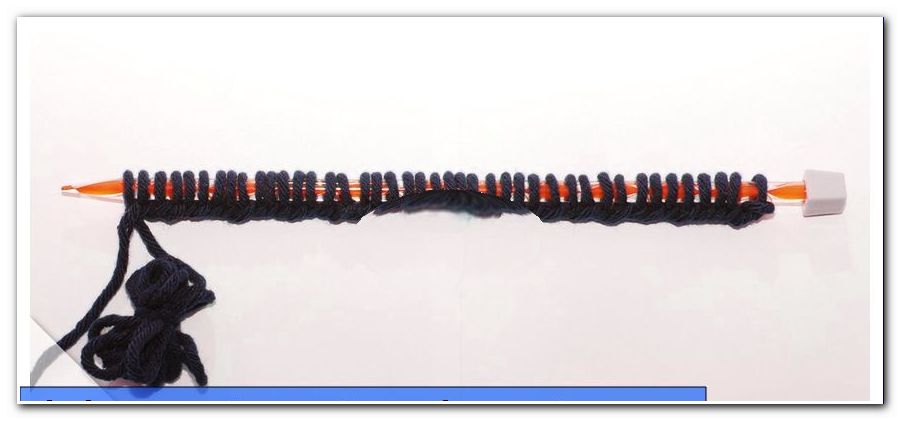
For the bobble hat in this tutorial we used the classic cuff pattern: One stitch left and one stitch right alternating. As a result, the first rows are elastic and do not curl up.
To knit the cuff pattern:
1 row: 1 edge stitch, 1 stitch left and 1 stitch right alternately knit to end of row, 1 edge stitch
2nd - 4th row: Knit as the 1st row
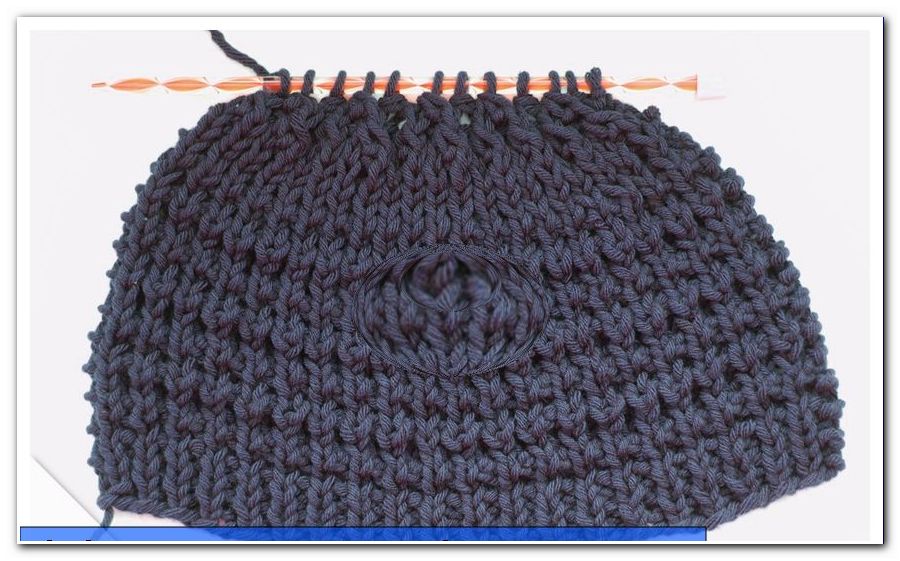
The hood
The hood of the bobble hat knit in the relief pattern. Work through the six rows of the pattern three times and then repeat the 1st to 4th rows. You have now knitted 22 rows in a relief pattern. From the stop her bobble hat measures 26 rows including cuffs.
The top of the bobble hat
The lace is not knitted in a relief pattern, but with alternating left and right stitches. This allows you to focus on accepting a nice, round shape. You can reduce the number of stitches by first lifting a stitch on the right. Do not knit the stitch, just push it on the left needle. The thread lies behind the work. Then knit two stitches as described in the relief pattern. Now pull the lifted stitch over as you know it from the bind off. This leaves only one left of three stitches.
Tip: If you have increased or decreased the number of stitches, be sure to remove more or fewer stitches accordingly. At the end of the 32nd row you should still have 12 stitches on the needle.
How to knit the lace:
27th - 29th row: 1 edge stitch, knit 1 stitch left and 1 right until the end of the row, 1 edge stitch
30th row: 1 edge stitch, knit 1 stitch on the left, 1 knit stitch on the right, knit 2 stitches on the right, pull the raised stitch over it, repeat all steps (except for the edge stitch) to the end of the row, 1 edge stitch = 22 stitches remain
Row 31: Knit like the 27th - 29th row
32nd row: knit like the 30th row = there remain 12 stitches
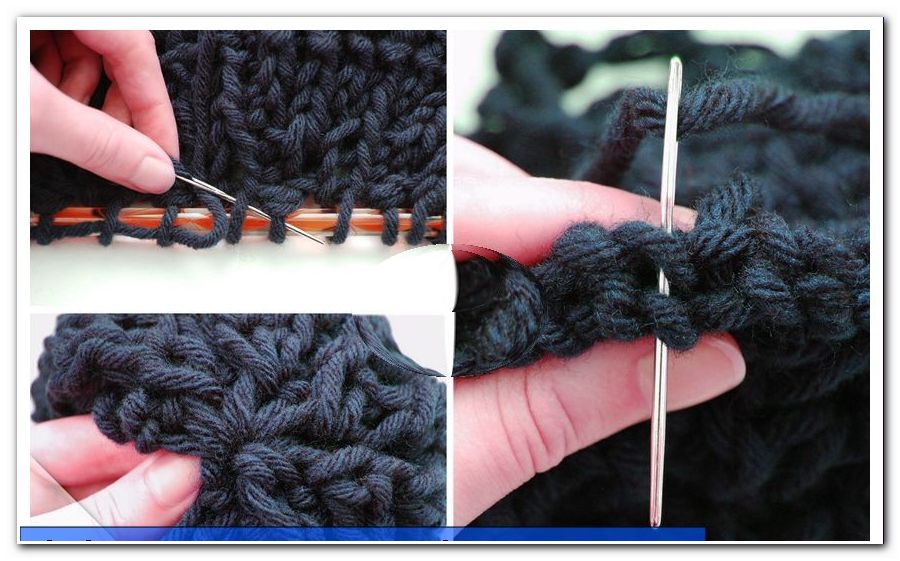
Cut off the thread. Leave enough air to sew your bobble hat. Thread the wool into a darning needle and pass it through all the stitches. Now pull on the thread so that the point of the bobble cap contracts tightly. Then turn your work to the left and sew the edges together. Be sure to only grasp the edge stitches, so that no ugly, thick seam is created. If you knit the recommended knot edge, place the knots exactly opposite each other. So the beginning and the end of each row meet. This will prevent the seam from becoming hilly. Finally, sew the thread thoroughly.
Tip: Only close part of the seam with the thread from the top and use the rest of the yarn hanging down from the fence. As a result, the knot is not at the bottom of the bobble hat and is therefore not visible.
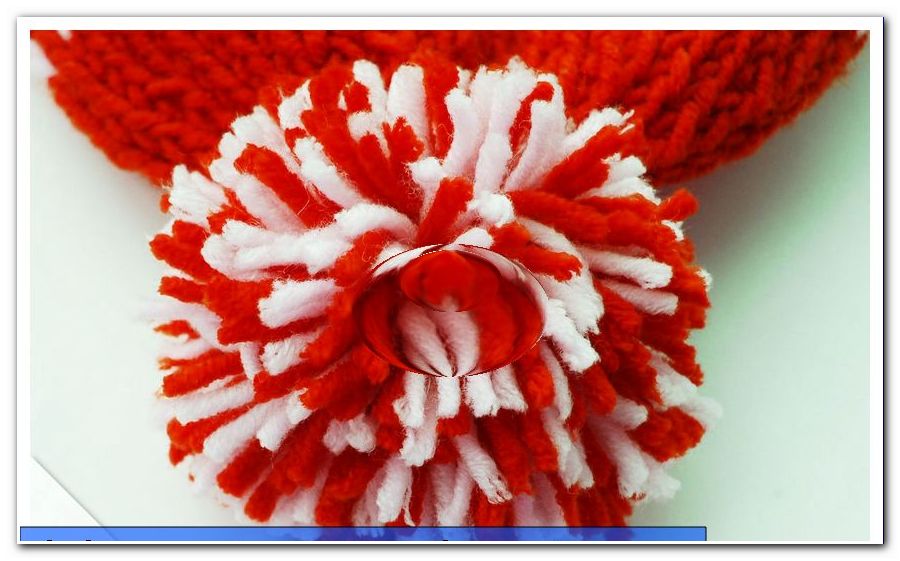
The pompom
The cap is ready for fitting, but for a real bobble hat is still missing the bobble. They are ready to buy, but it is much nicer and not difficult to make one yourself.
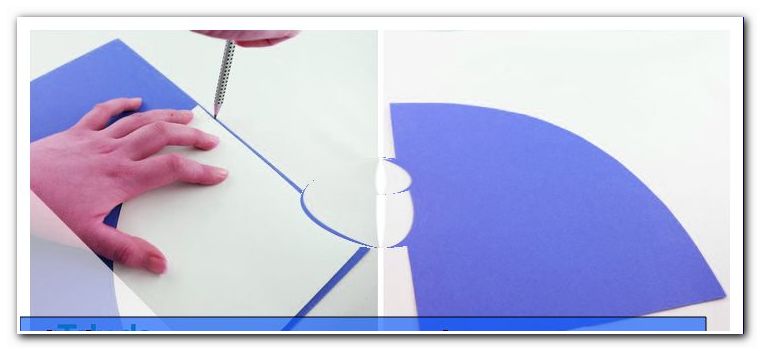
1. First draw two circles of 9 cm diameter on a piece of thick cardboard with the compass.
2. Place in the middle of each another circle of 3 cm diameter.
3. Then cut out the rings so marked and put them on each other.
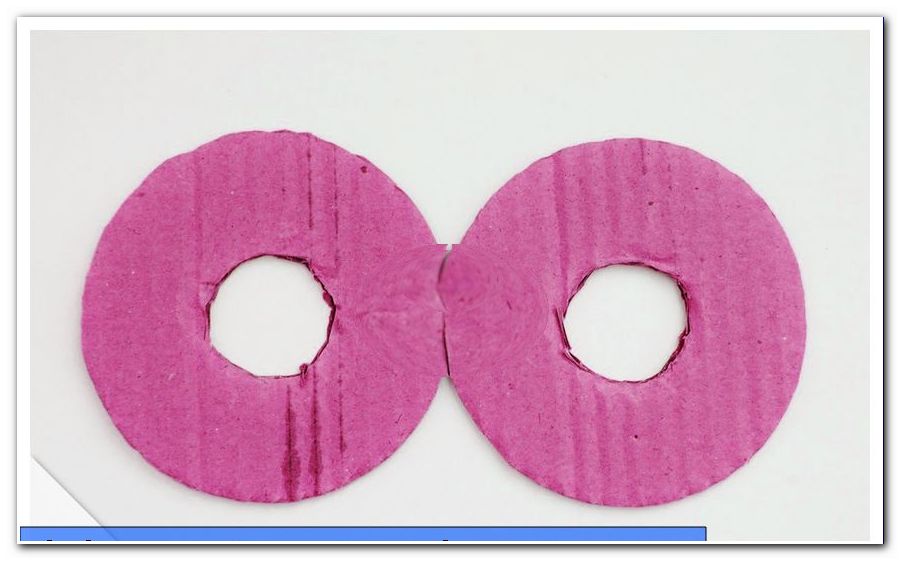
Tip: If you do not have a compass at hand, use a pencil to move around a round object of the appropriate size, for example a glass or a bowl.
4. Cut several strands off your cap wool. Now wrap these around the stacked rings until the middle circle is completely filled. There must not be a hole left.
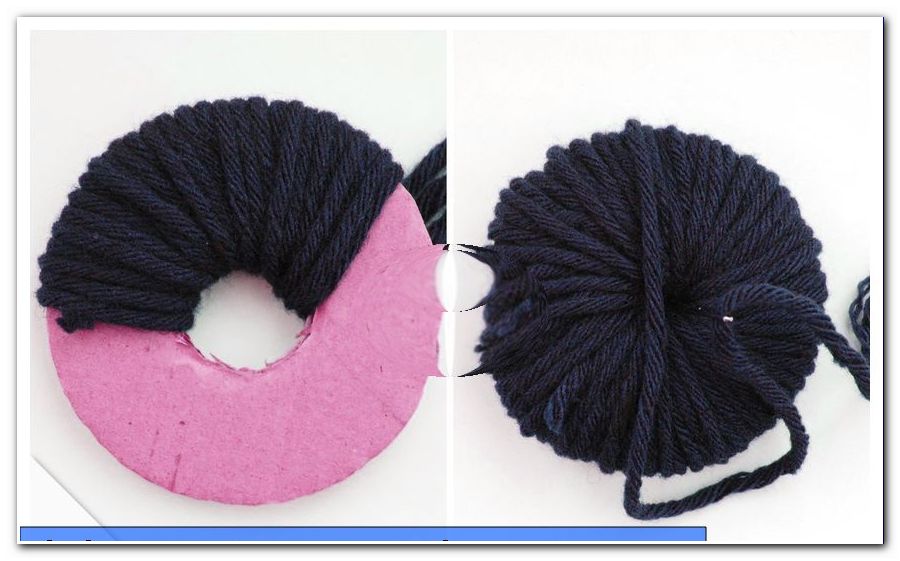
Tip: If you wrap several strands around the rings at the same time, you will move faster. When in the end the space in the inner circle becomes scarce, it helps to thread the thread on a darning needle.
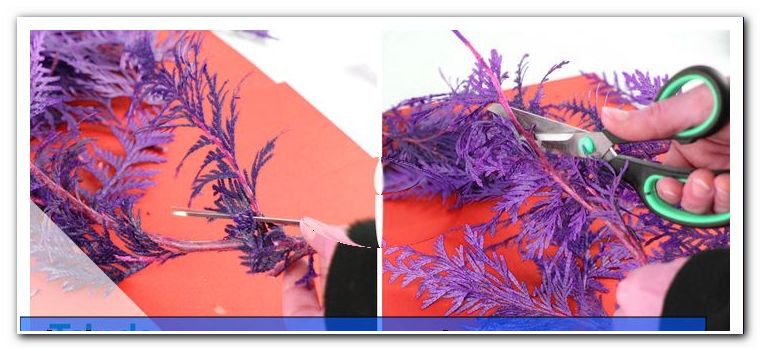
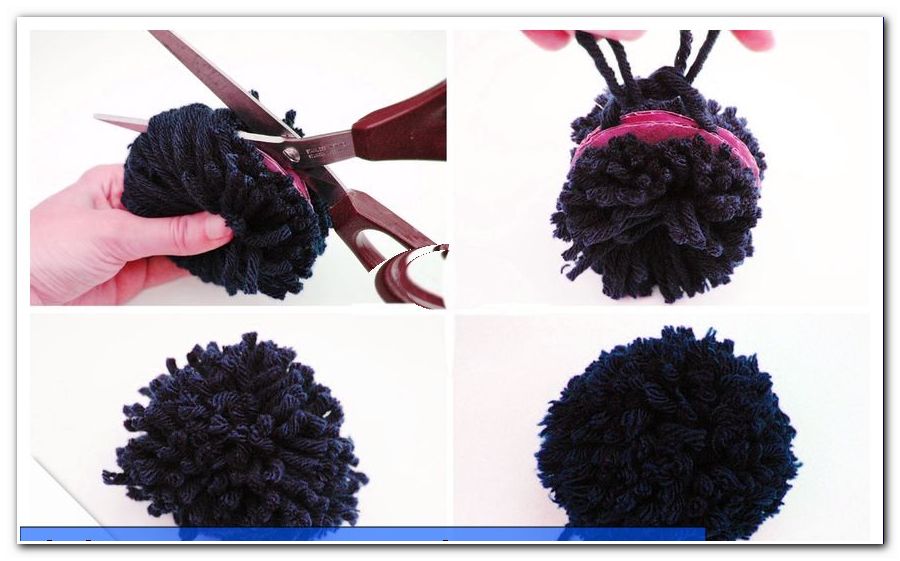
5. Cut the wool around the outside between the rings.
6. Place two threads between the cardboard discs and tie them together. Hang a long piece of wool to sew the pompom to the hat.
7. Remove the cardboard discs and cut the pompom into shape.
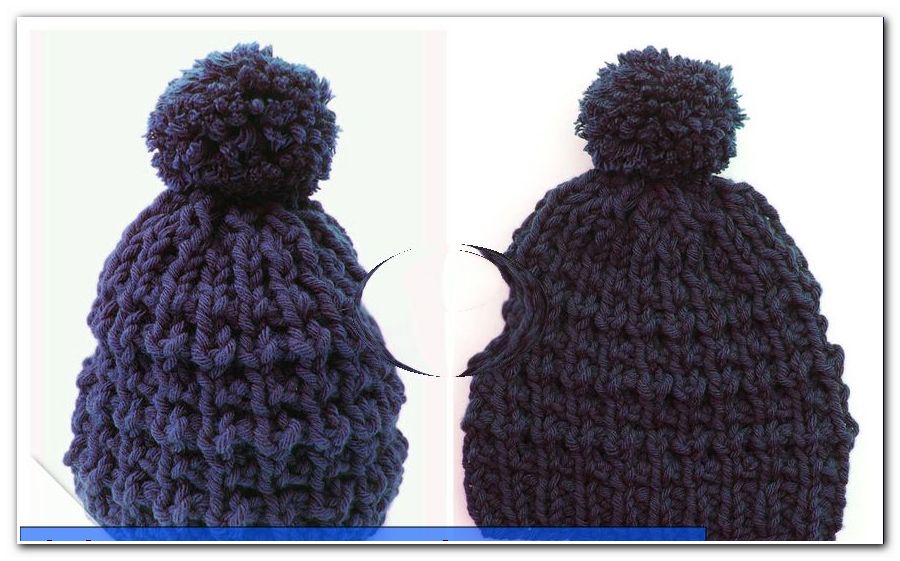
Finally, sew the pompom onto the top of your bobble hat.
Quick start Guide
1. Cast on 42 stitches.
2. Knit 4 rows in the border pattern.
3. Knit 22 rows in a relief pattern.
4. Knit 6 rows alternately one stitch left and one right, halve the number of stitches in the 4th and 6th rows.
5. Tighten the remaining 12 stitches with the work thread and close the seam.
6. For the bobble wrap wool around two cardboard rings, cut open, knot a thread, cut into shape and sew.
Possible variations
1. Choose a contrast color for the bobble.
2. Make a two-tone pompom by wrapping two threads of different colors around the cardboard rings at the same time.
3. Sew a fashionable bobble made of faux fur on your bobble hat. A well-stocked handicraft shop has such in the offer.
4. Use a contrasting color for the stitch stop.
5. Knit a striped bobble hat by changing the wool at regular intervals.