Drying orange slices - dried oranges made by yourself
- material
- preparation
- Dry orange slices yourself
- Dry on the heater
- Dry with microwave and oven
- Dry oranges for consumption
- Eco tip: shell spirals
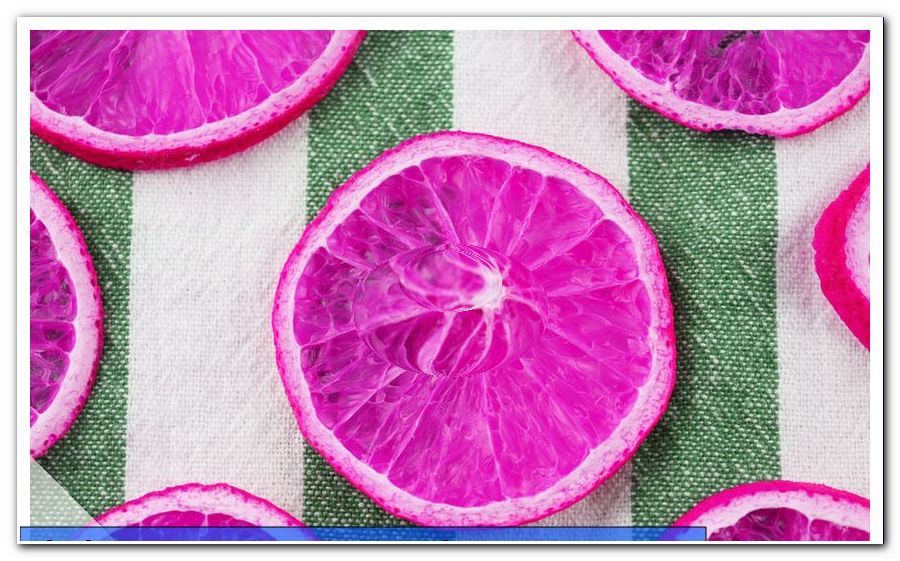
Fresh oranges are wonderfully aromatic. But even in dried form, they can be absolutely see and, above all, smell. They serve as atmospheric decorations, are suitable for Raumbeduftung or can be used as dried fruit. Here you can find out how to easily dry the pretty orange slices on your own - even without a dehydrator.
Especially at Christmas time, dried orange slices are among the classics among the decorative elements. That's obvious, because in addition to their great look, the fruits inspire thanks to the contained essential oils with an indescribable fragrance experience. Their applications are therefore extremely diverse, such as:
- in scented bags
- as a Christmas tree decoration
- in DIY scented candles
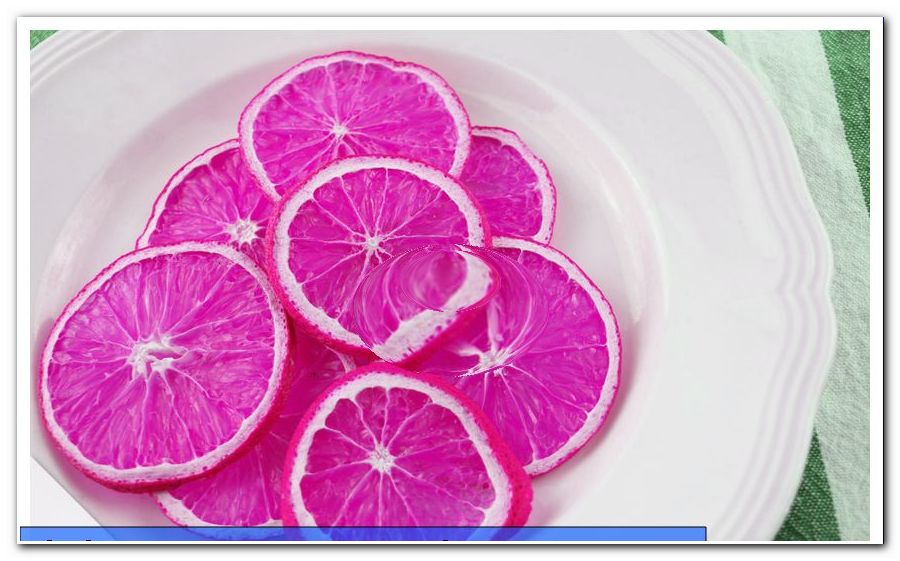
- decorative placed in glasses or bowls
- further processed in arrangements
- as an ingredient for baked goods, such as fruit bread
Meanwhile, more and more people like the atmospheric decoration even in the warm season. Finally, the fruity note also fits very well for summer occasions. However, the trade seldom offers ready-made dried orange slices outside of the Christmas season. And even over the holidays, the cost of a few slices of simple oranges is usually excessive. Do it yourself is worthwhile in any case. Depending on the chosen method, you can hold your personally produced deco oranges in your hand within a few hours or a few days. With the right technology that works without any problems even for beginners!
material
In a careful preparation of the oranges is already the most important step. Otherwise it will leave behind too much liquid. This would cause the orange slices to start to rot later. This is the main reason why the DIY production of dried fruits is often considered difficult - but wrongly.
You need this:
a) any number of oranges
b) sharp knife (or bread slicer)
c) drip grid (or the like, such as baking grid)
d) kitchen paper
e) rolling pin (or smooth bottle as replacement)
f) then at least radiator, microwave or oven
preparation
Step 1: Wash your oranges thoroughly to remove any residue. Then dry well.
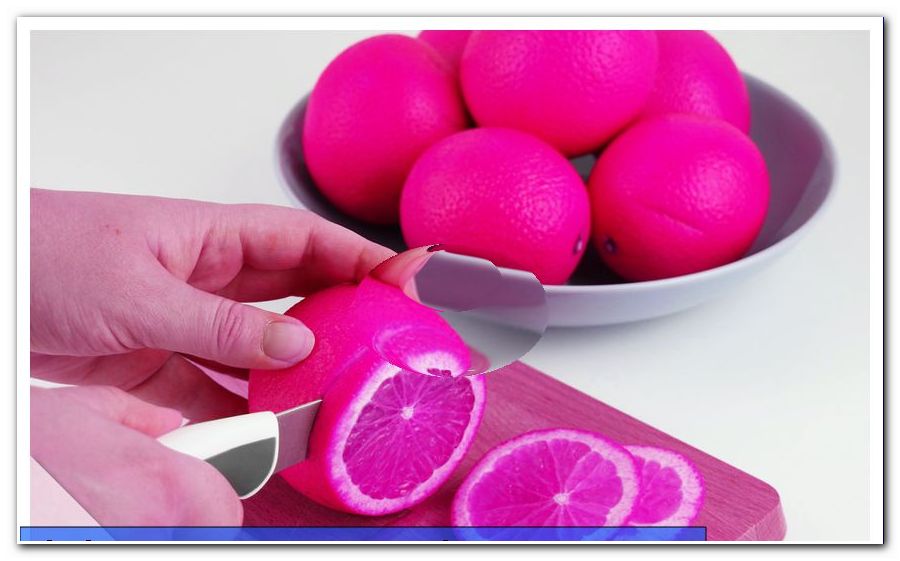
Step 2: Now cut each orange into slices about two to five millimeters thick as desired. For those who want particularly flawless results, use the bread slicer instead of a knife.
Tip: The end pieces look less beautiful. Set this aside. Later, you can spoon them out or use them up.
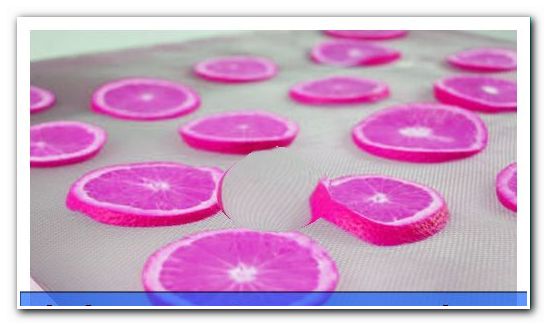
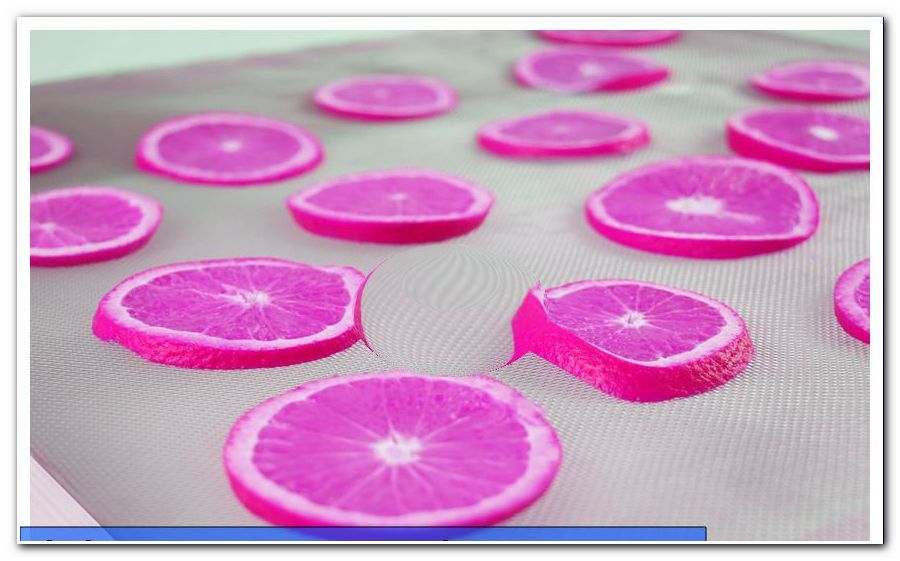
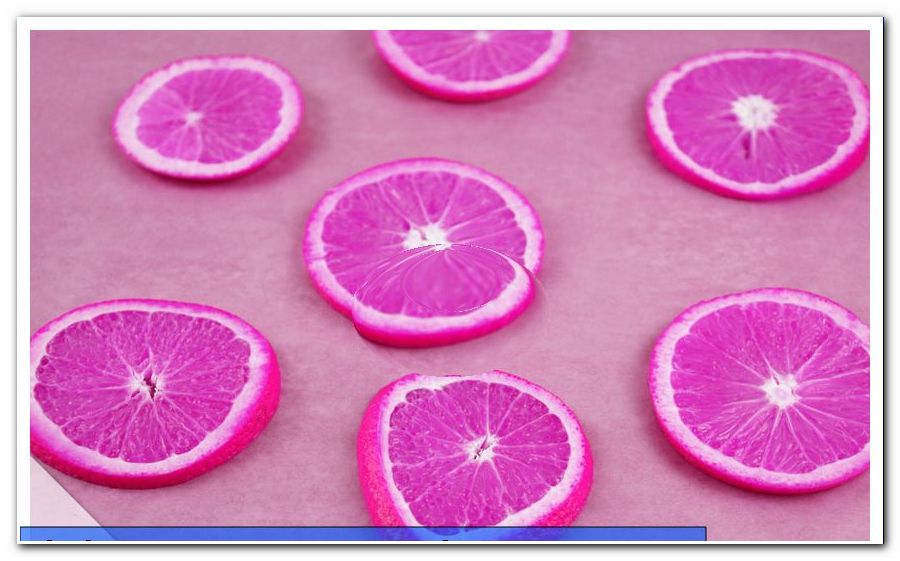
Step 3: Now place the slices in your sieve or drip tray to drain most of the fruit juice by itself.
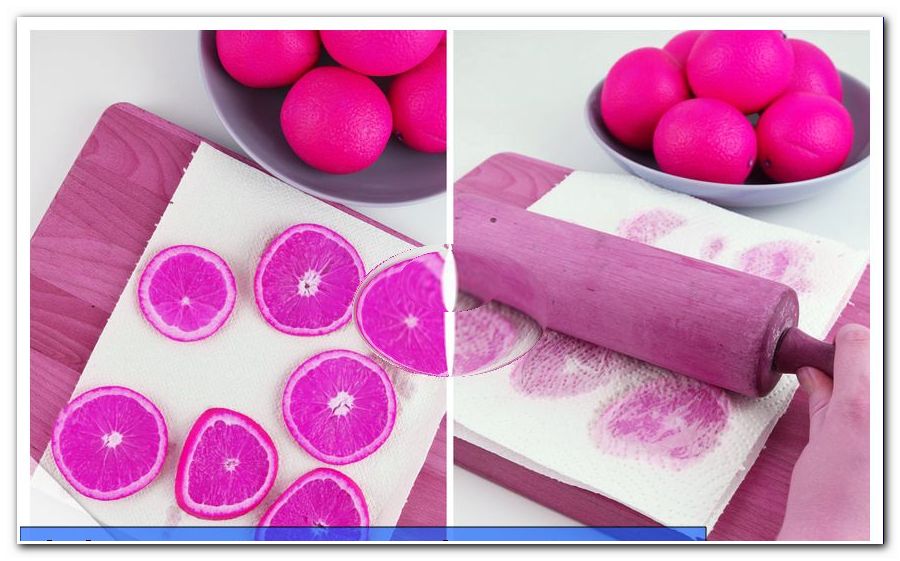
Step 4: After a few minutes, place each of your orange slices on generously spread kitchen paper. On top comes another layer of kitchen paper.
5th step: With the rolling pin, roll out the slices very carefully. This will destroy the cell structures in which the juice may stubbornly get stuck.
Tip: The less juice left in the fruits, the longer they will last. After all, it is the remaining moisture that is responsible for possible spoilage.
Step 6: Only now are your orange slices ready to dry in the desired manner.
Dry orange slices yourself
Dry on the heater
If you bring some time, you can easily do without drying your oranges on another kitchen appliance. Gentle air drying on a radiator is sufficient. Especially in the cool season, this variant is particularly cost-effective. After all, the heaters run most of the time anyway and there are no additional electricity costs. For underfloor heating, however, the alternative described in the following is recommended by oven.
manual
Step 1: Place your orange slices on clean radiators. It is important to ensure that there is enough space for air circulation between the oranges. So do not place them too close to each other.
Step 2: To ensure that the orange slices retain their bright color, choose a moderate heat level. Too much heat could make the fruits dark and wavy.
Step 3: Now be patient: About 14 days, the discs should remain on the heater to dry thoroughly.
Tip: Already during the drying process on the heating, the decorative oranges exude a wonderful scent. This makes waiting much easier.
Step 4: Turn the discs several times a day. In this way they can evenly release their moisture.
Dry with microwave and oven
Optional: If a microwave is available, the orange slices can be briefly pre-cooked in advance. At 900 watts, two and a half minutes are sufficient per page. Then dab again with kitchen paper. The microwave deprives the oranges of much moisture and thus leaves later rotting absolutely no chance. Otherwise, however, the oven is completely sufficient. The cooking time is only slightly longer.
manual
Step 1: Equip a grid with baking paper.
Step 2: Place all slices of your tropical fruits on top.
Step 3: Put the whole thing in the oven. Underneath you insert the dripping pan that you previously laid out with aluminum foil. This facilitates the later cleaning immensely.
 Step 4: With circulating air and about 70 to a maximum of 100 degrees Celsius, the orange slices now bake for about two to three hours.
Attention: The information on the temperature and cooking time are not set in stone. Depending on the oven, the optimal values can vary greatly. Therefore, it is advisable, in the meantime, not to go too far from the oven on the first try and always take a look at your work. If in doubt, choose a lower heat and take longer drying times into account. Too hot cooking could change the colors of the oranges.
Step 5: Apply the slices every 30 minutes for a consistent result.
Step 6: Remove from the oven, done!
Step 7: If the dried oranges do not look the way you want the next day and feel soft and moist, you can put them back into the oven one more time. Then start with low heat of about 50 degrees Celsius and give them between 30 and 60 minutes to detention. Do not use higher temperatures, otherwise the already very low-moisture fruits burn in a short time.
Extra tip: Whether by heating or oven, the same procedure also works for apple rings and lemon and tangerine slices.
Dry oranges for consumption
The dried oranges look great "> Step 1: Make sure you choose unprocessed oranges, which are high quality organic fruits, because the tropical fruits are not peeled for drying and harmful substances can easily get inside as a result of exposure to heat For safety's sake you should also thoroughly wash organic oranges before drying.
2nd step: When eating later, of course, not only the taste counts. The citrus fruits contain valuable but extremely heat-sensitive nutrients. These include essential oils, vitamin C and other precious antioxidants. In order not to destroy them, the temperature in the oven should be kept much lower. A maximum of 42 degrees is absolutely sufficient.
Step 3: You should refrain from uncomplicated drying on the heater. After all, the slices of your oranges are left open for days. Even the flawless cleanliness of the heating surface is not always guaranteed even in sparkling households due to heat and air circulation. The method would not be very hygienic.
Step 4: Then keep the orange slices in a dark place and airtight.

Eco tip: shell spirals
They prefer to eat the delicious tropical fruits instead of decorating them in the apartment. "> Step 1: Peel your orange simply in a spiral.
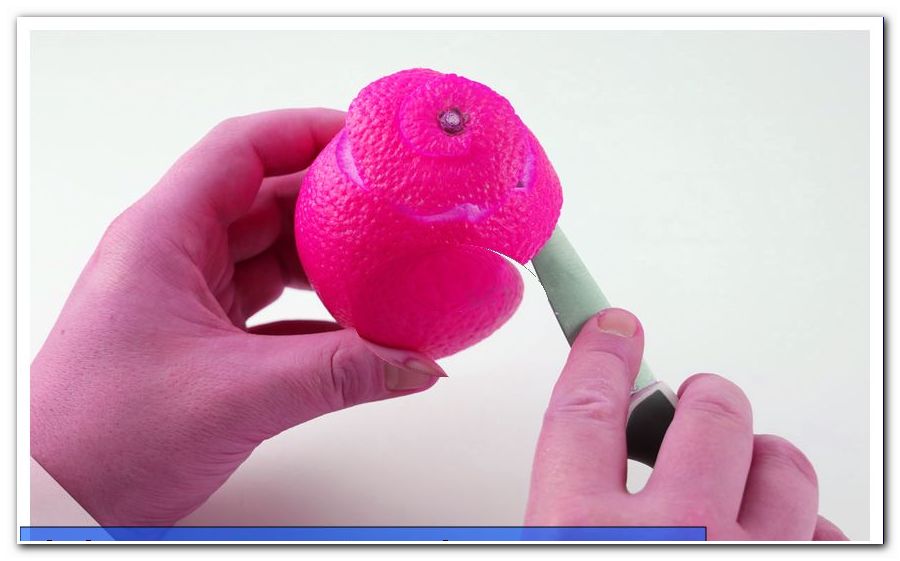
Step 2: While you are eating the pulp, place the spirals on the heater to dry.
Step 3: Thanks to the development of heat, the typical aroma spreads throughout the room.
Step 4: After drying for several days, the decorative spirals for pot pourries can be reused or simply inserted into arrangements or the like. The fruity fragrance is retained for a long time.