Crochet Headband - Free DIY Tutorial

- material
- Crochet pattern for a headband
- Create a chain of aerial stitches
- Close with a chain stitch
- Round crochet with half sticks
- Close row with chain stitch
- Crochet rows with half sticks
- Perform color change
- Highlight set
If you want to be up to date with fashion, make sure that your warm headbands match the rest of the outfit even in winter. But not everyone can afford to buy the accessories in different colors in the shop. Here you will learn how to make your headband yourself in just a few hours.
Crocheting accessories themselves is a cheap way for many DIY fans to spice up their outfit. Unfortunately, many beginners are afraid of such projects in the beginning, because they think they lack the practice. Basic knowledge about crocheting is already enough to make pretty headbands for the winter. In the following, you will learn how to crochet a fashionable headband yourself with just a few simple steps.
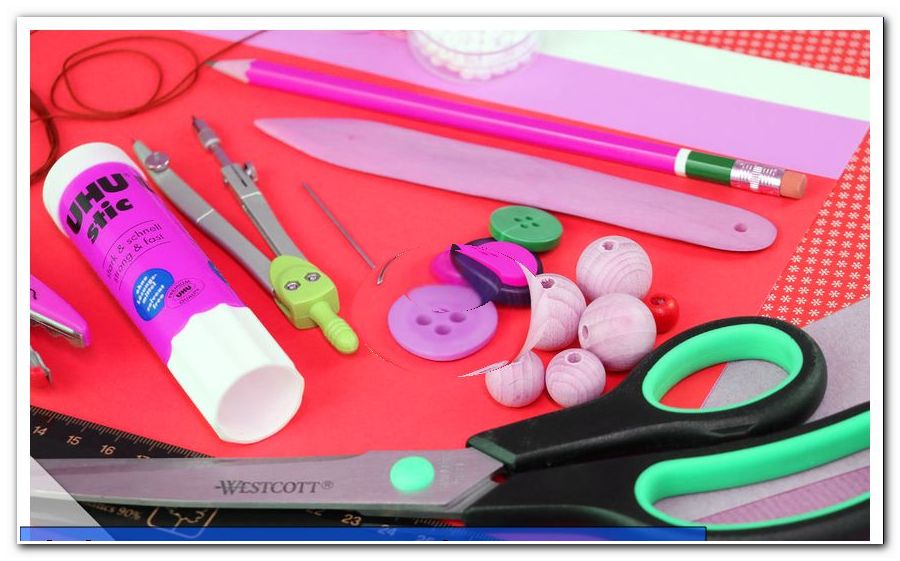
material
You need:

- a crochet hook (about 5 Euro)
- Wool
- scissors
- Needle for sewing
- Tape measure (about 3 euros)
The prices for the wool depend on its quality and the dealer. In general, it is worthwhile to compare different offers. Keep in mind, however, for which occasion you would like to use the headband: If you want to reliably protect you from the cold in winter, you should use thicker wool. If the headband serves as an accessory, you can also resort to thin wool. In any case, you should use a crochet hook that is suitable for the wool. In most cases, the recommended size of the needle is stated on the label by the manufacturer. If in doubt, contact your specialist in the supply of dry goods with your queries.
Crochet pattern for a headband
Create a chain of aerial stitches
1. Measure the head circumference with the tape measure and note the value.
2. Guide the thread around the left hand. Lay it first by the little finger on the back of the hand. Pass the index finger past the index finger around the thumb and place it between the index and middle finger from the front.

3. Between the thumb and forefinger, the thread has formed a cross. Lead the needle through the loop from the bottom right to the side of the thumb. Then, with the hook above the point where the thread intersects, grab the thread to the left of your forefinger and pull it through the loop. Below the resulting mesh, a knot has formed. Tighten it.

4. Leave the first stitch on the crochet hook. Now grab the thread with the hook and pull it through the previous stitch. Repeat this process until the chain of stitches is as long as the measured head circumference.

Close with a chain stitch
1. Take the beginning of the chain in your left hand and hold it to the last stitch still on the crochet hook. Make sure that the chain does not twist.
2. Leave the last stitch of the chain on the needle.
3. Pass the needle through the first loop of the chain.
4. Grasp the thread with the hook.
5. Pull the thread through the loop. Now there are two stitches on the crochet hook.

6. Guide the thread around the needle with your left index finger.
7. Grasp the thread with the hook and pass it through both stitches.
Round crochet with half sticks
1. Now strike three air meshes.
2. Leave the last stitch on the needle.
3. Use your left index finger to wind the thread around the needle from back to front.

4. Pass the needle through the next stitch on the air ring.
5. Grasp the thread with the hook and guide it through the loop. Now there are three stitches on the needle.

6. Place the thread around the hook with your left index finger.
7. Grasp the thread with the hook and guide it through the three stitches.
8. Repeat steps 2 to 7 until you reach the last loop of the air mesh ring.

Close row with chain stitch
1. When you have arrived at the last loop of the airlock ring, leave the last stitch on the needle.
2. Now pass the needle directly through the next loop of the airlock ring without first winding the thread around it.
3. Grab the thread and guide it through the loop. Now there are two stitches on the needle.
4. Guide the thread around the crochet hook with your left index finger.

5. Grasp the thread with the hook and guide it through the two stitches. The series is now complete.
Crochet rows with half sticks
The next rows are basically crocheted just like the first one. The only difference is that starting with row two, there are only two air stitches at the beginning of the row. Then crochet with half sticks and finish the round with a chain stitch. How many rows follow depends on the width you want for the headband.
Perform color change
In order to create a cross stripe look, one can use different colors in the manufacture. It is best to change the color when you have finished a series. Leave the last stitch on the needle. Now put the other wool around your left hand and continue working with the new thread as usual. Cut off the other thread with the scissors and sew it with the needle on the back.

Highlight set
If your headband has reached the desired width and you have finished the last row with a chain stitch, you can set a highlight if necessary. Do not cut the thread directly at the last stitch, but only after about half a meter of length. Pull this remaining thread through the last stitch completely. Toss the headband slightly with your fingers and wrap the thread around the headband several times. Then sew the rest of the thread and cut off the remainder with scissors. If you have used several colors, be sure to sew all other threads before wrapping the thread around the headband.

Tip: The highlight also has the advantage that it can conceal the transitions between the rows.

Tips for quick readers:
- choose suitable wool
- Prepare materials
- Measure head circumference with tape measure
- Create a chain of aerial stitches
- Close the air mesh ring with a chain stitch
- Crochet several rows with half sticks
- Begin each row with air stitches
- Close each row with a chain stitch
- Cut off the remaining thread after about 50 cm
- Knuck headband
- Wrap the remaining thread
- Sew threads and cut