Embroider satin stitch - Embroidery instructions with pictures

- Embroider conventional satin stitch
- Embroider oblique satin stitch
- Embroider plaited satin stitch
The art of embroidery must be learned. At first glance, the difficult embroidery patterns are not that complicated at a closer look. This is also the case with the satin stitch - this is mostly used to finish embroidery pictures. Especially on precious fabrics such as silk or velvet this embroidery technique looks very noble. Instructions for embroidering the satin stitch in three variants can be found here.
Embroider conventional satin stitch
The satin stitch is ideal for surface embroidery. He offers numerous variations, with which you can design the subject in detail.
 1. Pierce the needle from the back to the front through the embroidery base
2. Leave about 3 cm of yarn for later sewing
3. Grasp the needle from the front
4. Guide the needle on the fabric by the desired width of the surface to the right and pierce
5. Guide the needle to the left by the same length on the reverse side of the fabric and pierce it forward a little at a time along the previous stitch.
Repeat this process until the desired area is covered with yarn.
Embroider oblique satin stitch
The oblique satin stitch is a variation of the conventional satin stitch. For floral patterns, it is often used to depict plant leaves to create a visual depth in the embroidery image.
 1. Mentally divide the surface to be embroidered into two equal halves
2. Pierce the needle at the outer edge of the surface from back to front through the embroidery base
3. Leave about 3 cm of yarn for later sewing
4. Grasp the needle from the front
5. Guide the needle diagonally to the centerline and prick it
 6. Return the needle by the same amount on the back side of the fabric and pierce it in front of the previous stitch
7. Repeat mirror-inverted on the other half
Another way to give the impression of spatial depth is to use two different shades for each of the right and left sides.
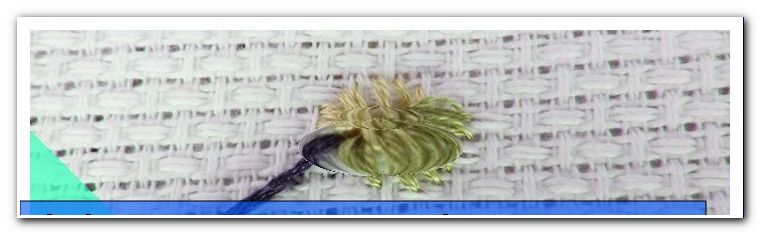
Embroider plaited satin stitch
The plaited satin stitch looks similar to the oblique satin stitch. However, the braided variant is more elaborate and therefore a bit more sophisticated in its execution. It gives structure to the embroidered surface and is therefore often used to depict closed flowers.
 1. Mentally divide the surface to be embroidered into two equal halves
2. Pierce the needle at the outer edge of the surface from back to front through the embroidery base
3. Leave about 3 cm of yarn for later sewing
4. Grasp the needle from the front
5. Guide the needle about one-third of the front of the needle diagonally across the center line and prick it

6. Guide the needle on the back side of the fabric to the opposite edge of the surface and, in addition to the previous stitch, slightly puncture it to the front
7. Grasp the needle from the front and repeat the same stitch from this side
Again, to enhance the depth effect, you can work on the right and left with two different shades of color. However, one should then work with two needles. In each case pierce the needles beyond the center line into the fabric ground. But then do not return the needle to the opposite side, but to the same side. Repeat this step alternately with one and then with the other needle.