Sew Smoken - Ruched Smoke Seam | Instructions for beginners

- Sew smock
- The material selection
- The amount of material
- Smoking sew with the machine
- version 1
- Variant 2
- Variant 3
- Variant 4
- My little extra
- Quick guide
My daughter is a typical girl: every tunic, every little dress, every skirt makes her a princess! After getting dressed, she always walks straight to the mirror to take a look and admire herself here. So of course, it is obvious that I always want to try new cuts and techniques to make it a special pleasure.
Recently I discovered a sweet little dress made of woven fabric when scrolling through relevant groups, which supposedly can be sewn on very easily and without a pattern . The trick is to sew on top with a stretchy, slightly thicker yarn. This technique is called " smoking " and is especially common in traditional sewing, especially in dirndls.
"I can do that, too", I thought and immediately set about finding all the materials I needed together. In addition, I have found some instructions and also spotted many videos. And here is my summary with everything I had to overcome obstacles and how it finally worked out. I may say so much: It is my daughter's new favorite dress!
Sew smock
Difficulty level 1-3 / 5
(depending on sewing machine type and applied sewing technique, sometimes some practice is required)
Material costs 1/5
(depending on fabric selection and project / quantity between 0, - Euro from the remaining utilization and 18, - Euro)
Time 1-3 / 5
(depending on sewing machine type and applied sewing technique between 20 and 60 minutes)
The material selection
Really exciting is the Smoken sew so straight with non-stretchable fabrics, as this "made it stretchable". I chose a so-called "Broderie fabric". This is a fine woven fabric with hole embroidery.

In my case, he is not pure white, but off-white or ecru. In addition, I need normal sewing thread for the sewing machine and a spool Elastic sewing thread.

There are, for example, here in several colors:
PRYM elastic sewing thread 0, 5 mm, 20 m.
The amount of material
The amount of material and the pattern
A proper pattern is there for the dress when Smoken sew, as I said, not. The required width can not be determined so easily. For a children's dress but it should be at least 110 cm width. I took a fabric width of 120 cm, because my little mouse needs a little more scope.

After sewing the fabric, the fabric width can then be adjusted directly to the child. In the length enough for my mouse 50 cm including seam and hem additions.
First, I iron the top edge of the fabric twice about 1 cm inside ...

... and stitch them with a simple straight stitch.

I like to iron it over again, so that the seam is flat.

Smoking sew with the machine
First, I want to show the Smoken sewing with the sewing machine.
version 1
To do this, it is recommended to wind the elastic thread by hand under light tension on the lower bobbin.

If you want to sew several webs, the reel should be wrapped as fully as possible. In the case of a Smoke seam, the elastic thread must not end in the middle of the seam, otherwise the effect can not be realized. The seam would then have to be separated again and completely re-sewn.
TIP: For a slight rippling - for example under the breast - a single Smoknaht may be sufficient depending on the pattern. In most cases, however, as with my dress, several seams are needed side by side.
IMPORTANT:
Now set the thread tension of your sewing machine to the lowest level.

How to do this is described differently for each machine and in the operating instructions. In addition, I set a larger stitch length of at least 4 mm. I first test the seam on a test piece.

First, sew only 2-3 stitches, keeping the beginning of the rubber thread firmly in place. Then pause with the presser foot lowered and knot the elastic thread with the sewing thread at the back. Then sew with slight stretching of the rubber thread. It should be stretched so far that the fabric rests smoothly when sewing. At the end, knot both threads together again so that the resulting gathering does not dissolve.
The result on the sample looks pretty good.

Unfortunately, it did not work so well on a longer route, so I had to remove the Smoke seam again. After some research I found out that it is in the newer machines, in which the coils are inserted (as mine) from above ...

... occasionally not working so smoky. Models where the sub-coil is first inserted in a metal case and then inserted into the machine, should play better here.
Variant 2
Fortunately, there is another way to smock with the sewing machine. This is a bit more involved and may take some time to practice. First, I set the thread tension back to normal.

Then I imagine a zig-zag stitch with at least 2 mm in length and width. At the beginning it is certainly easier to set the width even more generously with 4 mm.

In the sub-spool is normal sewing thread . Now I lay the elastic thread on the fabric and fix it at the beginning with some stitches. Then I put the rubber thread in the middle of my sewing feet and sew carefully so that the needle always pierces right and left of it in the fabric.

CAUTION:
The elastic thread must not be hit by the needle over the entire seam length, otherwise the smoke effect will not work!
The finished seam should look like this.

Finally, the rubber thread is pulled until the desired effect is achieved and the end well knotted.
Variant 3
There is still a little helper to achieve the same effect. The so-called curling ribbon, ...

... that exists here, for example: crimping tape 32 mm.
The tape is simply quilted flat on the left side of the fabric and then pulled at the same time on all threads. The only drawback: This variant is quite stubborn and unsuitable for my purposes. I would use this technique rather than cuffs on skirt parts.
In any case, the Smoke seam should look something like this in all three variants.

Variant 4
If all the ropes (or threads in our case) break and it just does not work out, there's another way to save hand sewing, at least in part.
Use the sewing machine with normal upper and lower thread to sew a zigzag stitch of at least 2 mm length and width. Sew on beginning and end.

Then thread the elastic thread through the individual diagonal threads by hand with a rounded hand needle.

Finally, all elastic threads are pulled together at the same time to achieve the Smokeffekt .

For the right effect I need with my dress, as already mentioned, several Smoknähte side by side. Since my daughter is only two years young, I have decided for 4 seams at a distance of about 1.5 cm. For older children, I would add stitches.

Now is the time to measure the size of the child. The dress should not be too loose, so it can be adjusted slightly stretched. For me, it's nice with the seam allowances and so I sew together the two sides with about 1 cm seam allowance with a Dreifachgeradstich together. It can also be sewn with a simple straight stitch, but I have chosen the threefold to better secure the rubber bands.

The open edges are neither beautiful nor particularly stable, as they fray. That's why I sew each of the two fabric edges with a rough zig-zag stitch.

For the bottom hem I use the overlock for a nice, straight and clean finish.

TIP: I iron once over the seam, then lay the threads nice and flat.

I cut this edge by about 1 cm and iron a beautiful conclusion, then again about 2 cm. Here I iron again and fix the new outer edge with Wonderclips (also pins work).

The hem I now steppe with a simple straight stitch and iron again about it.
And already my summer dress is ready.

My little extra
Since my little princess is always bustling around, I have decided to put on carriers. I could also sew these out of woven fabric, adjust them in length or leave them open for binding upwards. I have decided here for a narrow rubber band, as it is known by Trägerleibchen and simply sewn two pieces of it in the appropriate length by hand "invisible". If you also want to sew on straps, you can also do this with the sewing machine.
Is not she adorable "> 
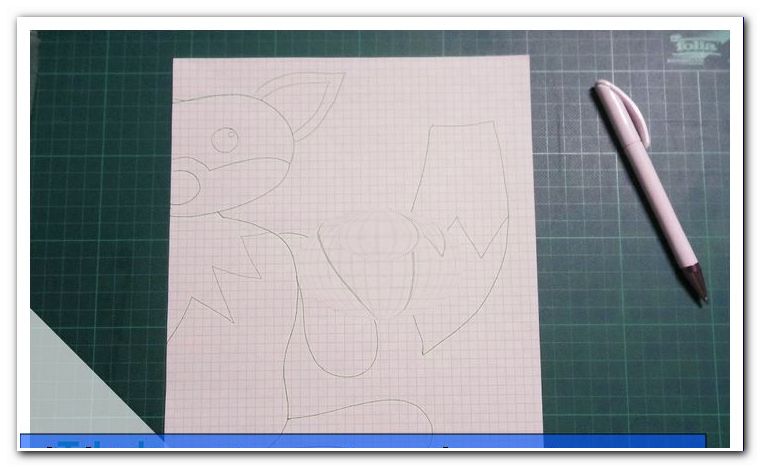
The twisted pirate
Quick guide
01. Select fabric, get elastic band and, if necessary, wind by hand.
02. Set length and width for the fabric.
03. Pass in top edge twice and topstitch.
04. Sew on the smock seams and pull if necessary.
05. Adjust circumference of the child and close the seam.
06. Overcast seam allowances.
07. Hemming.
08. Attach brackets as desired.
09. Dress and feel like a princess!
10. Done.