Crochet mushroom | Instructions | Crochet Amigurumi fly agaric

- Crochet mushroom
- Crochet fly agaric - Instructions
- Crochet chanterelle - instructions
- Crochet boletus - Instructions
Autumn is the time of the mushrooms. Even though some varieties beguile us with their taste earlier in the year, mushrooms definitely belong to the autumn decoration. Learn how to make different mushrooms using the Amigurumi technique yourself.
Crocheting a mushroom is a wonderful project for newbies in the world of Amigurumi. Due to the simple shape and the small size, toadstool, chanterelle and porcini are slightly crocheted and ready to go. Advanced dare to make a whole basket full. In addition to a pretty decoration, the mushrooms also make great toys for children. They make great in every shop or at the market stall.
Note: Amigurumi are usually crocheted in spiral rounds. Unless otherwise stated, the rounds always consist of tight stitches.
Crochet mushroom
Crochet fly agaric - Instructions
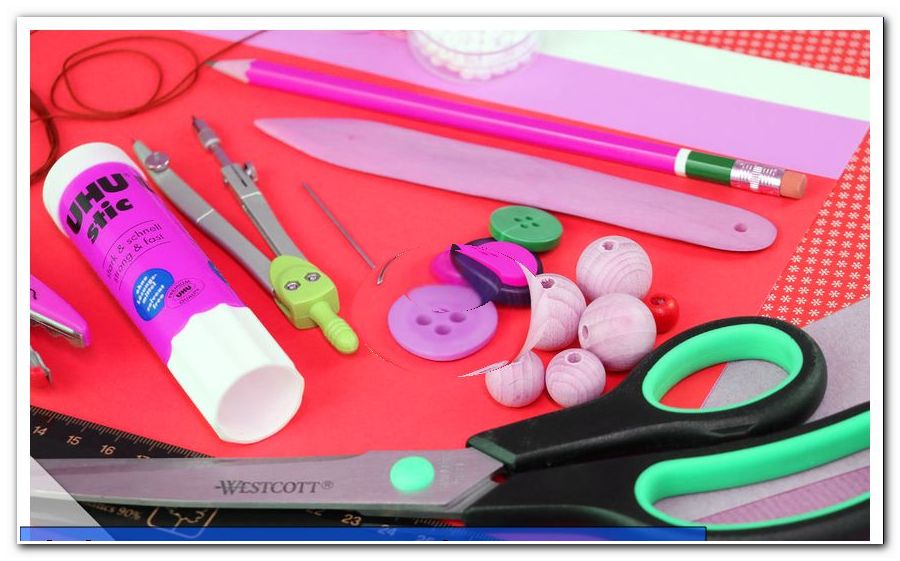
Material:
- Yarn in red and white
- matching crochet hook
- wool needle
- white embroidery thread
- embroidery needle
- filling material

We use a classic cotton yarn for amigurumi to crochet mushrooms. With a running length of 125 m to 50 g, a crochet hook size 3.5 fits perfectly. With this material, the mushroom grows to a size of 8 cm. If you use thicker yarn, you will get a bigger toadstool.
Prior knowledge:
- thread ring
- strong stitches
- stitches
- slip stitch
- spiral laps
1st round: We start crocheting the hat for this mushroom. Take the red yarn and make a thread ring with 6 fixed stitches.

Note: In brackets you will find the total number of stitches at the end of each turn.
2nd round: Double every stitch. (12)

3rd & 4th round: crochet 12 stitches in a round.
5th round: Double every 2nd stitch. (18)

Round 6: Double every 3rd stitch. (24)
Round 7: Make a tight stitch in each stitch. (24)
Round 8: Double every 2nd stitch. (48)
9th & 10th round: Crochet a single crochet stitch into each stitch. (48)

Last, do a warp stitch. Cut the thread and pull it through the last stitch. Sew the thread on the underside.
Now pick up the white embroidery thread and the embroidery needle. Pierce at any point from bottom to top through the hat. Embroider around a stitch several times. With more stitches the point gets bigger, with less stitches it gets smaller. Walk from one point to the next on the underside of the hat. Spread the dots over the hat as you like. Cut the thread at the end and knot the end with the starting thread. The underside of the hat will not be seen later.

We crochet the stem for the mushroom. Take the white yarn for that. The first round is again a thread ring with 6 fixed stitches.

2nd round: Double every stitch. (12)
3rd round: Double every 2nd stitch. (18)

4th - 7th round: Crochet a single crochet stitch into each stitch. (18)
Round 8: Summarize every 5th and 6th stitch. (15)
9th round: In each stitch comes a tight stitch. (15)
Round 10: Summarize every 4th and 5th stitch. (12)
11th & 12th round: Keep the 12 stitches per round. (12)

Round 13: In this round we provide our fly agaric with a small wreath around the stem. Crochet three air stitches and fix them with a warp stitch in the outer stitch of the preliminary round.

Round 14: Now work each time into the inner mesh member from the 12th round a fixed stitch. (12)

15th - 17th round: In these rounds, you work normal normal stitches again. (12)

Round 18: Double every stitch. (24)
19th round: Double every 2nd stitch. (36)

Round 20: This round is crocheted in red. Work a tight stitch in each stitch. (36)
Cut the thread generously and pull it through the last stitch. Plug the stalk with your filling material. Be generous, so that a little bit of filling material protrudes into the hat later. In itself, the hat is very stable and retains its shape even without filling.

Now sew the two items together to form an amigurumi. For this you use the wool needle and the protruding thread from the stalk. Sew the red round of the stem around the bottom of the hat. Now your toadstool is ready.

Crochet chanterelle - instructions
Of all the three proposed, you are sure to crochet this mushroom the fastest. Also, the cost of materials is lowest at the chanterelle. With our cotton yarn (125 m / 50 g), the chanterelle grows to a good 4 cm.
Material: [30]
- Crochet yarn in ocher
- matching crochet hook
- wool needle
Prior knowledge:
- thread ring
- spiral laps
- half sticks
Start with a thread ring with 6 fixed stitches. Continue to crochet the mushroom with the following rounds:
2nd - 9th round: In each stitch comes a tight stitch. (6)

Round 10: Double each stitch. (12)
Round 11: Crochet 2 half sticks into each stitch. (24)
Round 12: Now come in every 2nd stitch 2 half sticks. (36)

Cut the thread, pull it through the last stitch and sew it to the bottom of the hat. Your amigurumi chanterelle is already done.

Crochet boletus - Instructions
The third in the league is the porcini mushroom. For this mushroom you also crochet your hat and stalk separately.
Material: [32]
- Yarn in light brown and dark brown
- matching crochet hook
- wool needle
- stuffing
Again we used 100% cotton yarn. This makes the mushroom about 6 cm high.
Tip: Wool residues are also suitable as filling material for an amigurumi.
Prior knowledge:
- thread ring
- spiral laps
We start again with the hat. He is crocheted with the dark brown yarn. A thread ring with 6 fixed stitches is the 1st round.
2nd round: Double every stitch. (12)

3rd & 4th round: Crochet a tight stitch into each stitch. (12)
5th round: Double every 2nd stitch. (18)
Round 6: Double every 3rd stitch. (24)

Round 7: Retain the 24 stitches. (24)
Round 8: Double every 4th stitch. (30)

Finish the hat with a chain stitch. Pull the cut thread through the last stitch and sew it to the bottom of the hat.
The handle also starts with a thread ring with 6 fixed loops in light brown.

2nd round: Double all stitches. (12)
3rd round: Double every 2nd stitch. (18)
4th - 6th round: In each stitch comes a tight stitch. (18)
Round 7: Summarize every 5th and 6th stitch. (15)
Round 8: Summarize every 4th and 5th stitch. (12)
9th & 10th round: There is a fixed stitch in each stitch. (12)
Round 11: Double all stitches. (24)

Round 12: Pick up the dark brown yarn. Work one final round, doubling every 4th stitch. (30)

Now the stalk is ready. Cut the thread generously at the end and pull it through the last stitch. Plug the stalk with your filling material.

Finally, sew the hat on the stalk. To do this, pierce each through a stitch of the stem and the inner mesh member from the last round of the hat. Jump in alternately from inside to outside and from outside to inside. If you have sewed half a round, also stuff the hat with filling material. At the end, sergify the thread.

If you like the shape of the boletus better than the fly agaric, you can also crochet this shape in white and red. For an authentic toadstool the hat must be embroidered with white dots before sewing.