Painting the kitchen - instructions and tips for new kitchen walls
- Before painting
- Materials and utensils
- Paint kitchen: a guide
The kitchen walls are among the most heavily used walls within their own four walls. Fat, leftovers, steam and all sorts of other dirt can quickly make your kitchen look unsightly. Since it is desirable to delete the kitchen and thereby bring a fresh touch in the apartment. This project is often easier than expected.
Whether you want to give your kitchen a new coat of paint or shine the kitchen walls in a completely new color, for example a blue, the effort is always the same. The painting of the kitchen is for many people to the unpleasant work in the house, since the walls can often be splashed or the walls have become extremely dark due to the steam. It is not so difficult to paint the kitchen, as the process itself works as with any other wall. It will only be difficult if the kitchen does not have a glass or tile mirror.
Before painting
Before you paint the kitchen, you need to pay attention to a few things that will make the whole process much easier, avoiding unsightly stains, and ensuring an opaque result, even with colored paints. Of particular importance here are the condition of the walls, the type of paint applied so far and the equipment of the kitchen in general. The following points have to be considered:
1. Missing glass or tile mirror: If this "mirror" is missing around the hob, it will inevitably lead to heavy soiling due to splashing grease and other food particles. If this is the case, you must first clean this part of the kitchen wall before you can start painting. There are numerous home remedies and procedures, without you have to immediately remove the entire wallpaper and re-stick.
2. Old Lime Paint: Rub over your wall once before painting and check if there is a white coating on your fingers. If yes, this is old lime paint that is chalking and can not be painted over with a new color. Prepare them first with a root brush and then provide a primer of deep ground, so that the wall takes the color at all.
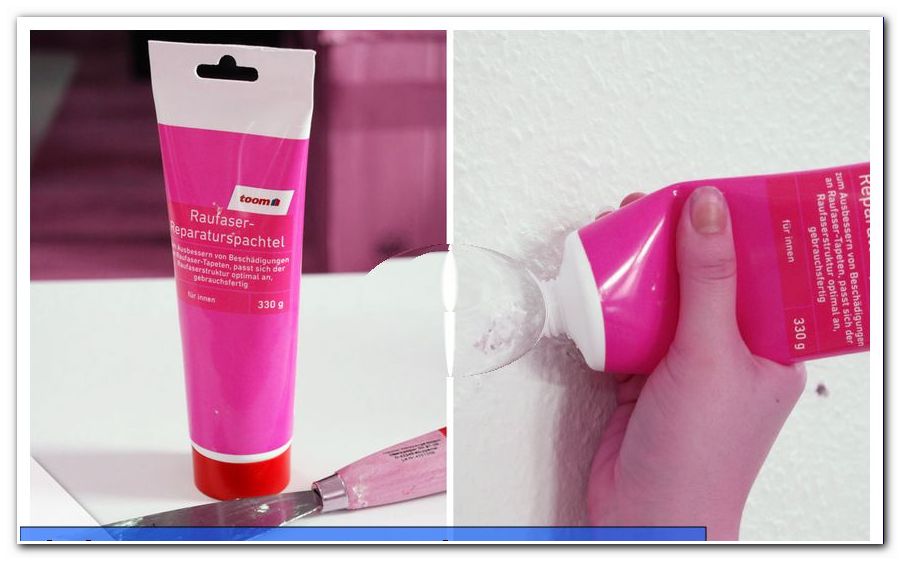
3. Holes or bumps: Likewise, you should use Tiefengrund as soon as there are holes, scratches or other bumps in the wall. Tiefengrund compensates for the bumps and provides the necessary evenness for painting the kitchen walls.
4. Underground: the surface of the walls can become saturated with grease and moisture over the years and thereby crumble away and the new color can no longer be properly absorbed. Depending on the type of plaster used, it can also happen that they absorb the paint too quickly, resulting in irregular results when painting. If so, you should do the following:
- Remove excess grease or moisture from the wall
- Depending on the condition, roughen or sand and then wallpaper
5. Dowels: Plug dowel holes with ready-mixed mortar. Dowels should be removed with a pair of pliers before painting. To do this, screw a suitable screw into the dowel until it is firmly in place. Use a pair of pliers to grasp the screw head and pull it out with the dowel. Then stuff the hole.
Here are some different ways you can remove fixed dowels from the wall: Remove dowels
Depending on how old your kitchen is and the last painting done, the worse the condition of your kitchen walls can be. In many cases, however, it is usually sufficient to remove grease stains in order to be able to paint the kitchen.
Tip: Before painting, make sure that mold has formed somewhere. This must be removed before painting, in some cases even by a specialist, in order to prevent illnesses and building damage.
Materials and utensils
Now that you have checked and prepared your walls, all you need now is the right tools and utensils to paint. These would be:
- Paint roller depending on the number of participants and in different sizes
- Lammfellrollen are best suited for this purpose
- Teleskobstab
- Ersatzrollen
- grates
- Paintbrush in different sizes
- enough masking tape
- Painting foil: should cover the entire kitchen floor and the cabinets and appliances
- Wall paint

When choosing sizes for paint rollers and brushes, you should first check your kitchen. If you have large walls that are free standing and need a lot of paint, big wheels are especially good. For small kitchens with many gaps, you should use smaller sizes, including the brushes. Important for the kitchen is also the right color. These are selected as follows:
1. Normal wall color: You should use conventional wall paint exclusively if your kitchen has a tile mirror and the free wall surfaces are not in the immediate vicinity of the stove.
2. Latex Colors: Latex-based inks should be used as soon as there is no tile level or high humidity in your kitchen. Latex paints are durable, temperature and moisture resistant and can be wiped wet.
3. Wet room color : There are also numerous colors in the trade, which are specially provided for kitchen and bathroom with a film protection. This is to prevent the formation of mold even more. Manufacturers are for example Alpina, Baufix or Jaeger.
When selecting the color, make sure that it has a high quality. Good colors are more productive and improve the painting result immensely. Especially with latex paints the quality has to be right as they contain more natural ingredients. The necessary amount of color as follows:
- 170 ml of paint for about 1 m² wall area
- 10 l paint for about 60 m² wall surface
- Raubasert wallpaper needs significantly more color
Paint kitchen: a guide
After you have prepared everything, it can now go to painting:
Step 1: Remove portable items that are not permanently installed from the kitchen. Lay the painter foil so that it rests against the floor strips and fix it with masking tape. Likewise, you cover all surfaces in the kitchen, which lie on the appropriate wall. Fix the foil here with masking tape. Do not forget to mask the sockets, door frames and light switches with masking tape so that they are not accidentally painted.
Step 2: Open the paint bucket and stir thoroughly to avoid lumps. If you use a special paint that needs to be mixed beforehand, please refer to the manufacturer's instructions. Mostly the mixing ratio is stated on the packaging.
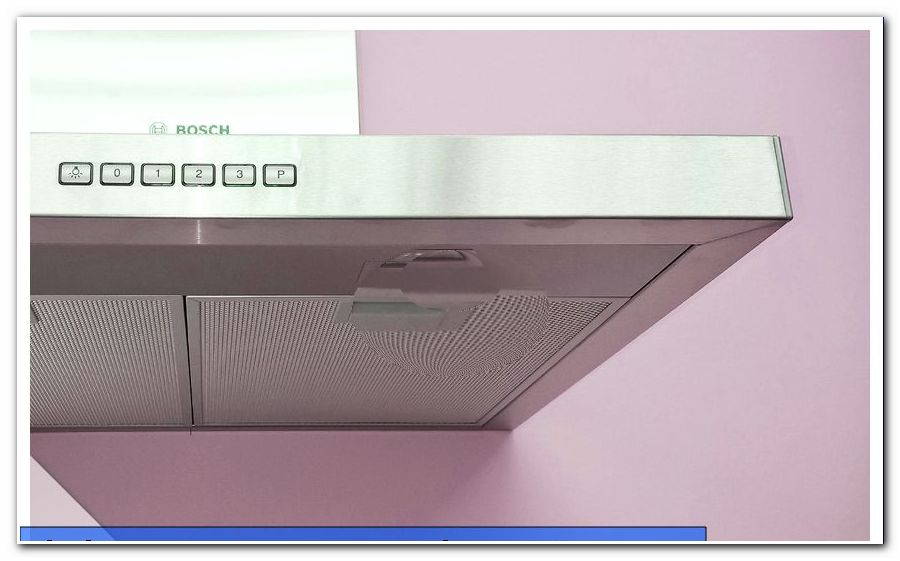
Step 3: Begin by painting the corners and spaces in the kitchen. This includes not only the visible corners of the room, but also places like the wall around the sockets or the extractor hood. This will save you a lot of work and you will not have to pay too much attention to these points afterwards. Select brushes that are suitable for the respective corners and spaces.
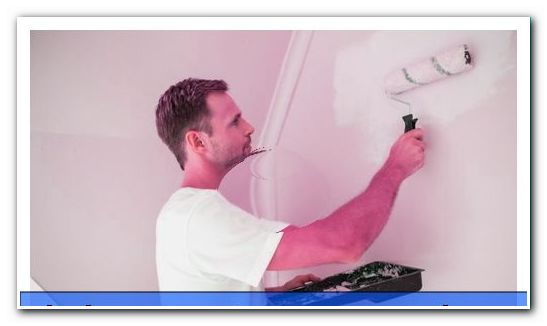
Step 4: Now switch to a paint roller and start painting the large walls in the cloister.
Step 5: To do this, dip the roller in the paint bucket, pull it off so that you do not drip too much paint, and stroke evenly from top to bottom. Be careful here to avoid stains.
Step 6: Then swipe from right to left or vice versa over the previously applied color. Make sure that the paint is still wet. This allows the kitchen walls to absorb more color, resulting in an optimal result. For this reason, it may be necessary to first stroke individual areas of the wall one after the other so that they do not dry too quickly.
Note: Raubasert wallpaper are also gradually painted in individual areas, but without a system. Since the woodchip wallpaper does not allow a straight coat, you have to paint them criss-cross. Be sure to use plenty of color.
Step 7: Continue until all walls have been painted. Help in difficult areas with a brush in the appropriate size. Drops of paint that go wrong while wiping with a damp cloth.
Step 8: Wait to remove the film until you are satisfied with the result. As soon as some areas have to be repaired, this can be carried out without danger of splattering.
Step 9: Then let the walls dry, remove the foil and clean away the paint drops that have gone missing.