Knit Semi-Patent - DIY Guide

- material list
- preparation
- Instructions for the stitches
- Knit right edge stitch
- Attach left edge stitch
- Knit right-hand stitch
- Knit left stitch
- Remove the stitch with the envelope
- Knit the stitch with the envelope on the right
- Knitt the stitch on the right
- Knit stitches on the left side
- Instructions for the knitting pattern
- ... with envelopes
- ... with deeply stitched stitches
With self-knitted jumpers, scarves and hats give the outfit an individual touch or give a child to birth a homemade teddy bear: Who can knit, always finds occasions to let his creativity run wild. Frequently, the half patent is used, which has a rib pattern in its structure.
In order to make knitted objects modern and interesting, DIY fans will find many different knitting patterns available. The half-patent is a particularly popular variant. It looks pretty and is easy to make even for beginners. But how exactly do you do it "> Material list
You need:

- two knitting needles (about 8 Euro)
- knitting wool
- scissors
- needle
The two knitting needles should be the same size and width. In haberdashery you can buy them in a double pack. For some projects, the use of a circular needle is ideal. Be sure to use needles that are suitable for the wool. As a rule, the manufacturers indicate their recommendation regarding the size of the needle on the wool label.
The prices for the wool vary partly very strong. A price comparison of various offers is usually worthwhile. If you are not sure whether the wool is suitable for your project, consult the specialist shop.
preparation
1. Suggest the desired mesh size. For the knitting pattern to work, you should assume an odd number.
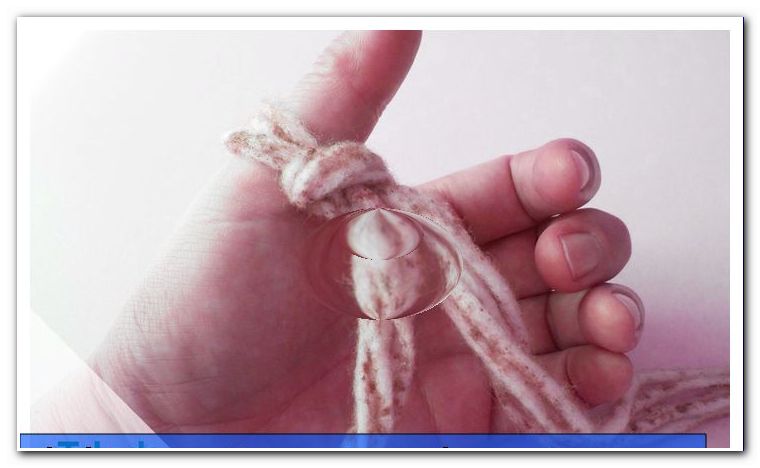
2. Thread the thread around the left hand. To do this, first guide it from the little finger over the back of the hand, then past the index finger clockwise around the thumb. From there, lay the thread between your index and middle fingers.

Make sure that the end of the thread is long enough to complete the stitching.
3. Now hold the needles together with your right hand. Between thumb and forefinger, the thread has formed a cross. Lead the needles through the loop from the bottom right to the side of the thumb. Then, with the needles above the point where the thread intersects, grab the thread to the left of your forefinger and pull it through the loop. Below the resulting mesh, a knot has formed. Tighten it and repeat this process until the desired number of stitches are on the needles.

4. Carefully pull one of the needles out of the stitch chain.
Instructions for the stitches
To knit the half-patent, use the following steps:
Knit right edge stitch
1. Pass the right needle through the loop on the back of the left.
2. Grasp the thread with the needle.
3. Pass the thread through the loop.

Attach left edge stitch
1. Lay the thread forward of the last stitch.
2. Put the last stitch behind the thread on the right needle.

Knit right-hand stitch
1. Place the right needle under the loop and feed it from left to right through the loop.
2. Thread the thread around the right needle.
3. Pass the thread through the loop.

Knit left stitch
1. Lay the thread in front of the stitch.
2. Guide the needle through the loop from right to left.
3. Grasp the thread with the needle.
4. Pass the thread through the loop.

Remove the stitch with the envelope
1. Lay the thread in front of the stitch.
2. Guide the needle through the loop from right to left.
3. DO NOT grasp the thread with the needle but slide the unstretched stitch from the left to the right needle.

Knit the stitch with the envelope on the right
1. Place the right needle under the loop and feed it from left to right through the loop. In this way, the needle automatically grips the envelope.
2. Thread the thread around the right needle.
3. Pass the thread through the loop to the front.

Knitt the stitch on the right
1. Place the right knitting needle below the next stitch on the already knitted stitch.
2. Pass the knitting needle through already knitted stitch.
3. Pass the thread around the needle.
4. Pass the thread through the loop.

Knit stitches on the left side
1. Lay the thread forward with your left index finger in front of the stitch.
2. Pass the right knitting needle below the next stitch through the already knitted stitch from right to left.
3. Grasp the thread with the needle.
4. Pass the thread with the needle through the loop.
Instructions for the knitting pattern
... with envelopes

First row
1. Knit right edge stitch
2. lift off a stitch with the flap on the left
3. Knit one stitch to the right
4. Repeat steps 2 and 3 to the penultimate stitch
5. lift off a stitch with the flap on the left
6. Attach left edge stitch
Second row
1. Knit right edge stitch
2. Knit a stitch with the envelope on the right
3. Knit one stitch left
4. Repeat steps 2 and 3 to the penultimate stitch
5. Knit a stitch with the envelope on the right
6. Attach left edge stitch
... with deeply stitched stitches

First row
1. Knit right edge stitch
2. Knit one stitch left
3. Knit one stitch to the right
4. Repeat steps 2 and 3 to the penultimate stitch
5. Knit one stitch left
6. Attach left edge stitch
Second row
1. Knit off right edge stitch
2. Knit a stitch deep stitched right
3. knit a stitch on the left side
4. Repeat steps 2 and 3 to the penultimate stitch
5. Knit one stitch deep stitched right
6. Attach left edge stitch
Repeat steps A and B for both variants alternately.