Knit Dragon's Tail - Beginner's Guide to a Dragon's Scarf

- Material and preparation
- Basics
- edge stitches
- Double stitches
- hole pattern
- Knitting Pattern - Dragon Scarf
- Stop and first spike
- Second spike
- More spikes
- Bind off and sew on
- Tighten
- Quick start Guide
- Possible variations
Dragon scarves are trendy. In this knitting instruction for beginners you will learn how the decorative spikes arise. Our dragon tail comes with chic stripes and a pretty lace pattern.
A dragon scarf is bent and becomes narrower towards the ends. The outer edge is jagged. That seems like magic to you "> Material and preparation
For a striped dragon's tail you need about 200g of wool. To make the scarf pleasantly warm, you should use yarn made from natural fibers. For this knitting pattern we have processed pure new wool with a length of 80 m per 50 g. Any yarn of similar strength can be used without hesitation. Only wool with very soft fibers (for example cashmere) is unsuitable, because the spikes do not come into their own. Also choose a good washable yarn so you can enjoy your dragon scarf for a long time. For the required material you should budget about 20 EUR.
The banderole of your yarn gives you tips on the right needle size. We used a circular needles in strength five. In this project, you can do without a stitch test because the dragon's tail does not depend on the exact size. This knitting pattern also gives you instructions on how to adjust the length and width of your scarf.
This knitting instruction for beginners explains all the techniques to be able to work on the dragon scarf. Only knit stitches and bind off and knit right and left you should already dominate. See the "Possible Variations" section for more on how to simplify the project if it seems too difficult.
You need this for a dragon scarf:
- 200 g of wool with a length of about 80 m per 50 g in two colors (100 g each per color)
- 1 circular needle
- 1 darning needle

Tip: Although the dragon tail is knitted in rows, we used a circular needle. At the widest point, the scarf is made of many stitches that would not fit on normal needles. Apply as usual at the end of each row.
Basics
edge stitches
A kite edge is knitted so that the dragon scarf receives beautiful edges. To do this, push the first stitch in each row onto the right needle without knitting it. You lay the thread before the work. The last stitch before the turn you always knit right. This creates a border that looks like a chain. Each link goes over two rows.

Double stitches
For a dragon scarf to widen, stitches need to be doubled. Initially knit the stitch as normal, but do not allow the limb from the left needle to slide down. Insert it again in the back, but in the back instead of the front, and knit the stitch. This is called an entangled mesh. You now have a stitch on the needle by double knitting.
hole pattern

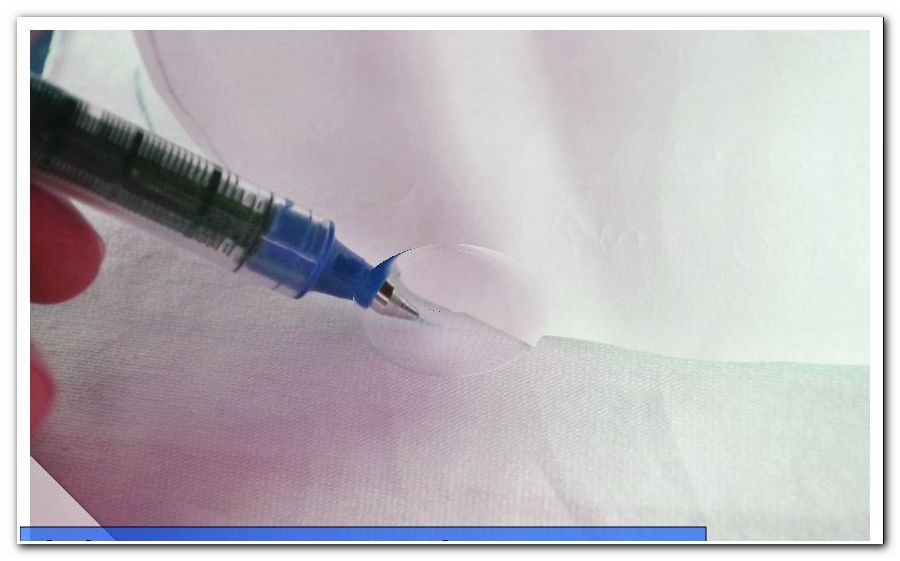
The dragon scarf is interspersed by decorative patterns of lace, which can also easily beginner beginners. The holes are created by envelopes. To do this, place the wool once over the right needle from the front to the back. The red thread in the photo shows you how the yarn has to go. The envelope is knitted normally in the next row. To keep the number of stitches the same, knit two together after each turn. To do so, stick in both stitches at the same time and knit as a stitch.

To knit the lace pattern: Knit 1 edge stitch, 1 turn-up, 2 stitches to the right, repeat everything except the edge stitch to the end of the row, 1 edge stitch
Tip: If you have an odd number of stitches on the needle, only one stitch remains in front of the edge stitch after the last turn. In this case, knit the penultimate stitch and the edge stitch together.
Knitting Pattern - Dragon Scarf
Stop and first spike
Knit six stitches and knit nine rows according to the following scheme. Row of rows is called all rows of odd number (that is, the first, third, fifth and so on row of the piece of knitting). As you knit a row, look at the front of the dragon's scarf. The opposite is the back row.

Front row: 1 edge stitch, double 1 st on the right, knit 1 stitch on the right, double 1 stitch on the right, knit the remaining stitches on the right, 1 edge stitch
Back row: 1 edge stitch, knit all stitches left, 1 edge stitch
At the beginning of the tenth row, chain five stitches and continue working like a normal back row. This is the first point of your dragon tail finished!

Second spike
At the beginning of the second point, knit a row in the hole pattern. Then change the yarn and continue knitting with your second color.
Tip: Knot the two threads tightly together and allow enough wool to be cut over to be able to sew them invisible later.
The next row is a back row. They now knit the left and right stitches in reverse to the first point. As a result, the nodules are on the front of the dragon's tail. In the photo you can see how the knit pattern differs for the two colors. Knit up to and including the 20th row from the stop according to the scheme below. In the 20th row, then chain the first five stitches. This creates the second tine.
Front row: Edge stitch, double 1 st in left, knit 1 st in left, double 1 st in left, knit remaining st in left, 1 edge st
Back row: 1 edge stitch, knit all stitches on the right, 1 edge stitch
Tip: Do not worry if the dragon scarf goes awry. This will be fixed later by tightening the knit.
More spikes
Work a hole pattern series. Then change the color and knit the third point like the first one.
Tip: Always knit the row right after the color change. As a result, the ugly two-tone stitches you see in the photo are on the back of the dragon's scarf.

After another pattern of hole patterns and a color change follows the fourth point, which is knitted like the second one.
All odd-numbered knits will knit like the first and the two in between. Each spike starts with a row in the lace pattern. Immediately afterwards change the color. To complete the first four spikes, you have previously chained off five stitches each. Your dragon's tail has become wider and wider. At the following points, you chain different mesh numbers:
- 4 x 6 mesh
If the scarf seems too narrow, chain six times more than four times before proceeding with the rest of the scheme. If the scarf is too wide, you start earlier with more decreases.
- 1 x 7 stitches
- 1 x 8 stitches
- 1 x 9 stitches
- 6 x 10 mesh
So far, the dragon scarf has become wider and wider. As long as you always tie off ten stitches, it stays at its maximum width. You can now vary the length by taking ten or fewer stitches less than six times. As you proceed with the scheme, the dragon's tail narrows again.
- 1 x 12 stitches
- 1 x 14 stitches
- 1 x 16 mesh
- 1 x 18 mesh
- 1 x 20 mesh
- 1 x 22 mesh
Bind off and sew on
After the last point, knit another two rows without doubling stitches. Then chain the dragon's tail and sew all the threads on the back. Now the scarf is ready knitted. But he does not have to curl up and make sure that the spikes come into their own.

Tighten
First, soak the dragon scarf in water for a few minutes until the fibers are completely soaked. Carefully wring it out and place it on a soft surface. Form the curvature of the dragon's tail later.

Tip: Well suited is a foam mat for children, as you can see in the photo. But it also works with sleeping pads, cork boards or discarded mattresses.
Now attach the dragon's tail with pins, thumbtacks or similar. Make sure that the fabric is stretched tight. Pull each point individually outwards and fix it with one needle each. Also fasten the inner edge of the scarf in several places.

Let the dragon scarf stretch for several days until it is completely dry. If you then loosen the needles, the knit is nice and smooth and ready for fitting.

Tip: If you wash your dragon's tail, it can curl up when you dry it. In this case, re-tension it.

Quick start Guide
1. Cast on six stitches and knit nine rows on the right side. Increase two stitches in each row.
2. At the beginning of the tenth row, bind off five stitches for the first point, then knit a number of lace patterns.
3. Change the color and knit the second point with the knot side forward.
4. Continue with this procedure, while continuing to chain off more stitches until only a few remain on the needle.
5. Bind off and tighten the dragon's tail.
Possible variations
1. If you are a beginner and find this knitting pattern too difficult for you, you can simplify the dragon's tail as follows: Knit only right-hand stitches in each row. Do not use the hole pattern and the color changes. If you want your scarf to be multicolored, mottled wool or a gradient yarn is a good alternative.
2. As a skilled knitter, you can vary the width and number of prongs. For example, start the dragon scarf with ten stitches for a wider start, or knit 15 rows each before bowing for a greater distance between the prongs.
3. Decorate your dragon's tail with fringes on each tine. Cut off a piece of wool and thread it through the fabric twice with a darning needle to form a loop. Through this you pull the two thread ends.

They are looking for other guides for great knit scarves "> Patterned scarf