Ink pad and stamping ink made by yourself

- Material and preparation
- Cost of own stamp pad
- Make different stamp pads
- 1. Plan the size
- 2. buffer - sponge
- 2.1. Disposable ink pad
- 3. Test run and padding
- Stir stamp colors
- 1. Mix glycerin
- 2. Add ingredients
- 3. Make color durable
- 4. Test run of the color strength
If you make and decorate a lot, you would often like to have different stamping colors and stamps of different sizes. But the ink pads in the trade are usually just in three different colors and the size is also very limited. However, you can make stamp pads relatively easily yourself. Also beautiful colorful stamping colors can be quickly produced for your own ink pad.
To make stamping inks and stamp pads yourself, you only need a few cheap ingredients. However, the variety of colors and sizes that you achieve with it is enormous. Whether you want to put a stamp in a self-selected color on your stationery or whether you want to decorate the walls with an acrylic color from the own stamp set, the range is almost infinite. You also have the choice between ink pads that can be used only for a few prints and pillows that can last years. In the instructions for these exciting ink pads and varied colors you can see how it is done exactly.
Material and preparation
You need this:
- spatula
- stamp
- mixing bowl
- whisk
- Wooden spoon small
- bread knife
- Box / box can be closed
- acrylic paint
- glycerin
- Gum arabic
- color pigments
- household sponges
- nylon stocking
- paper towels
- Preservative / Vitamin C powder
- wet facial tissues
Cost of own stamp pad
In most cases, a self-made ink pad will lag far behind the prices of industrially manufactured products. If you work with sponges as a stamp buffer, you get in the relevant one-euro shops sometimes more than ten pieces for one euro. When mixing durable stamping inks, glycerol will be the largest item. But you only need a little glycerine or gum arabic for a color mixture.
- Glycerine 500 milliliters - from about 12, 00 Euro
- Sponges 10 pieces - from 1, 00 Euro
- Gum arabic 45 grams - from 3, 00 Euro
- Color pigments test set - from 3, 00 Euro

Tip: For the color pigments, it may be desirable to use natural pigments, but it is hardly necessary. If you order a test package with different colors, you can get a whole range of color pigments particularly cheaply. Since you only need about five grams for a color mix, you will come across a whole range of stamping inks with such a set.
Make different stamp pads
With our instructions, you can tinker any size of ink pad very quickly and cheaply.
1. Plan the size
Depending on what type of stamp you want to use, the ink pad should be in a different sized bowl. Suitable for this are food containers from the kitchen. Above all, because they can be sealed airtight and so the moisture can not evaporate. Of course, if you want to use a large self-carved stamp for the walls or furniture, it must be a much larger can.
Tip: Try to make sure that each of the stamps you want to use really fits in the box. If you have to fumble at the job with every stamp print to get the stamp in the color, the mood does not get better.
2. buffer - sponge
With a stamp for the address or in general for the office is a cheap kitchen sponge as a storage medium for the color well suited. Cut the sponge so that it fits well into the food storage box. The strength of the sponge should not exceed about one or two centimeters, otherwise you will need too much paint. This would then just be deposited on the ground and dry.
Tip: To improve the stamping result even with a finely worked stamp with letters and numbers, you should purchase the sponge with a nylon stub. Make sure the stocking does not wrinkle on the surface of the sponge.

For a very large ink pad, for example, with which you want to dab acrylic paint, you not only need a larger food storage box, usually you also need more sponges. However, even with the most careful coverage, there is often a gap between the sponges. Better suited then is a large sponge from the hardware store. In the tile section, you will find the right fine sponges, with which the grout is usually incorporated. But this sponge should be cut to a thickness of two to three centimeters. This is easy from the side with a bread knife.
Tip: You can also use the mats from the cooker hood for very large ink pads. However, you may want to double the white mats as they are often too thin otherwise. In addition, you should not completely soak these mats with paint, but just distribute the wall or acrylic paint with a spatula evenly on the surface. So you can stamp beautiful wall ornaments. Also for the refinement of old furniture, this variant is well suited.
2.1. Disposable ink pad
You just want to make some potato prints with colorful colors "> 
Tip: You can also achieve a motley stamp printing of different colors with the disposable pad of kitchen paper. To do this, put on the folded kitchen roll a damp facial tissue, if necessary, even wet toilet paper works for it. Then drip ink or stamping ink in different colors on this surface. If you paint the colors of the rainbow in stripes, you can make great rainbow prints that are very easy to run.
3. Test run and padding
Small ink pads are initially wetted only with a few drops of color in the middle. Wait a moment before adding more drops to the ink pad. You should not drown the sponge, otherwise the stamping will smear later. Then make a trial print on a sheet of paper that you no longer need. As a result, the rest of the color spreads even better in the pillow and the next prints are perfect. If the proof is not uniform or too weak, you can apply a few more drops and test again.
Tip: If you want to stamp ornaments on the wall or on a piece of furniture, you should also use the appropriate materials as a test surface. So for wall paint as possible the back of a wallpaper roll and for furniture an old piece of wood, which has about the same color as the later project.

Stir stamp colors
For a proper stamping ink that will not be blurred later, you will need the ingredients mentioned in the recipe. If you want to mix colorful, bright colors, you should slowly and gradually add the pigments. Bear in mind, however, that the color initially always appears much darker when wet.
Recipe:
- 20 ml of glycerol
- 5 g of powder gum arabic
- 5 g of color pigments
- 1-2 g powder vitamin C / preservative
- a little lukewarm water (about 20 ml)
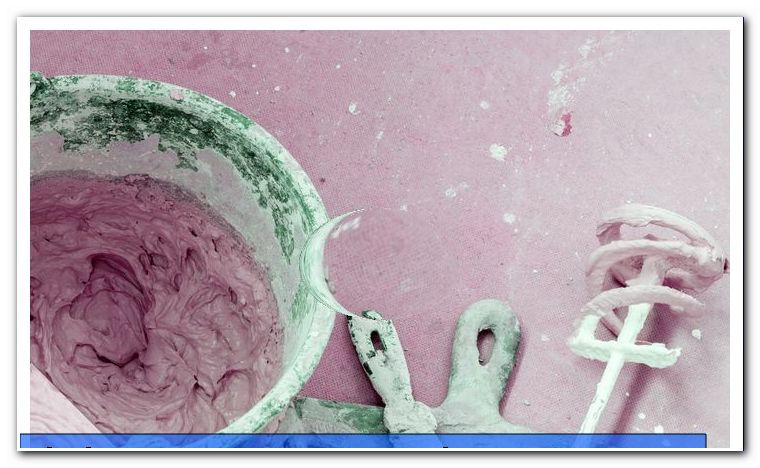
1. Mix glycerin
The glycerin should first be mixed with about 10 ml of water. If all the water is added immediately, it could happen that the stamping ink becomes watery and weak.
2. Add ingredients
Now the gum arabic is mixed into the diluted glycerol solution. With a small whisk from the kitchen, the powder is stirred well evenly. Then there are the color pigments added, which should also be stirred very smooth.

If you want to mix other tones from the three basic colors, you should of course stir in less of each base color. For example, for green, first mix the blue into the glycerin and only then the yellow pigments. Purple is a perfect match when first the red comes in the color mixture and then the blue color.
3. Make color durable
To make the stamping ink more durable and durable, you can add a preservative. Easier, however, is the addition of a little vitamin C in powder form. Even if the vitamin C was stirred smoothly under the ingredients, you can add some more water and stir until smooth. Gradually add the water so you can check the color in between.
Tip: If you only need the paint for a short period of time, you can omit the preservation. However, if the glycerine is left for longer without preservation, it could become rancid and even mold in the ink pad. The color also changes negatively.
4. Test run of the color strength
To see if the color suits you, you can easily tap a finger in the color and wipe it on a piece of white paper. If you dry the leaf briefly, you will see if the color has become strong enough. If the color is not perfect yet, you can always add some of the pigments.
Tips for quick readers:
- check required size of the stamp pad
- select matching bowl / box
- insert appropriate sponge as buffer
- Pull nylon stocking over sponge
- Tinker disposable stamp pillows with kitchen paper
- large ink pad from filter mat for extractor hood
- Select color type / prepare ingredients
- Mix stamping ink of glycerin and gum arabic
- Add color pigments in powder form to the glycerol
- Mix stamping ink for walls with acrylic paint
- Test color and possibly retouch
- Slowly fill the ink pad with paint
- Perform proof on white paper
- Wall prints on wallpaper test