Children's chocolate cake make yourself: crafting instructions

- How to Make a Candy Pie: Instructions
- Prepare polystyrene plates
- The first pie level
- The second pie level
- The third pie level
- Decorating the cake
This homemade chocolate childrens cake is not just a special gift for children. With only a few materials, you can make a delicious, but at the same time individual gift for anyone who likes to snack on chocolate - and there are many of them. We have the instructions for you!
Giving away chocolate has long been a tradition and always the best idea is to make someone happy. Make something special out of this simple gift idea by not simply handing it over in the packaging. Make a whole cake out of sweets! The birthday boy will turn a blind eye.
This gift idea has many advantages. The cake is quick and easy to make, you do not need many materials and you can give away just about any candy that comes in its own packaging. So you can customize the cake individually to the taste of the recipient.
How to Make a Candy Pie: Instructions
You need:
- Styrofoam
- compasses
- double-sided adhesive tape
- Cutter knife and scissors
- Decoration material
- enough sweets, candy bar
- skewer

Prepare polystyrene plates
At the beginning, the levels of the cake have to be prepared. For this you need at least 5 cm high polystyrene plates. At your discretion, you can design the cake with two, three or even four levels. Each plate gives a plane. We chose three levels - the typical pie shape.
The three Styrofoam plates are now cut into circles. The lowest level has a diameter of 22 cm, the second 14 cm and the third level one of 8 cm. Use a compass to draw these circles on the plates. Then carefully and carefully cut out the circles with a craft knife.

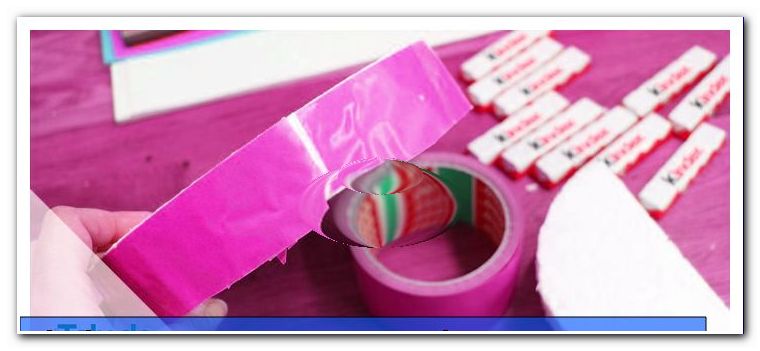
Now glue the individual layers to the edges with double-sided adhesive tape. The adhesive tape on the underside of the plate can slightly overhang and be turned over.
The first pie level
The lowest level is now started. Lay these flat on the table - possibly on a piece of cardboard so that the cake can finally be lifted - and peel off the layer of double-sided tape.

Now the children chocolate bars can be attached upright on the tape. Place each bar close to its neighbor until the entire plate is covered. There are no limits to your creativity here - you can alternately attach large and small latches to it, as you please.

The second pie level
Now it's one floor up. Fix the second level with a wooden spike in the middle at the lower level. To do this, stick the spit in the middle of the first level and simply put the second one in the middle of it. If the spit is long enough, it may be, this one looks up through the second level again. This is not a problem, after all, we want to attach a third cake layer later.
Then proceed as before with the first level. You loosen the protective film of the tape and attach again candy bars and candy to level 2.
The third pie level
Finally, the third level follows. If the wooden skewer is long enough, it can simply be placed on top. If this is not the case, simply place a second skewer in level 2 and serve as a connector between levels 2 and 3.

Now also fill this level with different sweets.
Decorating the cake
Now not much is missing and the homemade cake made of sweets is ready.
Decorate everything with other sweets by simply placing them in the interstices of the layer. The top level offers space in the middle for a special piece - in our case this is a Kinder Surprise egg.

Attach a wide ribbon at the bottom level, add confetti, balloons or other colorful eye-catchers that the birthday boy might enjoy.
Ready the kids chocolate cake!
It's that easy for you to make a highlight at the next birthday party. With such a lot of sweets, the recipient will have something of the gift for a long time to come and think of you as soon as he plucks a candy from the pie.


