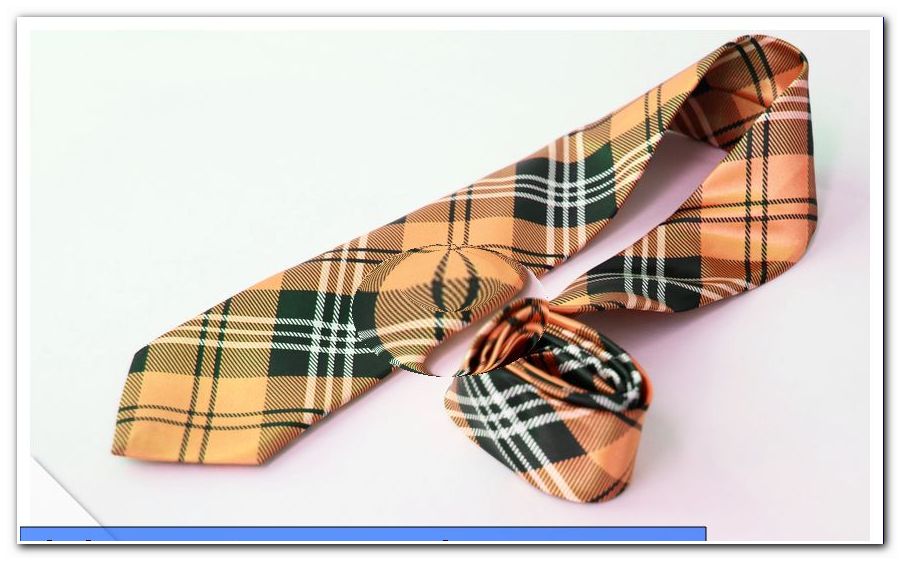
Windsor knot tie - simple + double knot - DIY tutorial

- Bind Windsor knot
- Difficulty
- Simple Windsor knot
- Double Windsor knot
Tying ties is not easy for the beginner. Numerous nodes exist, some of which can be quite complicated. Among the best known is the Windsor knot in simple and double execution, which should not be missing in the repertoire of tie wearers. Whether you want to tie a double or simple Windsor knot, practice and good guidance are needed to master it.
Bind Windsor knot
In search of a matching tie knot, many people choose to use a Windsor knot. If you want to tie a Windsor knot, you have two options : single and double Windsor knots . These describe how many times the tie is changed and therefore change the level of difficulty.
For example, the Hanoverian knot and the Meroving knot, because of their numerous envelopes, are among the more difficult knots that you can choose. For this reason, it is important to know how to tie the various variations of a Windsor knot, as this will provide an effective foundation for many other tie knots that you can try.

Difficulty
Which Windsor knot is easier to tie ">
The simple and double Windsor differ slightly in their difficulty. Even the name of the two nodes indicates which of the two nodes is easier to handle by a beginner. Since the simple knot one envelope is less required and the general management of the tie is easy to handle, you should use as a new tie necktie first, the simple variant.
The advantage of both knots: You do not need a longer tie to tie them. This means you can easily use your chosen length and you do not have to get a new tie. For both knots the tie should end just above the waistband.
Tip: To date, the relationship of the two Windsor knot is not clarified to each other and whether the half of the actual stems or has developed independently. The similarity of the tie knots to each other could also be the reason for the naming.
Simple Windsor knot
Tie Simple Knot: DIY Tutorial
In itself, the name "simple knot" is wrong and actually describes another classic knot: four-in-hand. The correct denomination of the knot would be a " half Windsor knot ", but it is also known as a "half English" or "Turkish" knot. The simple knot can be used well for shirts with the following collar due to its shape, which is rather voluminous.
- Collar corners that lie close to each other
- Button-down
The conical style and the good symmetry makes the combination with appropriate colors and patterns easy and in this case is also good for beginners. It is a bit fuller than the simple knot, but not as much as the double Windsor knot. As a result, he sometimes acts a bit more casual . If you want to tie the simple knot, follow this guide.
1. The binding of half the Windsor knot begins with the flipping. Take the tie in your hand and turn it so that the right side faces out. Now put on the tie and make sure the shirt collar is over the tie, not the tie over the collar.
This will not shorten the tie unnecessarily and can tie this without much trouble. The piece of tie visible at the end must be on your right side when binding the Windsor knot. Smooth the tie and let it hang in the correct length.

2. Now you can start with the simple knot. Now you take the wide part of the tie in your hand and hit it once diagonally to the left around the thin part. You should now have the wide end of the tie on the left side, just show the bottom out.

3. Now, swing the wide side from the top outside through the middle to slowly shape the knot. In this case, the leading part after turning must necessarily point to the left outside.
Now check to see if the knot is still sitting or loosening. Work with secure hand movements and tighten the tie after each step so as not to accidentally loosen the knot again.

4. Continue with the knot by simply bringing the leading part diagonally to the right side. This must be managed so that you already recognize the simple knot. Where the knot sits, now a piece of fabric should be visible, which covers it. After this step, the leading part should now point diagonally down to the right with the outside and seams to your body.

5. You did it! All you have to do now is complete the tie knot by passing it through the knot from the back across the middle.

Pull it carefully through the middle and adjust the half Windsor knot, so that it does not sit crooked or already rises when you look at it again. You can now adjust the length a bit finer and if your tie has a tab, there thread the back part. This ensures even more support.

Of the numerous tie knots, half the Windsor is one of the simpler ones and can be quickly perfected with a little practice. Above all, make sure that the tie is fixed sufficiently so that the knot does not just open.

Tip: If you manage to confidently tie half a Windsor, you can double yourself. Its level of difficulty is a bit higher, but it should not be a problem for you.
Double Windsor knot
Tie Double Knot: DIY Tutorial
If you're interested in the double knot, you'll need some practice as it's harder to master, even though it's built on half the Windsor. But as with half Windsor knot this is actually called " double Windsor knot ", more rarely "English Knot". This naming suggests that two envelopes are used through the middle before it comes to the final impact. Suitable are the double knot for shirts with widely spaced collar.
- Kent collar
- shark collar
As a result, the gap is closed sufficiently and directed the view of the tie and not the upper body. Once you are ready to tie the double knot, do the following.
1. The starting position is the same as if you tie half the Windsor knot. Only the broad side is on the right and you have to leave the wide side a bit longer, otherwise it will end up being too short.

2. Pass the broad side to the left over the narrow so that the wide left points down. The wide end is now led to the body and then under the narrow end up.

3. Now you can simply bring the wide end over the middle back to the right side. This should now be left and pointing diagonally down.

4. Run the wide part again on the left side, but this time under, not over the narrow part. Then the underside should be visible with the seams.

5. Now guide the wide part over the middle to the left side. Now the end should be aligned diagonally to the left again.

6. Finally, hit the wide end once more to the left just above the knot.

Guide the tie along the body to the center and insert the wide end through the fixing opening.

Now the following result is shown. Your Double Windsor Knot should now look like the following picture.

7. Align the tie length and tie the knot. Again, lead the narrow end through an existing loop.

Tip: The Windsor was named after Eduard VIII, who was declared King of the United Kingdom of Great Britain and Northern Ireland and Indian Emperor in 1937 to the Duke of Windsor after his abdication in 1936 and wore the characteristic tie knot throughout his tenure.
Until 1960 he was often attributed to the invention of the Windsorknotens, which the Briton denied in his self-composed book "A Family Album" on the grounds that the tie used had only been thicker.