Make a simple marble track yourself - build a ball track
- Individual marble track at the door
- 1. Construction plan - rough sketch
- 2. Prepare plate
- 3. Paint rollers and fasten
- 4. Screw on pots and bowls
- 5th test run
A children's marble track stimulates the imagination and is usually brought out for a few years by the children. If you make a marble or ball track yourself, the system can often even be extended over the years. Complicated attachments and conversions make the marble track so exciting and new.
A marble track made of wood ore or pieces of wood is above all something for exact workers. If you want to build a marble runway that does not rely on accuracy when it comes to construction, you should build the models from cardboard rolls that we show you in the manual. This ball track can also be tinkered well with the children together. Many small jobs can already prepare the children and the cardboard rolls fall into the household anyway, completely free of charge. So the construction costs remain low and together you can make an imaginative building for the marbles yourself.
You need this:
- scissors
- brush
- cutter
- screwdriver
- Hot glue gun
- Cordless Screwdriver
- Paper rolls (toilet paper / kitchen roll / wrapping paper / carpet roll)
- Eisstäbchen
- Acrylmalfarben
- Adhesive tape colorful
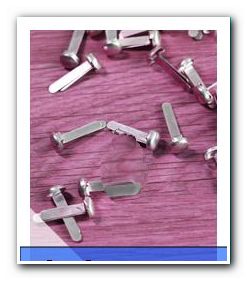
- Sample bag staples
- transparent wrapping paper
- Spray glue / glue stick
- big wooden plate
- carton
- Marbles colorful
- Door hooks / screws
- sorted out toy
- small boxes / plastic cans / egg cups / glasses cases / cookie molds
- Egg or ice cream spoon
Search and find material
Every household has countless things that are no longer needed. Whether it's the old plastic egg cups from the seventies or colorful cookie molds that are no longer in use, all these products can be integrated into the marble track in addition to colorful yarn, ribbon and wrapping paper. The choice is really endless. Even small colorful flowerpots made of plastic or the previously used cuffs for flower pots can be integrated. Clean up the house and you have accessories and decoration for ten marble tracks.
Costs and prices - make your own or buy
In this project, it is clear that it is always worthwhile to design and build the marble track yourself. Apart from the fun of handicrafts, a private marble run, which is mainly built from paper pulp, costs hardly anything.

Even a rather simple wooden marble track can cost around 50 euros in the trade. Complicated, exciting constructions, which may also be flexible, can cost as little as 240 euros. Of course, there are also very cheap plastic tracks that are much cheaper. However, the quality of these products often corresponds to the low price. Children who are still in their old age should not play with these plastic parts, as the chemical composition is often more than borderline.
Part of the fun of a marble track is the construction. Especially with the children, the handicraft afternoon can stimulate their creativity and wealth of ideas quite sustainably. Often the children come to crafts with very exciting creations and other unused toys, which can also be integrated into the train.

If you want to build a large construction over different floors of the house, the cardboard rolls of carpets are very good. You can often get them for free or for a small amount from the carpet dealers or at the hardware store.
Age-appropriate marble track
Purchased railways have very limited annual information as far as the age of the children is concerned. But every child is different and has a slightly different stage of development. Therefore, it is much nicer if you as a parent can make this classification individually. Who knows your child finally better "> Individual marble track on the door
Our marble track can be adjusted in size to the age or height of your child. So that we can construct a toy that does not have to be converted and still takes up little space in the nursery, we build a vertical marble run, which is hung on the door or the end of the bed. If you have a large free wall or even can integrate the staircase, of course, you will remain even more flexible in choosing the size of the marble track.
1. Construction plan - rough sketch
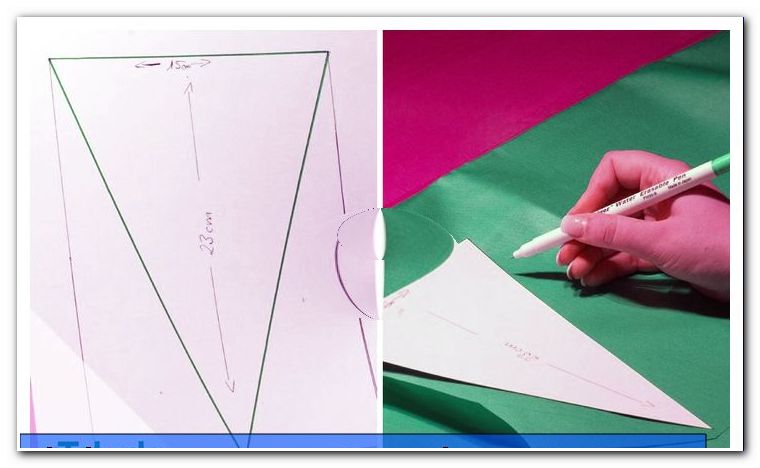
The blueprint only has to show approximately the positions of the individual cardboard rolls and should briefly show which inflection points are planned in the marble sheet. For example, if you want to drop the ball into a funnel and then move it to the next row, you should also draw it. This has the advantage that you can prepare the individual roles and breakpoints completely beforehand. Then you do not have to wait for the paint to dry later. The entire marble track should not be higher than your child can reach. It would only cause frustration if a child can not start the awesome newly crafted toy himself with marbles or bullets. Here we have provided our blueprint for you:

Click here: Download the blueprint
2. Prepare plate
For a smaller marble track to be placed at the back of the bed or on a dresser, you only need a thick cardboard board. If the marble track is to become more sophisticated and larger, then an OSB board is the ideal choice. Here the marble run can even grow with the size of the children and later be extended. The plate should first be primed, this is suitable for simple white acrylic paint. Then you can either get the plate with colored adhesive foil or maybe paint with blackboard paint. This can be changed with colorful chalk later also always something. Instead of the panel color, there is also a black or green foil in the hardware store, which fulfills the same purpose.
Tip: Paint small flowers or fish and other colorful elements on the plate. This makes the plate even more interesting and exciting for the little ones. If you are planning a particularly intricate construction of cardboard tubes, you can now transfer your drawing to the plate to better see the arrangement of the rolls later.
1 of 2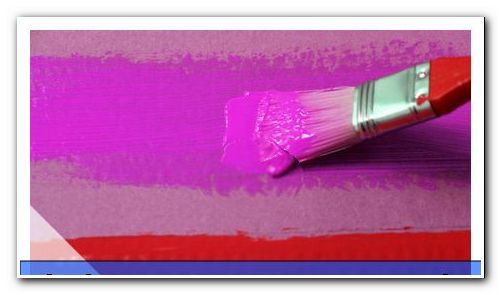
It is ideal if you use the common clothes hooks for doors and hang the plate or cardboard in these hooks. This makes it easy to hang the plate for changes and extensions later. Besides, you do not have to damage the door like that, neither landlords nor fathers like that much.
Tip: On the plate you can also attach gift ribbon or colorful wool remnants. This is with the hot glue gun invisible and fast. A colorful stocking can also be attached or screwed to the plate as a marble bag. This keeps the marbles within reach and makes the wall even more colorful.
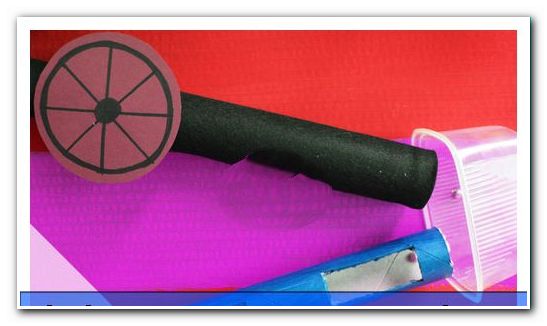
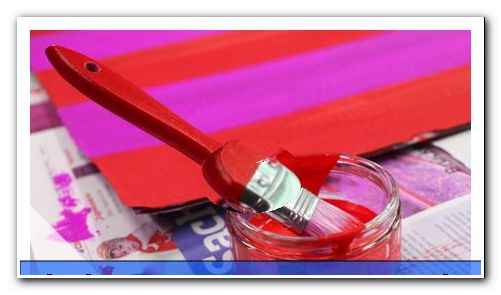
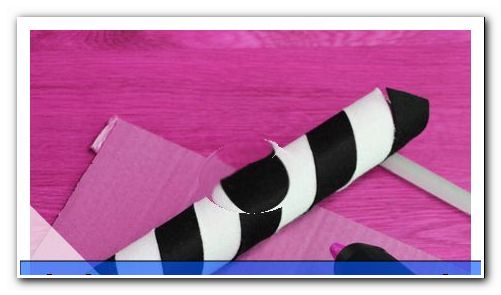
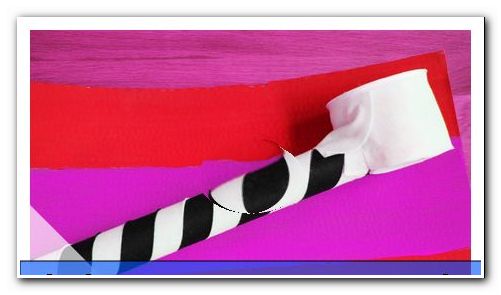
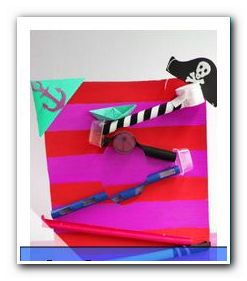
3. Paint rollers and fasten
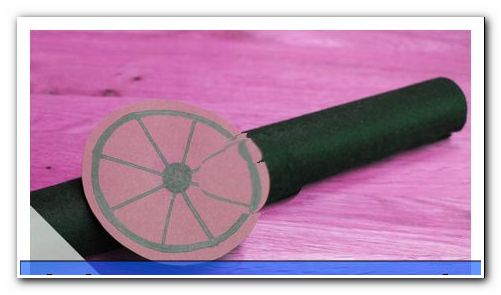
It should be colorful and varied. Paint the cardboard rolls in various bright colors. For this, acrylic paints in tubes from the hardware store or craft supplies are very well suited. Now your drawing proves itself from point 1, because you should not paint two cardboard rolls that follow each other in the same color. So that you can create a varied pattern, the colors should be matched to the order and the additional parts you want to grow. If you have colored foil remnants, you can also use these to make the cardboard rolls decorative.
1 of 2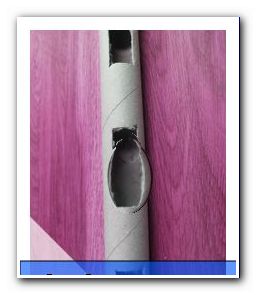
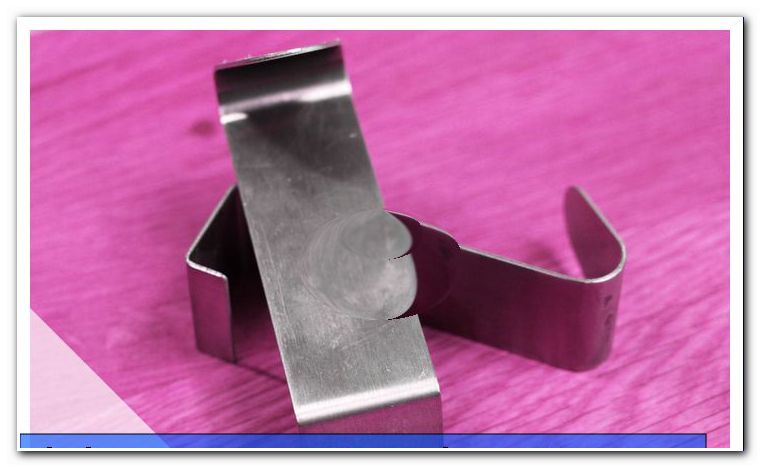
Tip: If the bottom plate is made of sturdy cardboard, you do not have to stick the rollers. Much more durable are sample bag clips that are pushed through the cardboard tube and the back wall. There, the two ends can be folded. This variant holds much more stable and longer than normal glue.
In long rolls, you can indent from inside smooth transparent gift wrap, after you have cut holes or wide slits on the sides for a view. If you do not cover the holes from the inside, the ball will easily get stuck. Through these small recesses in the rollers, the children can watch as the ball rushes past the "windows".
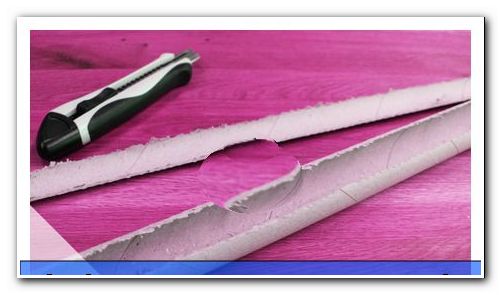
Tip: If you only want to use cardboard rolls, you should cut them at the respective end and turning points at the top so that the ball stops and does not roll out. Many cuts can be cut later. However, you may have to rework the cutouts a little with color.
1 of 4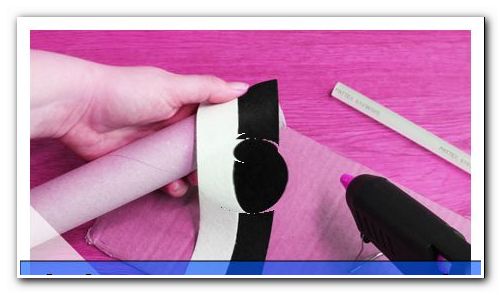

The rollers are attached to the plate with a slight incline, according to your drawing. Every small roll must be attached to at least two points so that the gradient is maintained. When passing through the balls would otherwise press down the role. Always work in such a way that you can change the roll attachment later.
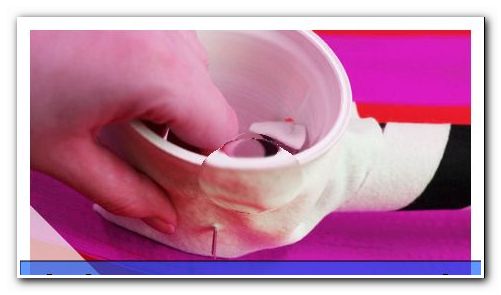
4. Screw on pots and bowls
If additional turning points are to be incorporated, it is important that these turns be enduring. If you are using a wooden plate, it is safest to simply screw on these bends with a spax screw. For example, with a box, you can use wire or the sample bag clamps again. That's the only way you can be sure that the bends will withstand a heavy glass blob. Even if the marble weighs perhaps only 20 grams, a considerable force can act on the turn.
1 of 4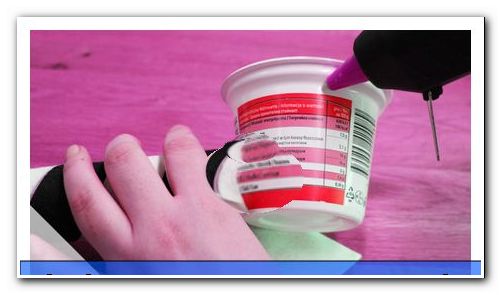

Tip: Always remember: force is mass times speed. The faster the ball shoots into the container, the higher is the force acting on the potty. Already a glass mermel of only 22 millimeters in diameter usually has a weight of 20 grams. This is not even a very big ball. The speed is often also much higher than we thought and is determined by the gradient. 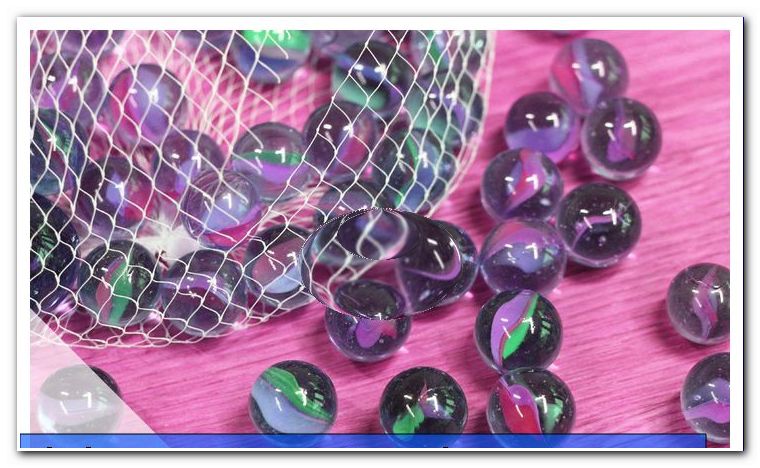
At a turn you can easily install a small windmill. This can be based on old egg or ice cream spoons. Even old flour or coffee scoops are suitable as a mobile wheel when they are connected to the handles.
5th test run
 Often a lot has to be adjusted after a test run. That's not bad, but should be ironed out immediately. When you use the sample bag clamps, you usually only need to readjust one of two staples on a cardboard tube. Then the ball is running smoothly through your web. If the ball overshoots final or turning points, you should apply the slope of the last cardboard roll a little lower. In addition, you must determine the landing point of the balls during the test run so that you can grow a bowl or a potty there. If the landing makes too much noise for you, you can pad out the bowl with an old Easter basket, colored wool scraps or something similar.
Tips for quick readers:
- Drawing a rough sketch of the marble track
- Cut the base plate and attach the fixing
- Paint base plate and stick with decoration
- possibly transfer a sketch to the plate
- Paint cardboard rolls and cut out
- glue prepared rolls to plate
- Screw on decoration, bowls and pots
- Install and test extras and windmills
- Test run with marble
- Fit drip tray and pad out for noise protection
- Hang up a marble track and have fun