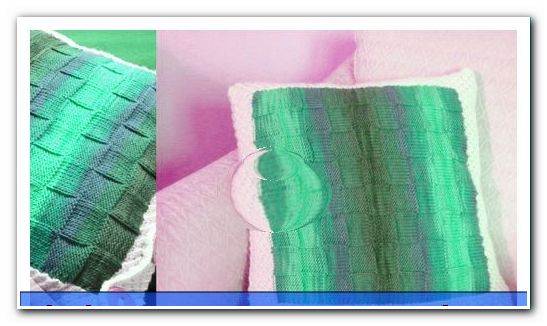
Knitting cushion cover - free knitting instructions for cushions 40 x 40 cm
- Material and preparation
- The stitches
- Knit asterisk pattern
- Knitting cushion cover - front side
- Knitting cushion cover - back side
- sew together
When the old pillow case scratches, breaks down into its parts or no longer fits the new home decor, it's time for a new model. To knit it yourself is easier than it seems at first glance. It's a simple, rectangular shape that you can fill with color and pattern as you like.
Material and preparation
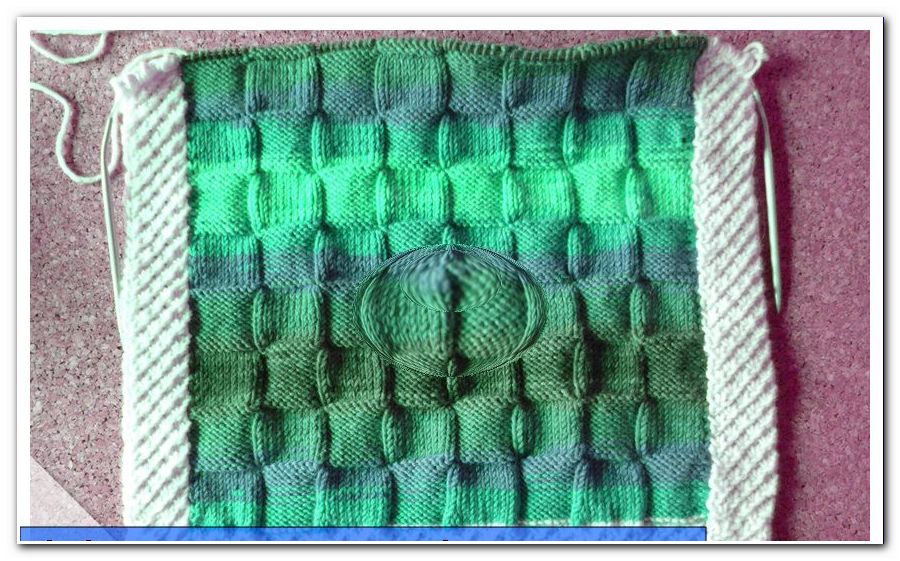
Often you do not even think about providing the sofa cushions with a different cushion cover. As a rule, the matching cushions are already part of the new sofa. But the sofa landscape becomes even more comfortable when more pillows are added. These then need a color matching cushion cover. On the other hand, a cover also protects the cushions. It can be removed, shaken out and washed, which is not only useful for pets. Learn how to knit a two-tone or colorful cushion cover in this knitting pattern. The pattern ensures a great 3D effect.
Material for a pillow with 40 x 40 cm:
- Cushion with 40 x 40 cm
- approx. 200 g merino wool with gradient pattern (100g / 180 m)
- approx. 150 g white merino wool (100g / 180 m)
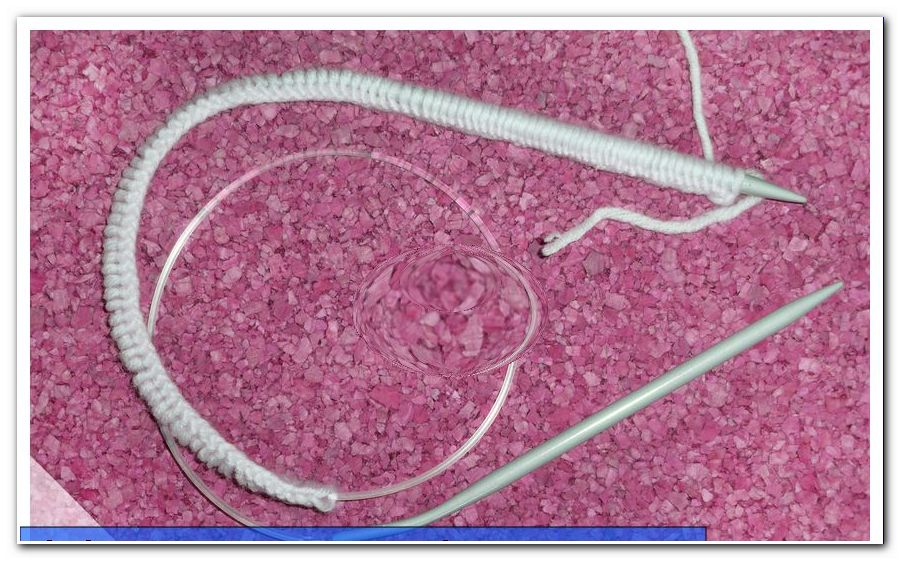
- Circular needle 5mm
- wool needle
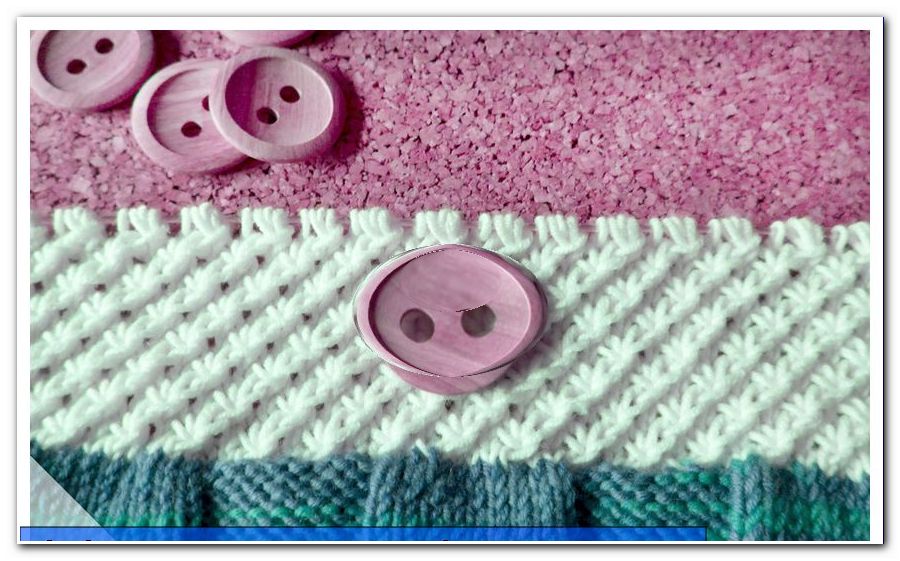
- 5 wooden buttons, diameter 3.5 cm
We chose merino wool because it is an incredibly comfortable material. Bear in mind that you will come into contact with the cushion cover both summer and winter. Therefore, the surface should be cuddly-warm but also pleasantly soft. An unpleasant scratching on bare skin is an absolute taboo for a cushion cover. The disadvantage of such fine sheep wool is that it is not particularly easy to clean. If you have children or pets, choose a more robust material for your cushion cover.
Prior knowledge:
- right stitches
- left stitches
- envelope
- Increase and decrease stitches
It does not hurt to have a little experience with the different knitting techniques beyond the previous knowledge. This pattern is not complicated, but you lose a stitch pretty easily. In addition, it requires a reasonably regular way of working with such a large area. Otherwise, no uniform rectangle will be created at the end. If you have already knitted with two colors, this is definitely an advantage for knitting the cushion cover.
The stitches
Before you start knitting, make two different stitches. One consists of a regular change of left and right stitches. For example, strike 20 stitches. Then embroider alternately 5 stitches left and 5 stitches right . In the back row, embroider the stitches as they appear.
The second stitch will be stitched in the star pattern . The knitting instructions for this can be found below.
Our mesh samples have given the following results:
1. check pattern left-right: 10 x 10 cm result from 22 stitches and 34 rows.
2. Star pattern: 10 x 10 cm results from 24 stitches and 34 rows.
For a cushion cover for a cushion with a height and width of 40 cm each you should go out from 42 to 44 cm in each direction. You need a little buffer to stitch together the front and back. In addition, the cushion has a certain thickness, which is taken into account as well.
To get to the desired width with the pure star pattern, 4.2 x 24 = 101 meshes must be struck . We start with 104 meshes, because this can be better divided later.
Tip: Tend to always round rather than off, so that the cushion cover really fits comfortably over the pillow.
Later you work only a strip of about 5 cm left and right in the star pattern. This corresponds to 12 stitches each. In the middle, the remaining 32 cm are filled with the check pattern of left and right stitches. This results in 22 x 3.2 = 71 stitches with checked pattern . We round here on the even number of 72 stitches .
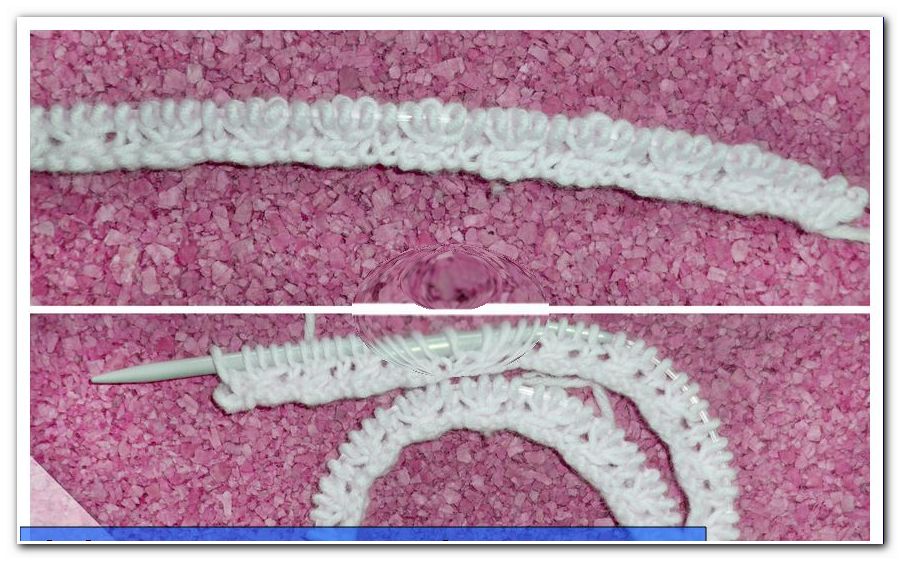
Knit asterisk pattern
Knitting instructions for the star pattern
The asterisk pattern will later decorate the frame of your cushion cover. It consists of three different rows.
Row: Embroider all stitches on the right.
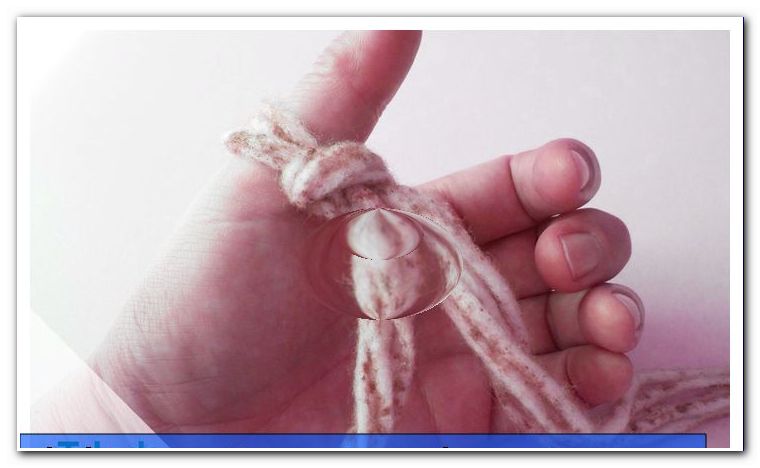
Back row I: Embroider the first stitch on the left. Embroider the following three stitches together on the left, leaving them on the left needle. Make an envelope and fold the three stitches together again to form a left stitch. Then slide it off the left needle. So you embroider three stitches together, immediately creating three new stitches (left, turn-up, left). Now you continue the whole series with a change from a left stitch and the combination of three stitches.
Back row II: The second back row alternates with the back row I steadily. It follows the same pattern, but starts with 3 left stitches. Thus, the asterisk row continues to appear diagonally upwards.
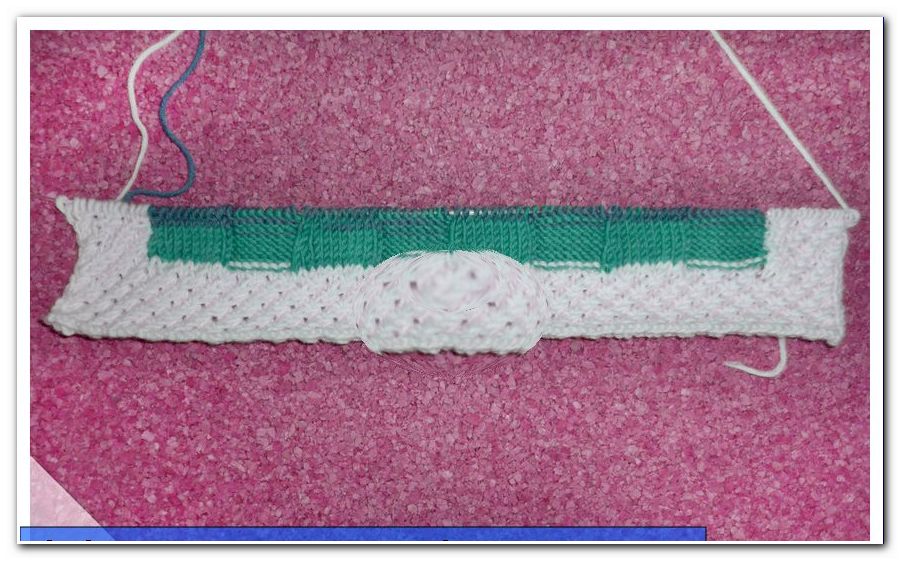
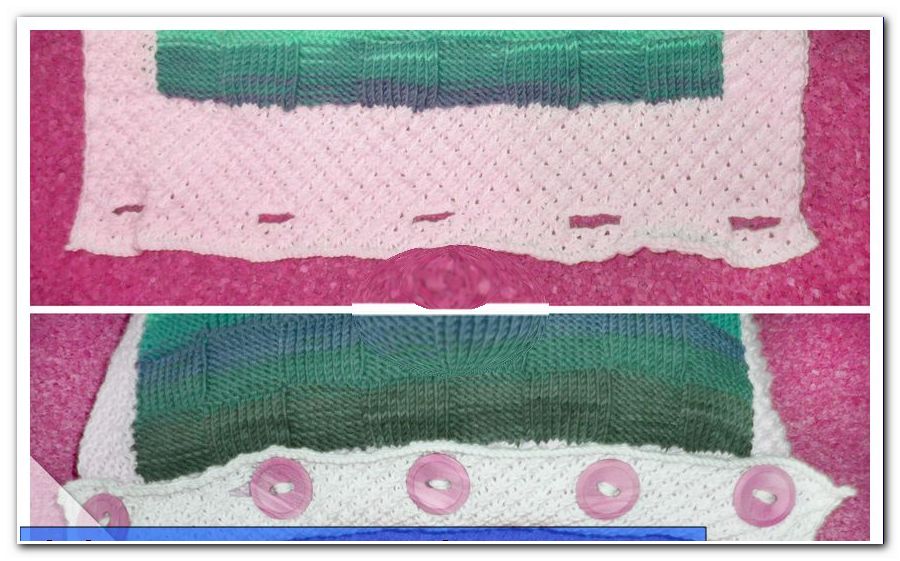
Knitting cushion cover - front side
Beat the calculated number of stitches with the white wool. We have 104 meshes . Although they do not embroider in rounds, the circular needle helps with such broad work that no stitches fall behind.
Make only right stitches in the first row. In the second row you embroider the back row I. This is followed by another row and the back row II. Now embroider the star pattern until you have reached a height of about 5 cm.
Now at the next row from the edge, embroider only 5 cm in the star pattern. With us this corresponds to 12 stitches. Then pick up the colorful yarn. Make only right stitches except for the last 12 stitches of the row. If there is a difference between asterisk pattern and checked pattern in the stitch sample, you must decrease the corresponding number of stitches in this series. We now have 2 x 12 stitches on the edge and 80 stitches in the middle. For the 32 cm in the check pattern, however, we only need 72 stitches . Therefore, we stitch every 9th and 10th stitch together on the right side. So we reduce the number of stitches in the colored part by 8. The last 12 stitches embroider again with the white wool.
Note: When changing between the two yarns (white and colored), place the old over the new thread before continuing to knit. To avoid a hole between the edge and middle section.
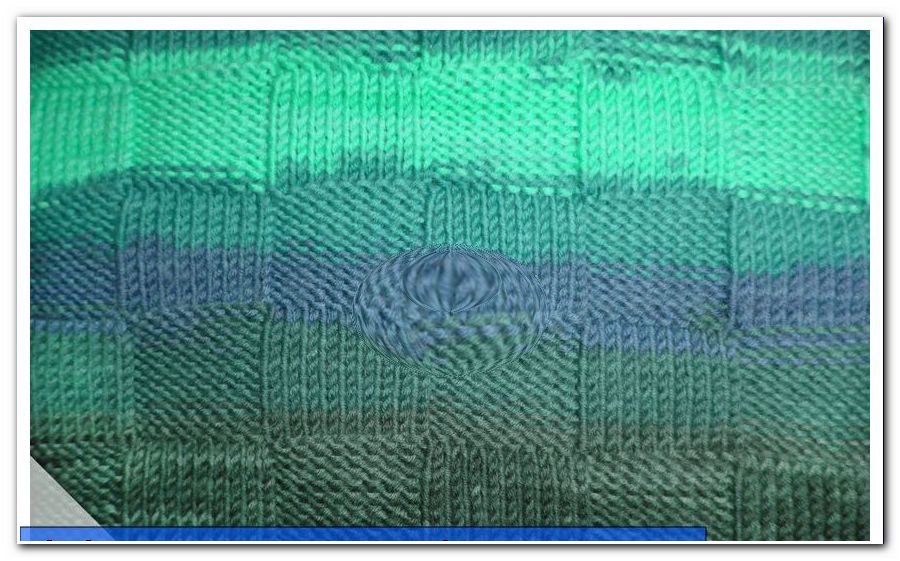
In the following row, first embroider the star pattern for 12 stitches. Then, for the checks with the colorful wool, stitch left and right stitches regularly. We chose 8 boxes with a width of 9 stitches each. So we sew 9 stitches on the right, then 9 stitches on the left, 9 stitches on the right again, etc. In the back row, stitch the stitches the way they appear. Especially in the back row, be sure to stick to the correct star pattern in the frame. If necessary, count back from the last stitch to get the right pattern into the pattern after the middle part.
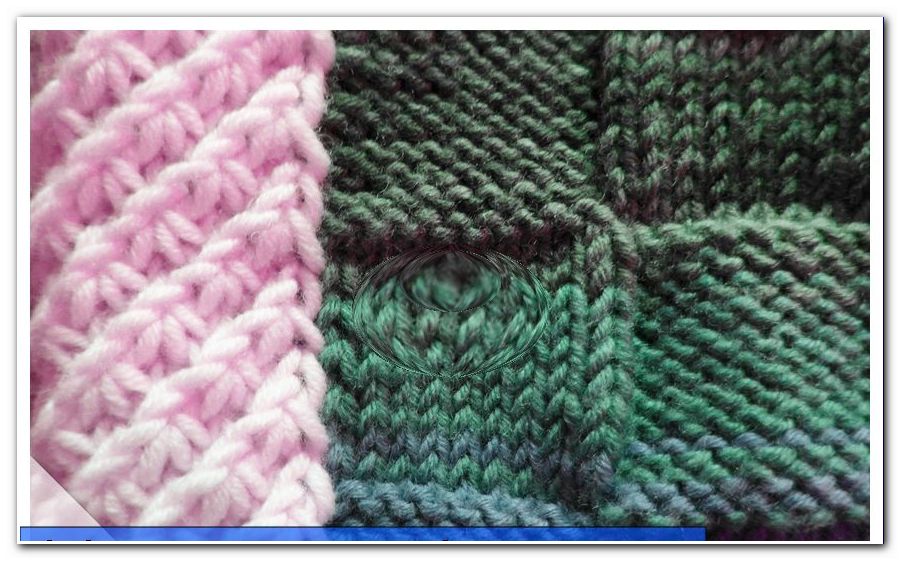
Continue in this scheme until the checks in the first row are about as wide as they are wide. With us this is the case after 12 rows. Then the stitches turn around. All left stitches are now knitted on the right and all right stitches on the left. From the next row, stitch all stitches as they appear. Repeat this change after always the same number of rows, for example every 12 rows.
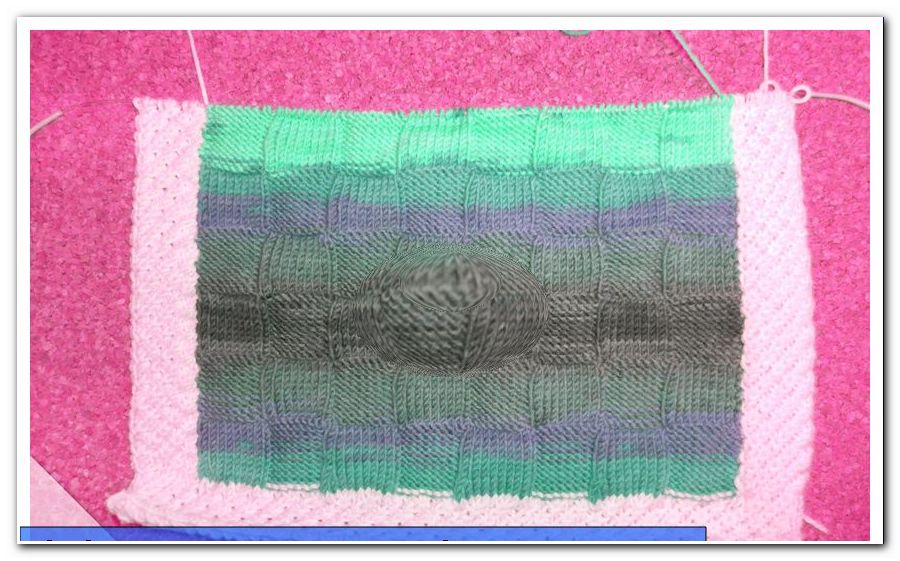
Now you have something to embroider until the front of your cushion cover has reached the desired height. When possible, finish the middle part in line with the check pattern at a height of approximately 37 cm. Now just continue embroidering with the white yarn in the star pattern . Ideally, the first row in white is a back row. If it is a back row, just embroider it with simple left stitches. In this row, evenly distributed, take the number of stitches that you have removed in the first row with the colored yarn. After another 5 cm in the star pattern - in our case 17 rows - chain off the stitches.

Knitting cushion cover - back side
Back with buttonholes
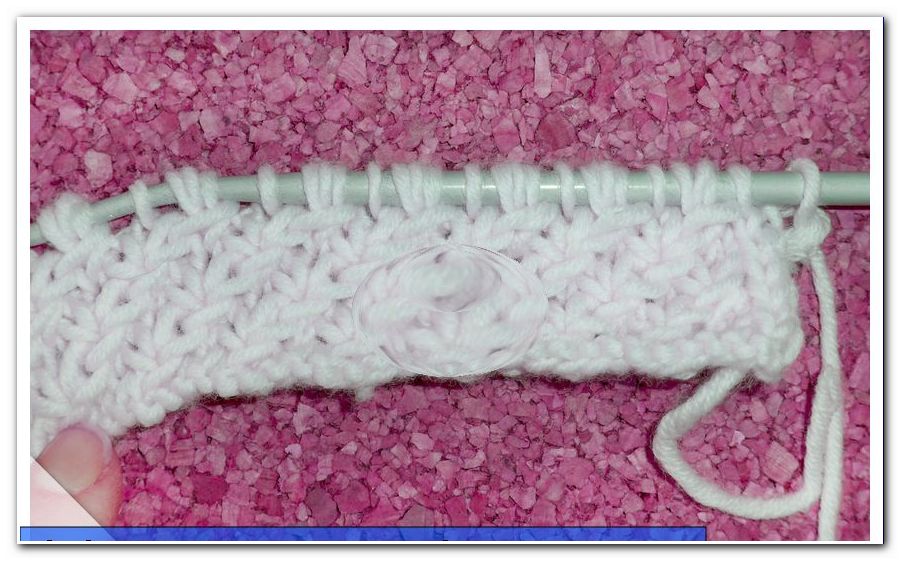
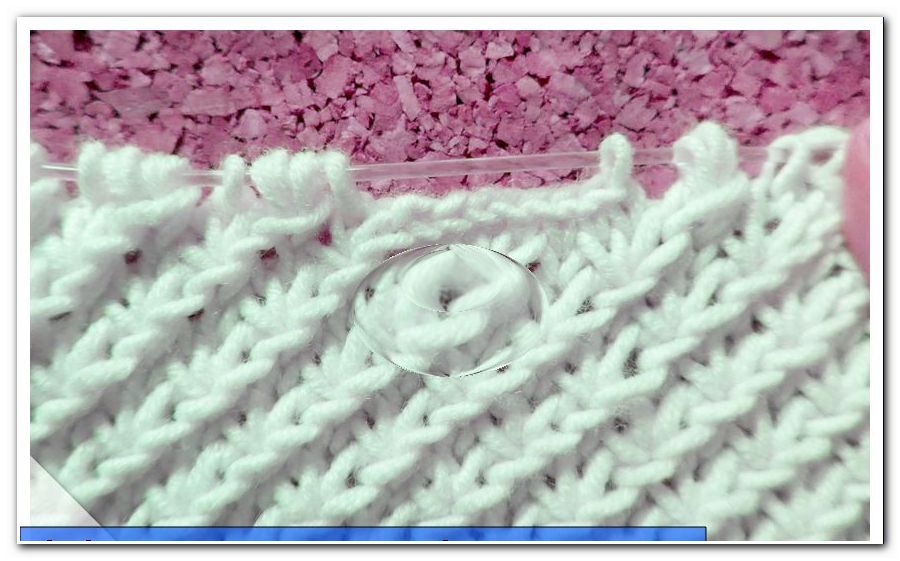
The back side is just as embroidered as the front. However, do not chain at the end after 5 cm in the star pattern. Instead, make at least another 5 cm in the star pattern. This will be the envelope in which you work in the buttonholes .
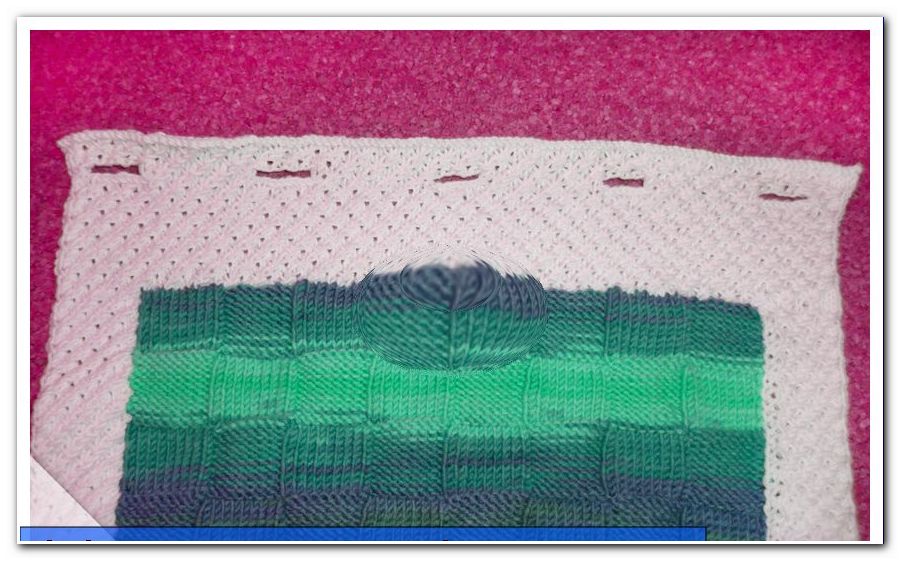
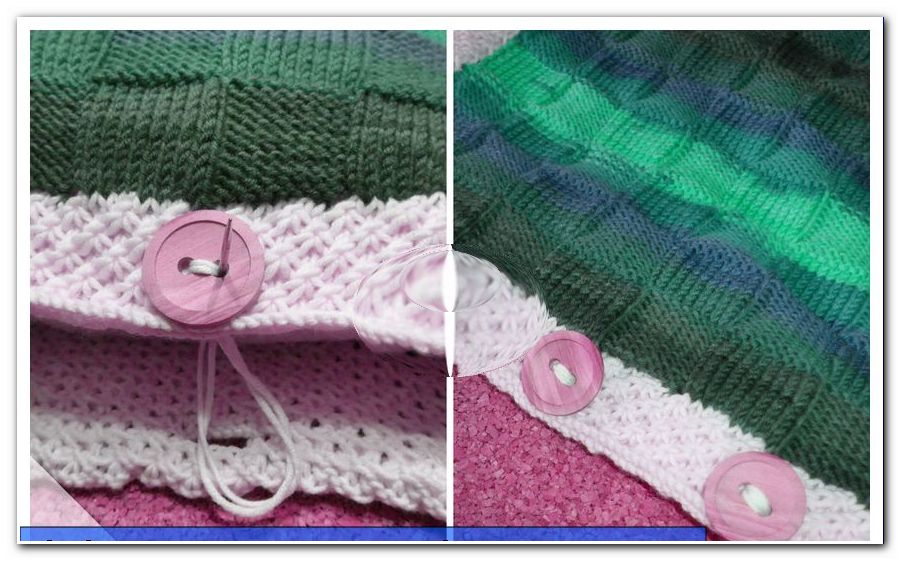
Location, number and size of buttonholes may vary, depending on what buttons you have. We have selected 5 round wooden buttons with a diameter of 3.5 cm. Put a button on the star pattern. Count down the number of stitches corresponding to the width of the button.
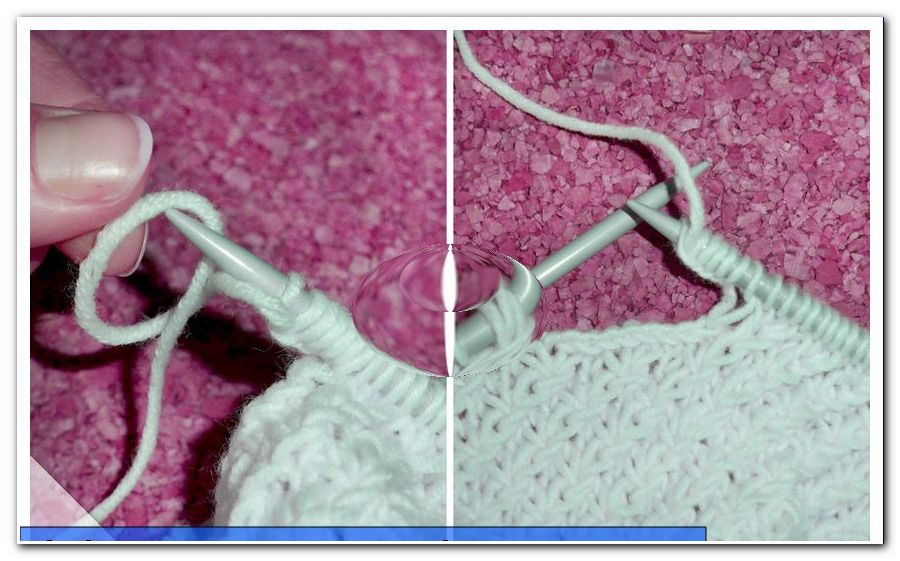
Wool is stretchy. Therefore, you can choose the mesh size rather scarce. So you know the number of buttons and the width of the buttons. Spread them evenly across the width of the pillow. In a back row, chain the number of stitches corresponding to the width of the button at the buttonhole location.
In our case, we chose 4 stitches at the edge to the first buttonhole. This left 96 stitches. One button was 8 stitches wide. With 5 buttons, that's 40 stitches. The remaining 56 stitches had to be evenly distributed over 4 spaces between the buttons. The result is the following scheme: 4 - Knob (8) - 14 - Knob (8) - 14 - Knob (8) - 14 - Knob (8) - 14 - Knob (8) - 4.
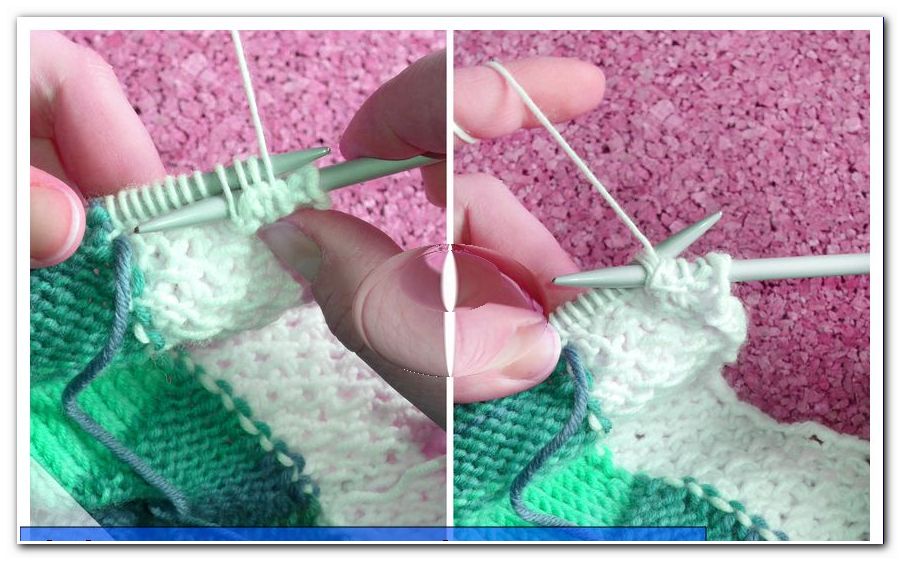
In the next row, take the same number again at the place of the chained stitches. To do this, loop the thread twisted over the right needle.
The following row will work as usual in the asterisk pattern. We worked our buttonholes about 2 cm before the end edge. The exact row for the buttonholes always depends on the individual buttons. Decide for yourself where you best fit.
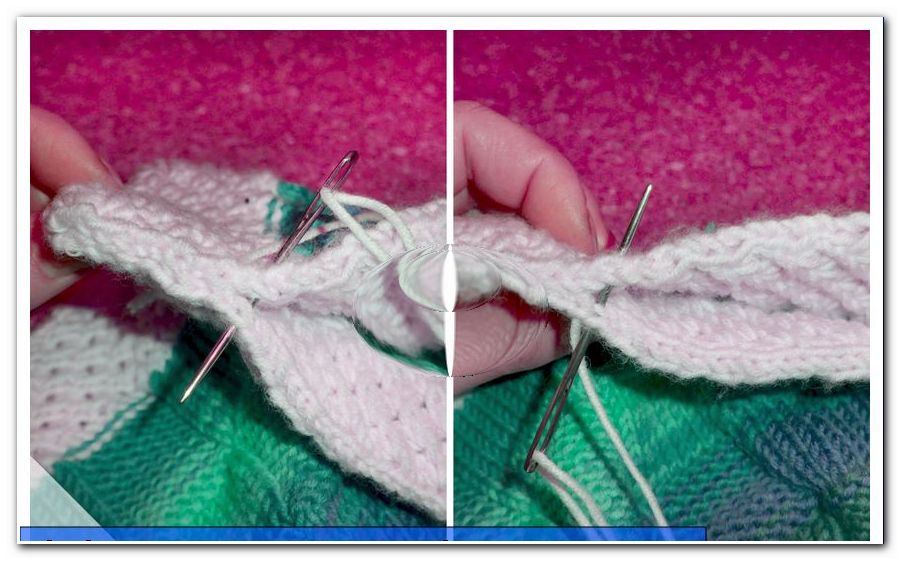
sew together
Now we come to the end of this knitting pattern. Neatly overcast any protruding threads on the inside of the pillow. Finally, you have to stitch the front and back together . To do this, place the front and back sides with the right sides (later outsides). Make sure that the envelope with the buttonholes extends beyond the front. Put a white wool thread on the wool needle and stitch together stitch by stitch all three sides. Sew and knot the thread well at the ends of the seam.
Put the cushion cover on the right side . Sew the buttons in the appropriate places on the front. It's best to put the pillow in the case. Then you will see very well where the individual buttons have to be attached.
Your cuddly cushion cover is finished!