Making spider - ideas and crafting template

- Making a spider - 3 ideas
- Chestnut Spider
- Paper craft template
- Bommel Spider
In autumn and Halloween, spiders should not be missing - whether as a gift for the Halloween party or as a decorative element in the nursery. In this tutorial we show you how to make a spider - fast and super easy together with your children.
Making a spider - 3 ideas
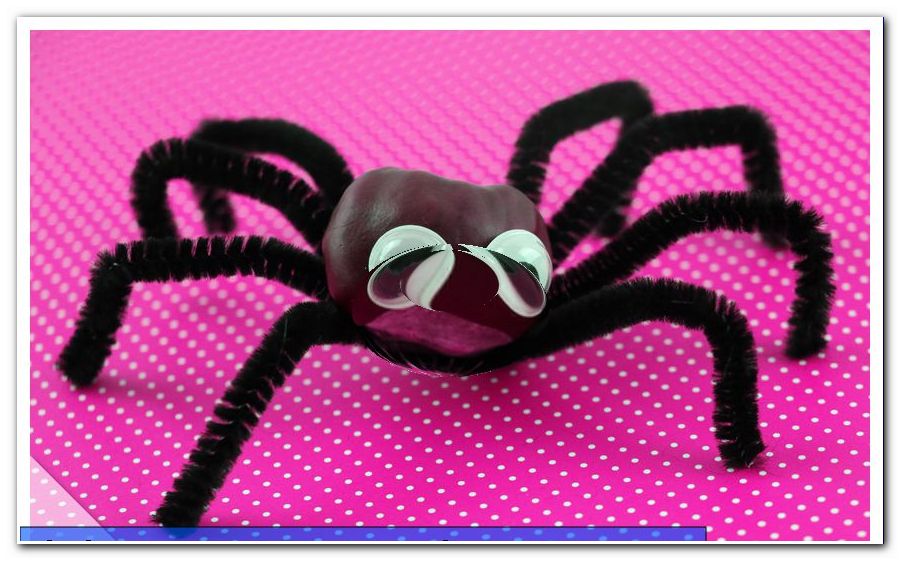
Chestnut Spider
In autumn, you often like to fall back on natural materials such as chestnuts, leaves or acorns. Therefore we do not want to deprive you of this chestnut spider. It is really easy and fast to make and therefore perfect as a last minute decoration on Halloween. So you can make a spider out of chestnuts.
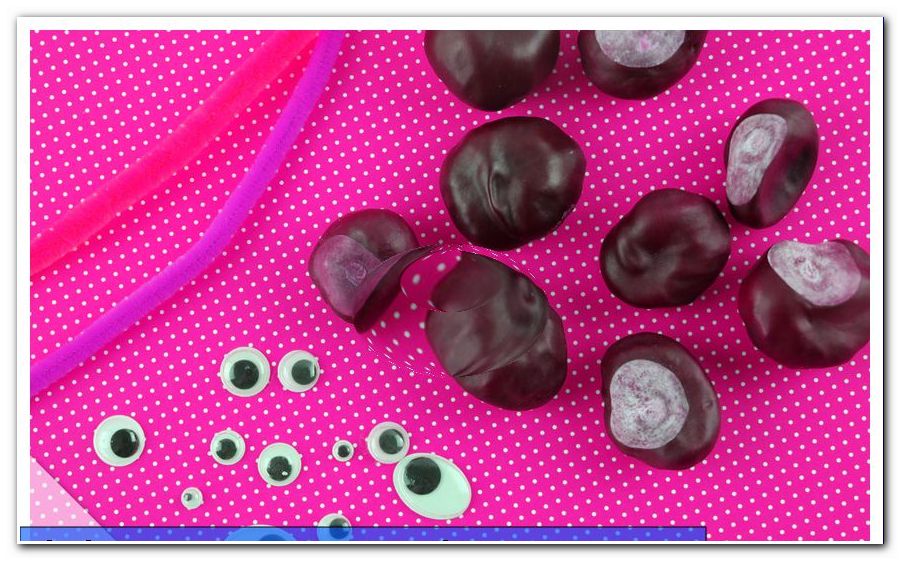
You need for the spiders:
- chestnuts
- pipe cleaners
- Wackelaugen
- hot glue
- scissors
manual
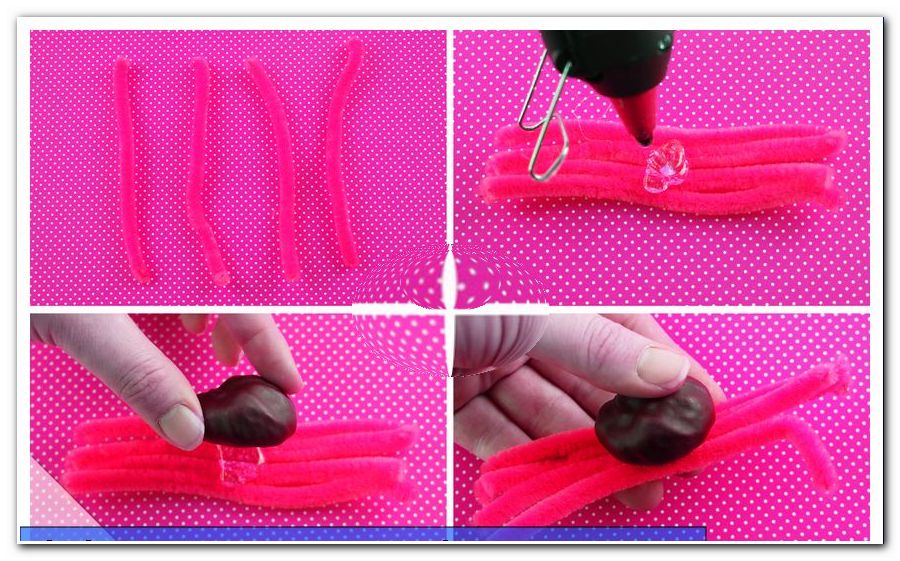
Step 1: Pick up a pipe cleaner and cut it into four pieces of the same length.
Step 2: Then lay these four pieces next to each other. With the hot glue you now make a big blob exactly in the middle of the pipe cleaner.
Step 3: Then press the chestnut on the glue bead. Keep chestnut and legs firmly pressed together for a few seconds, the glue is completely dry.
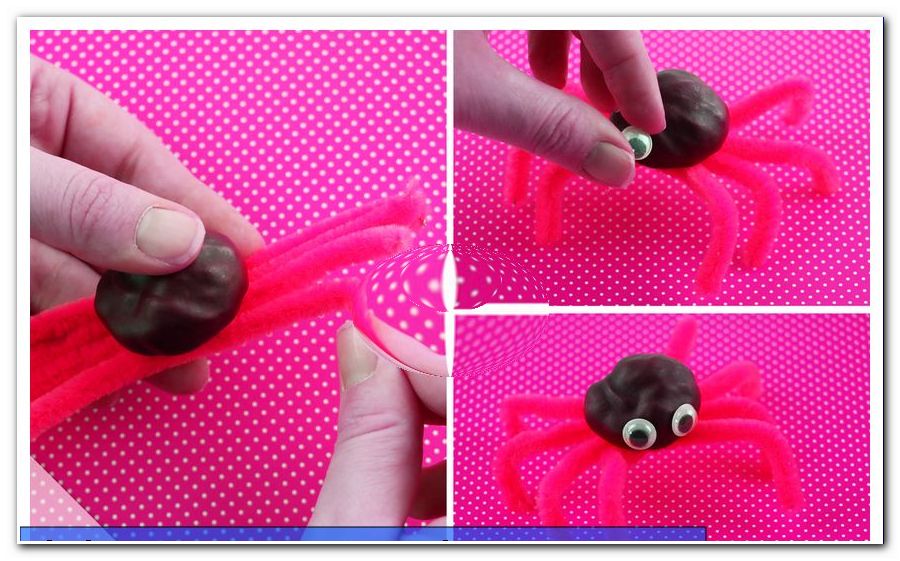
4th step: Now you can align the legs of the spider.
5th step: Finally, the Wackelaugen be attached. These are usually available with adhesive back to buy. Otherwise, attach the eyes with a small blob of hot glue. And the spider is ready!
Let your creativity run wild - pipe cleaners are available in a wide variety of colors. You can therefore make as many and different sized spiders. These are especially suitable as decorative objects on Halloween, to decorate gifts or as small highlights in the flower pot.
Paper craft template
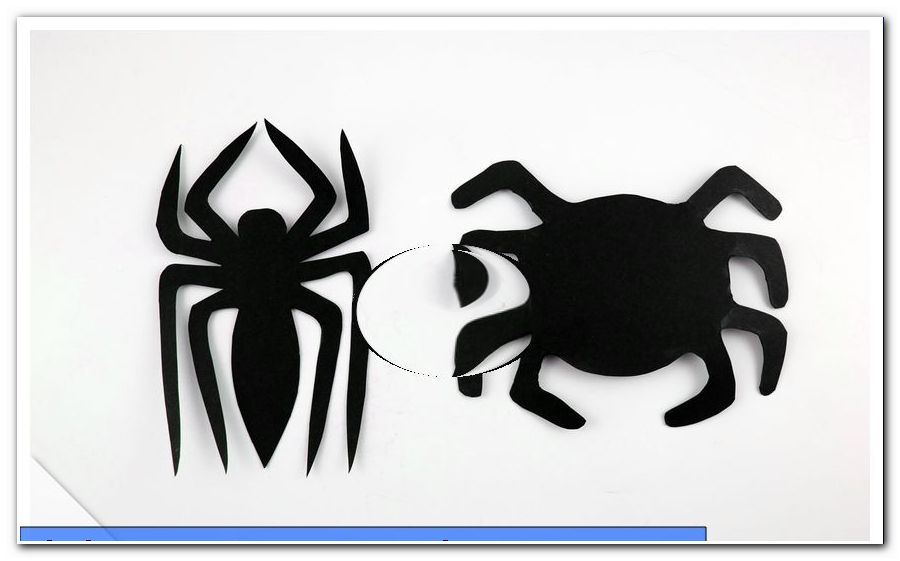
If you want to draw or make a spider, there are two ways to either make the spider as real as possible or make a simple cartoon spider. The main thing is that the circle has 8 legs at the end, because this makes the spider.
With our free templates, you can make 2 types of spiders in 3 different sizes. Our templates serve as a craft aid for stencils or at least as inspiration.
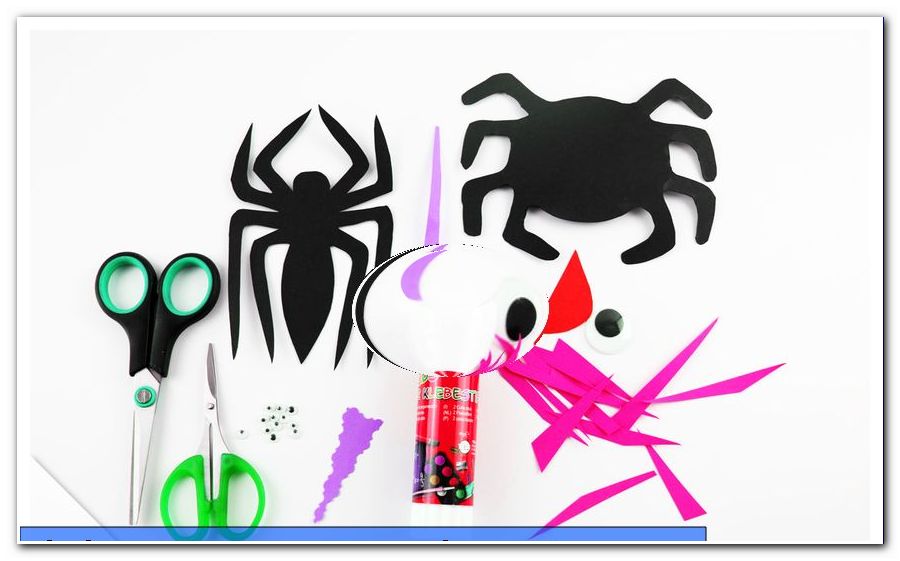
You need for the spiders:
- scissors
- Cardboard (packaging of cereals)
- Our template
- pen
- crafting cardboard
- Wackelaugen
- Crayons, color
- material
manual
Step 1: Print
Print out our free template and choose the desired spider shape in the right size for you.
Click here: To download the template
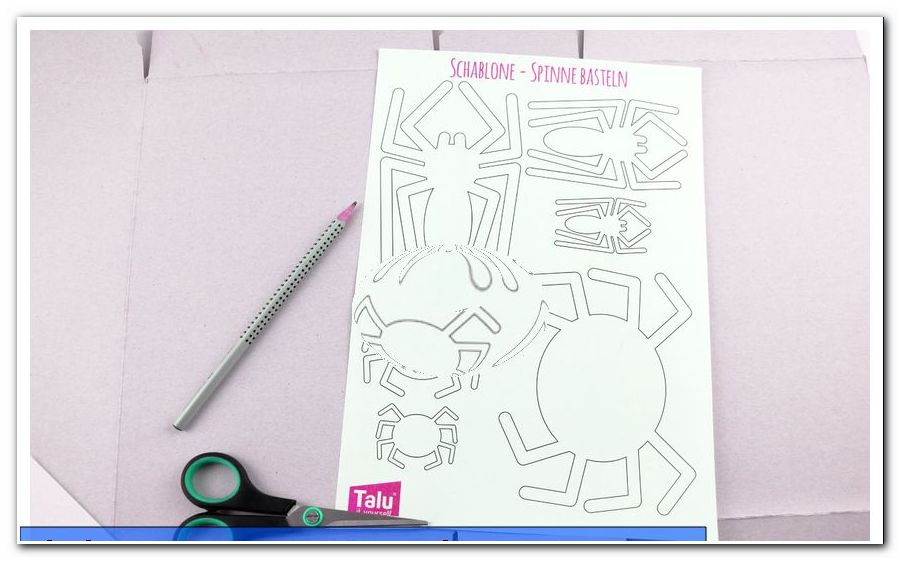
Either use the spider the way it is or change something else. If you like our free stencil to make a spider, you can also immediately glue the sheet to the cardboard and cut it out.
Step 2: Customize
Thinner or longer legs are just as easily possible as modifying the body shape or adding biting tools or a hairy body.
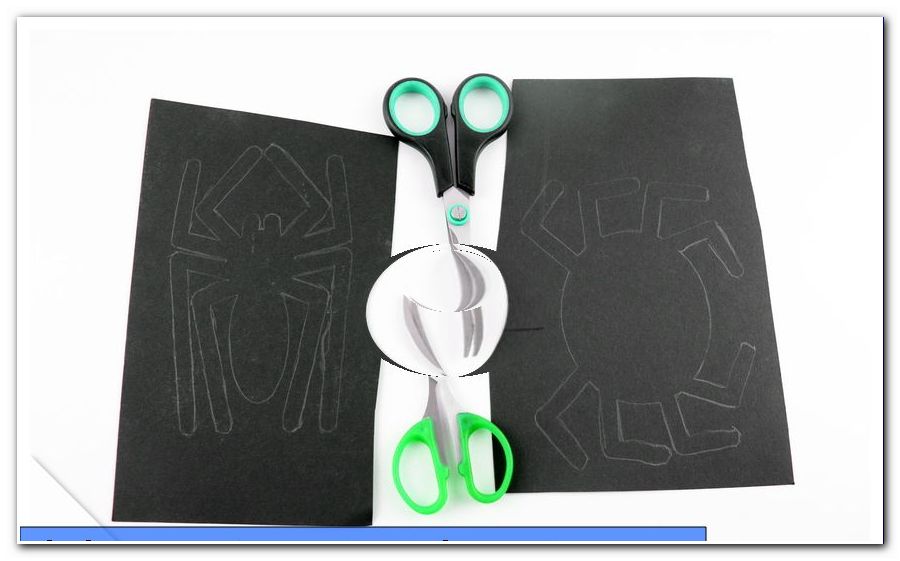
Place the template on a piece of cardboard and transfer the shape with or without changes.
Tip: If you are in a hurry or are particularly lazy, you can cut out just over half of the original and then put it on the other side and finish drawing.
Step 3: Template
Cut the template out of the cardboard. The advantage of using a template is that you can then reproduce the shape as often as you like.
Step 4:
You can now place the template on the crafting board of your choice, transfer the shape and cut it out.
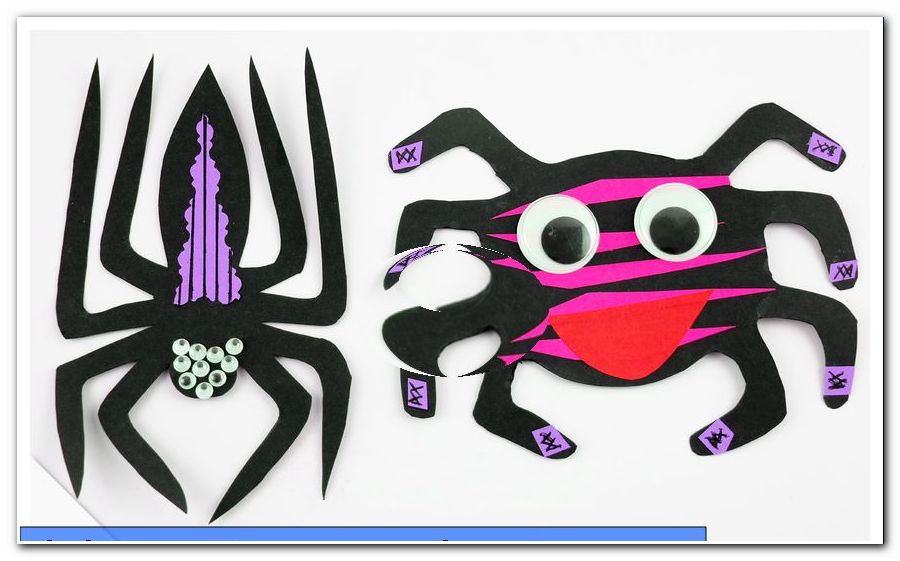
Step 5: Decorate
Now comes the real fun. Glue shaky eyes to the spider or paint a face for her. Stick fuzzy fabric on the body or even colored stripes. The imagination knows no limits. Whether the spider is cute or scary, you miss her own character.
You can also use our spider web templates to combine the two projects: make spider web
Bommel Spider
Make a cute or terrifying spider out of a pompom. A beautiful autumn decoration for your home, for Halloween or for the kids room of your little ones. With our free and simple instructions, the small arachnids are realized very quickly. Or maybe you need a matching, cute gift for your next Halloween party "> 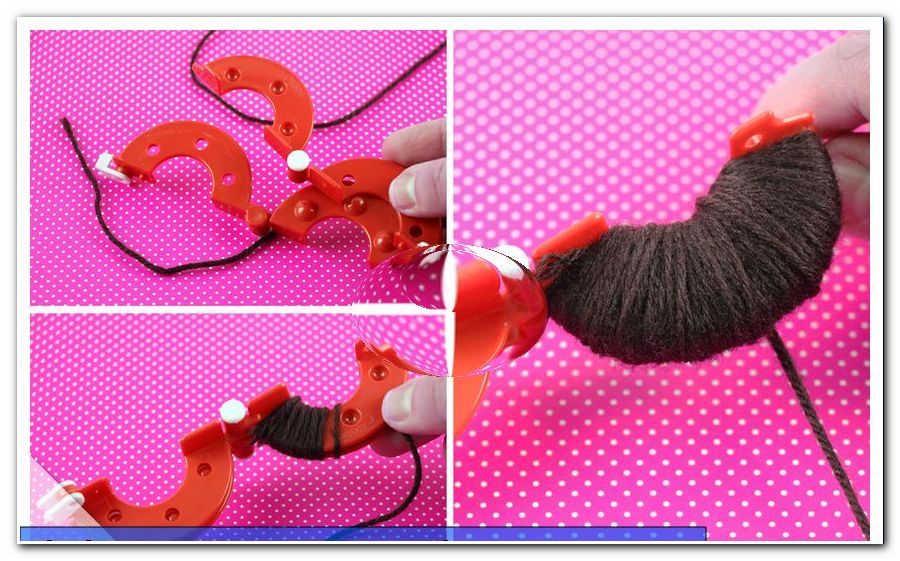
Tip: If you do not have a Pompom Maker on hand, help yourself with two cardboard rings made of thinner cardboard. With a compass you first draw an outer circle, in the diameter of your desired pommel size, and in this you draw another smaller circle. The distance between the two circles determines the later length of the bobbin thread. The larger the distance, the longer the bobbin threads become. You need this version twice for each pommel. The inner circle is cut out, it is best to use a small nail scissors, so you can cut out the circular inner circle shape better and easier. After wrapping with the wool, the cardboard rings are then cut open.
Step 2: Then pick up the light gray wool and wrap a smaller piece over the reddish brown wool from the previous step.
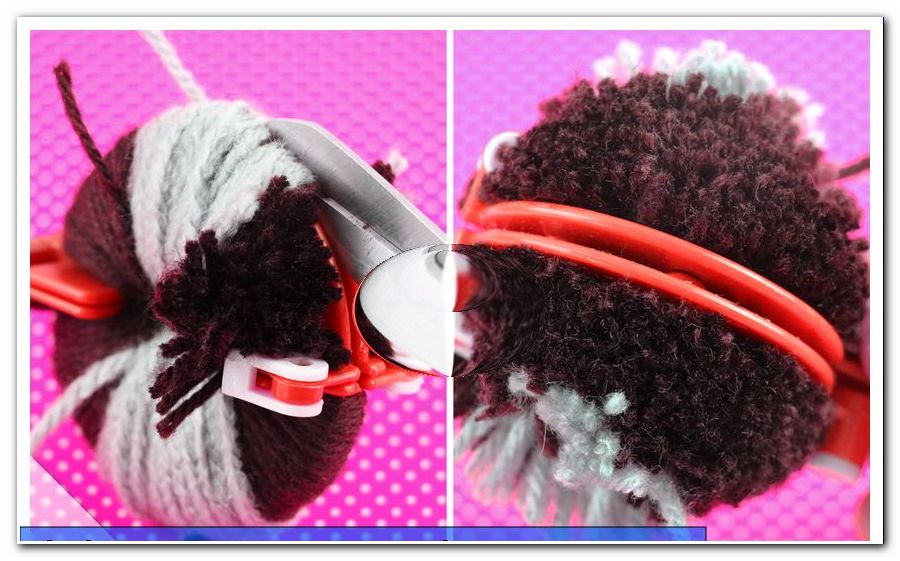
Step 3: Repeat step 1 and step 2 on the opposite side of the pompom maker. Close the Pompom Maker.
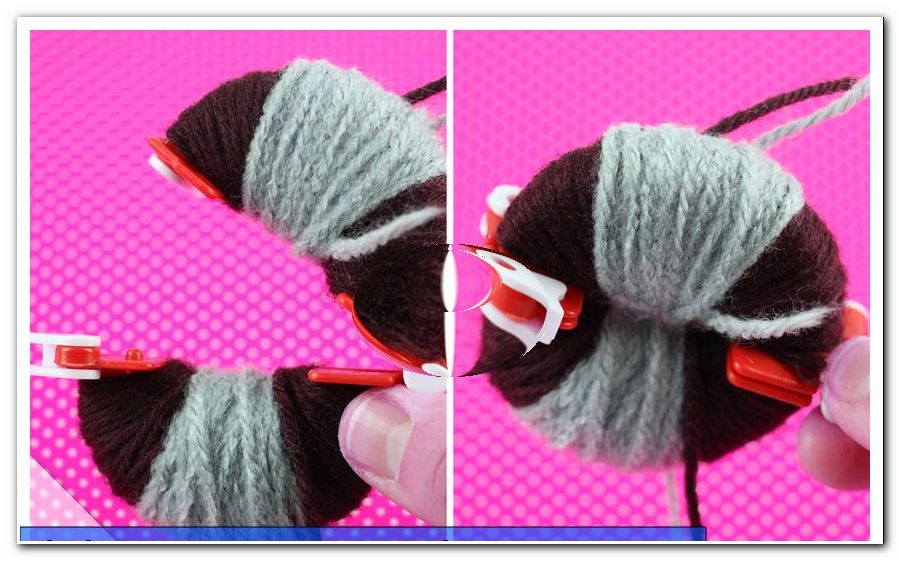
Step 4: Then cut the wrapped wool in the middle between the two Pompom Maker rings with scissors.
Step 5: Fix your bobble with a piece of thread. To do this, place a loop between both Pompom macro rings with a wool thread that is approx. 25 cm long and pull it tight and then knot it tightly.
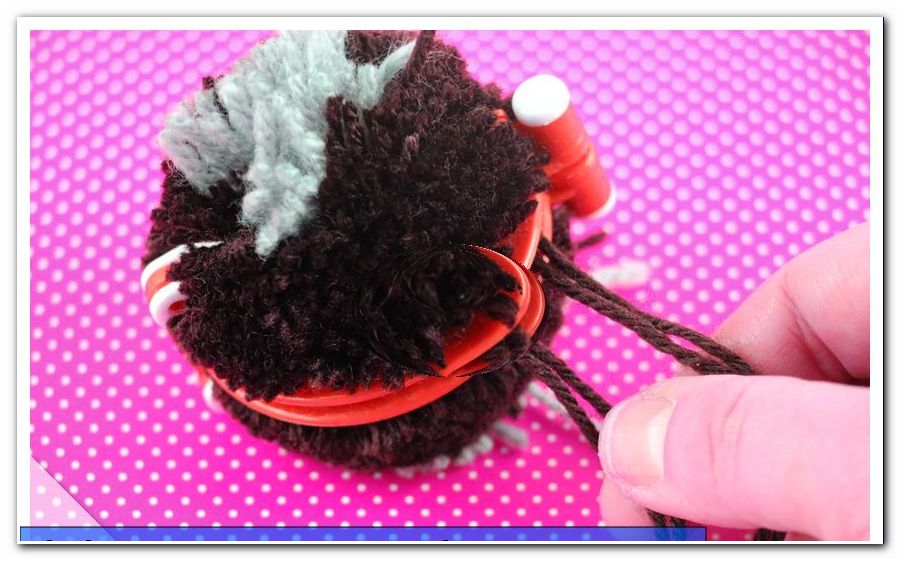
Tip: If you do not cut this loop when blending the pommel shape, in the next step, you can use it later as a suspension loop.
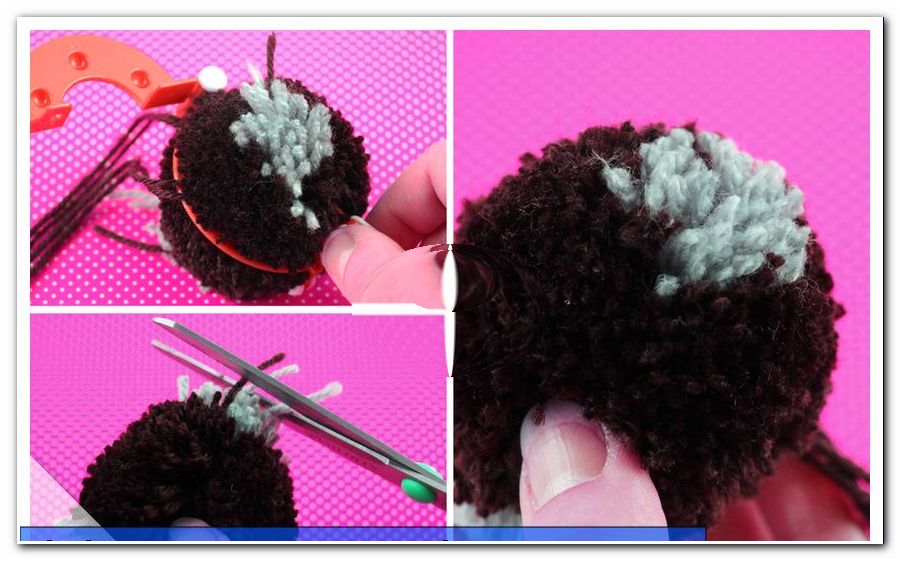
Step 6: Open the pompom maker and use the pair of scissors to cut off the protruding woolen threads and then cut the pompom into a round shape with minor corrections. Be sure to skip the suspension loop if you want to use it later for suspension.
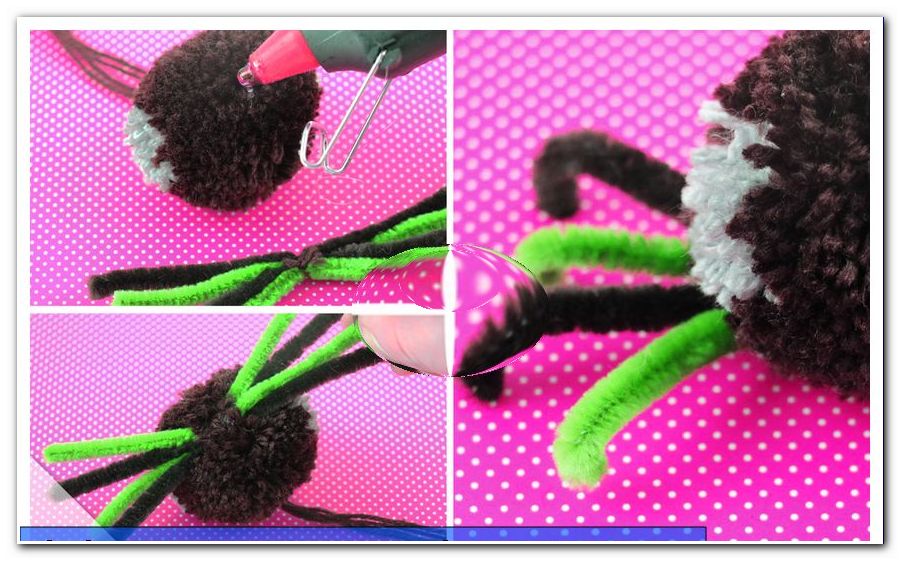
Step 7: Decorate your pompom now in the next steps. First, pick up some colored and black pipe cleaner and cut it to a length of about 15 cm. You need four pieces of the same length. Tie them together with a small piece of wool thread in the middle.
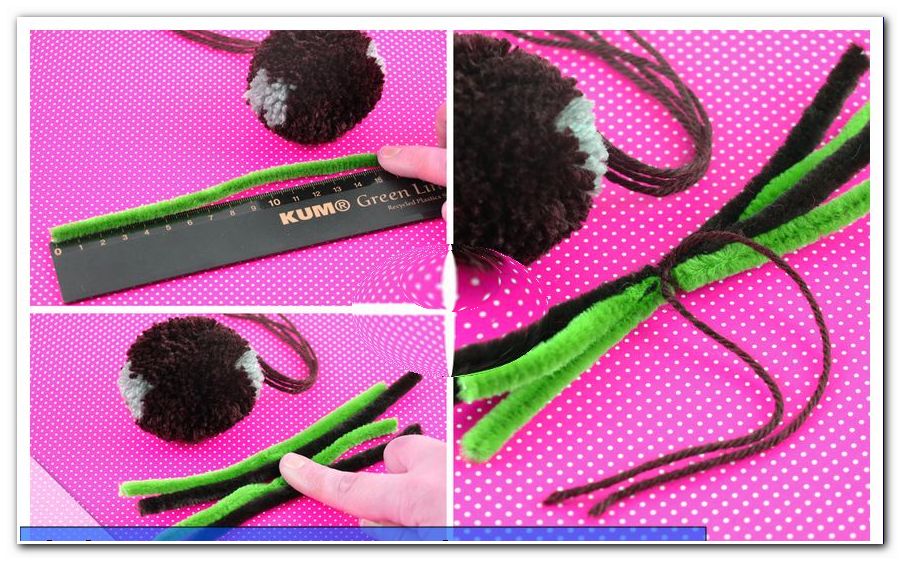
Step 8: Using some hot glue, attach the pipe cleaner to the bottom of the pompom. Then bend the ends of the pipe cleaner down a bit and the eight little spider legs are done.
Tip: For a spider for table decoration, ie without hanging loop, you can crochet with a crochet hook also a few air stitches and as a back row a few fixed stitches, so also produce small spider legs.
Step 9: From colorful buttons and pearls, you finally close your eyes in this step. You can also attach a mouth, in the form of a piece of wool thread, as you wish.
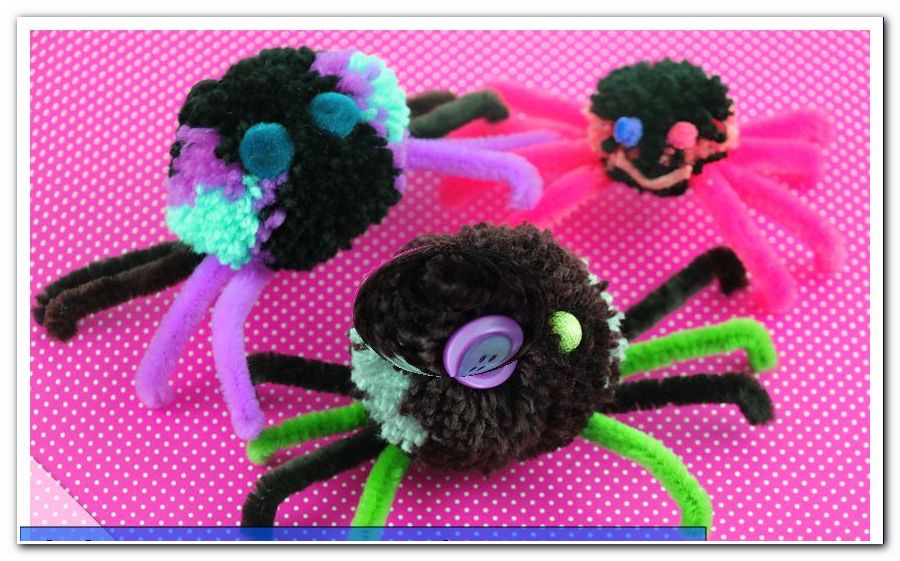
And there you go, your very own pompon spider is finished out of a woolly pompom. If you have not had enough of the spider tinkering, then we have put together another great spider tinkering craft ideas with instructions for you in this post. We wish you and your little ones a lot of fun and joy when working on them.