Make pinata - DIY crafting instructions to make yourself

- Material and preparation
- Make Pinata - the manual
- Tips for quick readers
A pinata is not only an exciting and funny surprise for children and teenagers. Also at many corporate events, a colorful pinata full of sweets or small gifts is presented today. Quite individually and adapted is a pinata, which you make yourself according to our instructions. This allows you to respond to special allergies or tastes. This is often not possible with a purchased Pinata.
In our crafting instructions, we show you what to look for when building a pinata. But it is important for the success of the homemade Pinata that the fun is retained both in crafting and in the look. It shows up later at the party when the character was clueless listless. Although you can make almost any kind of pinatas with the tutorial, the simpler form of the first attempt will make you more successful on the winning road.
Material and preparation
You need this:
- scissors
- cutter
- brush
- Colored felt pens
- Acrylics
- paste
- Adhesive / spray adhesive
- newsprint
- Craft crepe colorful
- Egg carton / carton
- Frans garland
- streamers
- confetti
- Balloon extra large
- garlands
- line
- wooden stick
- Baseball bat / baton

Costs and prices ">
You need for a pinata according to our instructions primarily a little papier-mâché and one or more balloons. This is of course the filling. Some bags of sweets or candy bars will then be added to the bill. Of course you also need a little paint and some glue when crafting.
- Set of acrylic paint - 6 different colors per 75 ml - 14, 00 Euro
- Paste 3, 00 Euro
- Adhesive 3.00 Euro
- Garlands / Fransengirlande 5 meters long - about 2.00 euros
- Balloon extra large - about 3.00 Euro
Tip: The s of the Pinata will later spread over the floor. Fragile or unpacked sweets therefore fall for a pinata. Nevertheless, not only sweets must be included in the Pinata. Erasers, pencil sharpeners and pens are a good complement to a birthday party for newly trained children. For the sweet sixteen party there are hair ties, lip gloss or small bracelets. Often you will not be able to score points with sweets anyway.
Often the baton is forgotten in the planning. Make sure that a sufficiently stable racket is present at the party, otherwise all the effort was in vain.
Make Pinata - the manual
Fortunately, our Pinataform is no longer produced as in ancient times. Previously, the mold was made of ceramic. But who wants to pottery a clay figure for a few weeks, then smash it to pieces. Do not panic, despite the round shape of the balloon, the pinata can get any other shape. Cardboard corners or other attachments made of cardboard are simply glued to the base pinata.
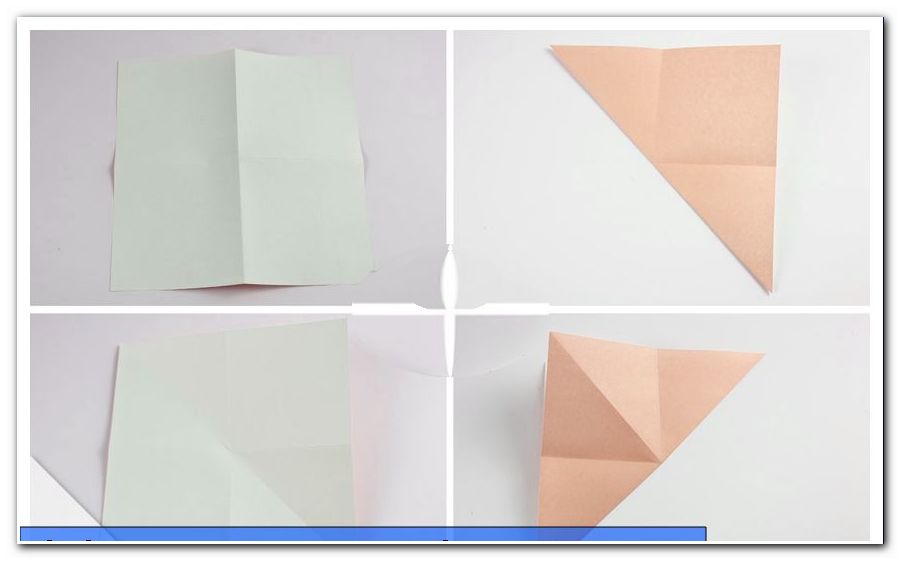
1. Draw
You do not have to be a character genius to draw a rough template for your character. Even with very simple shapes, the drawing helps you to distribute the various decorations. Therefore, your drawing should not be too small. Whether fish, donkey or sunflower, important are not the lifelike details, but the later lush decoration with decoration.

2. Select balloon and inflate
The larger the balloon, the larger the shape necessarily becomes. Many gift shops have special balloons that can hold even larger gifts. These balloons are particularly suitable for the pinata. The balloon should be inflated with some feeling. It has to be well filled, but it should not be stretched extremely, otherwise the fragile material will easily burst when decorating.

Tip: If you plan a much larger shape, you can also take a yellow sack instead of a balloon. But you have to fill it so that you can distribute papier-mâché on it. Styrofoam pegs are the ideal choice, as they can easily be shaken out after finishing so that the sweets can get into the bag. This can be a life-like donkey or the Statue of Liberty model.
3. Pappmaschee
You do not have to make extra style-well-cooked papier-mâché for this tutorial, while glue and newspaper are enough for the big pinata. So that the form becomes even and transitions can pass well, a flour lamp is painted on. It is mixed like a salt dough. This requires 200 grams of flour and a tablespoon of salt. The two ingredients are mixed with about 150 milliliters of water. Make the mixture so thin that you can spread the mass well. Above all, if you stick ears made of egg cartons or the like, you should smear the transitions nicely smooth.
Tip: If possible, no adhesive tape should be used when building the figure. Even plain painters crepping would hinder the destruction of the figure. At the latest at the tenth violent stroke with a stick the pinata should break nevertheless, in order not to make the action to the evening-filling task.
4. Coat the balloon
Mix some wallpaper paste and tear up newspapers.

Mix paste and cold water to feel until the mass has a thick consistency. The mixture should not be too liquid, otherwise you will get problems with the application.

The balloon is then smeared with paste and covered with paper strips.
The node of the balloon must be released. The area around the knot should be spared so far that you can later cut a five-centimeter hole into the balloon.

You should alternately apply newspaper strips and paste until the balloon has received a stiff, solid cover.

Tip: Before applying the right decoration, you should definitely spread several layers of paper and glue on the balloon. By spraying spray glue on the balloon, the thin rubber can be released and the air escapes too early.
5. Attach molded parts
Many figures, especially if they are to show animals, need extensions. Noses and ears can often be made from the cardboard of egg cartons, depending on their size. Larger copies are made from the corners of normal shipping boxes. Be careful not to apply too sharp edges and corners to the balloon as long as it is not really stable and strong. The tail can be made of braided garlands or cardboard rolls. To do this you make a row of empty toilet paper rolls on a rope. They are then decorated with garlands and fringes just like the rest of the animal.
The individual parts of the rabbit can also be cut out of colored paper and cardboard. Only the ears have to be particularly stable, as they have to be glued to the rabbit afterwards.

Fix the ears tightly to the body with several layers of paste and newspaper.

Tip: Colorful carnival hats or oversized glasses can complement the figures in addition to paper wigs or paper beards still very professional. For a bachelorette party or a 30th birthday, the figure may also like to wear some oversized lingerie. There's no limit to the imagination of the Pinatas.
6. Hide the newspaper
So that the party guests later do not have to read the newspaper to get to the sweets, you should end up sticking a few layers of colorful crepe paper on the pinata. Then the figure has to dry out well. But make sure the paper layer is strong enough to let the air out of the balloon without the pinata collapsing.
6.1. primer
If the newspaper layers have dried to a rock-hard layer, then you can just use a colored primer instead of the colored crepe paper. Even left wall paint is suitable for it. The Pinata must then but thoroughly dry again, so that the figure does not collapse.
Tip: As a base color, you should choose a shade that underlines the later decoration. In orange and reddish colors, a bright yellow background is a good complement. For a pink Pinata Lila is a consistent basic color. Even though there is hardly anything left of the primer later on, you should still not choose a plain simple color. After all, the pinata should only be fun for a short time and should not be a permanent addition to the device.
7. Stick on the decoration
You can cut long narrow strips from crepe paper yourself and attach them around the pinata. For this purpose, only one end of the long strip is glued. However, it is easier to use finished garlands and to stick around the pinata figure. The good old saying "less is more" is absolutely not true for a pinata. This must not be messed up. A party-type party must be absolutely exaggerated and overcrowded decorated, so that it can unfold its full effect.

Tip: do not forget the eyes. Even if you have not grown your nose or ears on the figure, you should still attach great expressive eyes. This includes long eyelashes. They are cut from shiny metallic paper from the crafting supplies. Depending on the size of the eyes, take a wide strip of paper and cut the strip to a margin about two centimeters wide. At this edge, the false eyelashes are then glued over the eye in a curved arc.

8. Fill the Pinata
If you cut out the knot of the balloon, the balloon is usually easy to pull out. It is better for the party, if the balloon does not stay in the figure, because the candy does not fall out otherwise and the figure hardly bursts properly.

The pinata is now filled with the sweets. These must each be individually packed as possible. As a supplement, confetti made of metallic paper is a shining matter. Depending on who needs to clean the floor later, you can also mix glitter and small shiny stars between the candies. For this also unrolled streamers are incorporated. These should also be made of glossy metallic paper if possible.

Tip: Be aware of your own Pinatafüllung allergy. Whether it's a lactose intolerance or a gluten allergy, you should take care of that. Many children and adults are allergic to certain types of nuts. The party would soon end if you had to call the ambulance. This is one of the huge benefits of self-made Pinata - get the benefits!
9. Close the hole
The hole that you have cut to fill in the figure must now be very durable again closed. There are very different possibilities. You can use a very thick cork, perhaps from a good bottle of sparkling wine, or paste a paper lump of kitchen paper and newspaper. Turn some newspaper to a thick stopper and grease it with the kitchen crepe. The crepe paper should first be soaked in paste. The entire plug should be slightly thicker on the outside, so you can safely plug the hole.

Tip: If you have a lot of time, you can do this before the final decoration. Then the hole and the smeared area can be concealed well under a thick nose or tail. In any case, it is ideal if the opening is placed as high as possible on the pinata. This prevents premature falling out of the surprises, because the opening will always remain a weak point in the figure.
10. Attach the suspension 
 The suspension should be grown on the back or on the top of the pinata, but a punctual suspension is usually not enough. So either two small holes are inserted at a certain distance at the back. This will then result in a durable cord. This may be decorated with garlands or streamers at the top.

The second variant is a bit more stable and consists of a narrow piece of wood and a string. A round stick gets in the middle of a small groove. In this groove, the cord is knotted. The rod is then pushed with the knotted cord through a small hole in the figure. The end of the string remains outside! If the stick hangs freely in the figure, the string can be withdrawn. Then the stick hangs crosswise in the inner shell of the figure and holds the weight over a slightly larger area. The advantage is also in the very small hole that is required for this suspension.
Tip: Also decorate the baton with crepe paper. A simple baseball bat or simple baton looks a bit naked for the occasion. For hitting, by the way, hockey sticks are well suited if no wooden club is available.
Tips for quick readers
- Select form and
- make rough drawing of the figure
- Inflate the balloon and glue it with paper strips
- Leave knots generously free
- Adhere molded parts / ears / tail
- Round off edges with paper / meal pulp
- Prime pinata or wrap with crepe paper
- Attach decoration - do not save with decoration!
- Glue or draw eyes and eyelashes
- Cut cardboard and fill
- Pull out the balloon as carefully as possible
- Allergies take into account when choosing sweets
- Close the pinata hole again
- Decorate hole and adjust to color
- Attach suspension to the back