Making lavender oil yourself - recipe and instructions

- Ingredients for lavender oil
- Lavender oil - instructions
Lavender oil is versatile and easy to make yourself. Our comprehensive DIY guide on making lavender oil will guide you step by step through the procedure, which does not take up too much time actively. So you are fully informed and can create your own aromatic oil from the comfort of your own home.
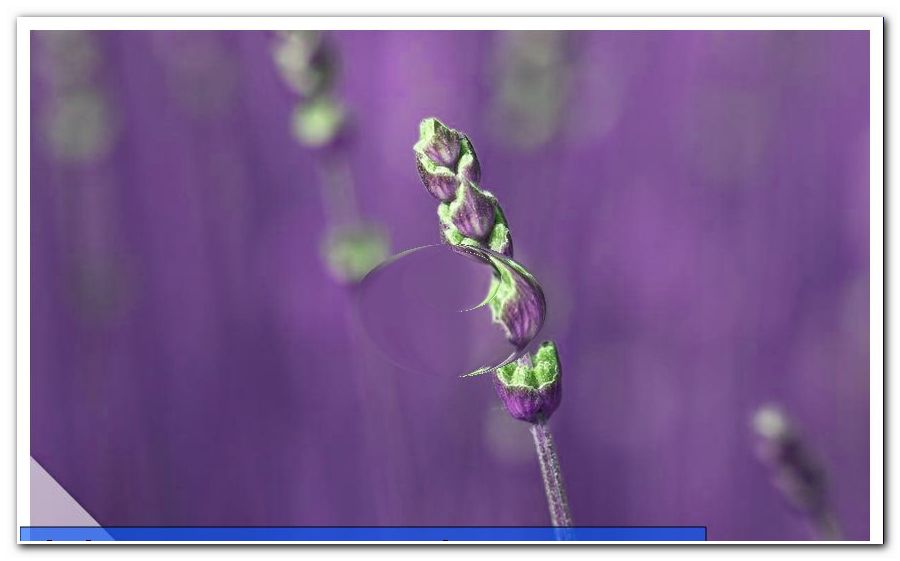
Lavender not only looks adorable, but also has valuable benefits. The dainty plant with purple flowers is used in various fields:

In the kitchen, it is used as a spice for various dishes - from lamb to fish to salad. Packed in small bags, you can also put the fragrance-intensive flowers in the closet and drive so moths away or keep away. In addition, the lavender plant in general and lavender oil in particular, a health-promoting effect is said. Among other things, lavender products are said to help with rheumatic complaints, stress, anxiety and insomnia. Specific application example: If you frequently suffer from headaches, you can apply a few drops of the oil to your temples. Of course, the oil also makes a wonderful utensil for sensual massages.
All of these reasons, and the fact that it's easy to do by yourself, argue for making lavender oil at home.
Ingredients for lavender oil
To make lavender oil, you can use both the young shoots and leaves as well as the flowers. You should do without the thick, woody areas that are near the root. How to achieve a fragrant result.
This guide shows how to macerate the aroma of lavender flowers with the help of oil. The maceration is a cold extract - a method by which ingredients from vegetable raw materials can be solved. The finished oil is then called macerate.
Tip: The flowers contain the most flavor. If you want a particularly intense fragrance, so it is primarily on the purple splendor.
We advise you to work with dried lavender. Although it is theoretically possible to use fresh branches, this is always accompanied by two disadvantages:
- The aroma is less intense.
- The risk of oil becoming rancid is high.
As far as the choice of oil is concerned, it is important to ensure that it is cold-pressed and as odorless as possible. In the case of intensively smelling oils, there is the danger that it limits, covers or even falsifies the lavender scent. Suitable and correspondingly frequently used oils for macerating the lavender plant are, for example:
- olive oil
- rapeseed oil
- almond oil
- safflower oil
Tip: For safety's sake, smell the oil you want to use.
Important: Make sure you put the lavender oil in a glass container (the size of a jam jar is optimal). Lavender can react chemically with metal or plastic, which can sometimes lead to problems both during production and during subsequent use.
Utensils - you need:
- dried lavender elements
- cold pressed and odorless oil
- lockable glass jar
- Gauze or cheesecloth
- small glass bowl
- dark glass vial (for the finished oil)
- optional: vitamin E (as oil or in the form of a gel capsule)
For drying fresh lavender branches:
- String or rubber bands
Lavender oil - instructions
Step 1: Collect or buy lavender
First, it's about getting lavender twigs for your home-made aroma oil. There are two options to choose from:
- to collect in the garden
- buy in the retail market
Option 1: Collect in the garden
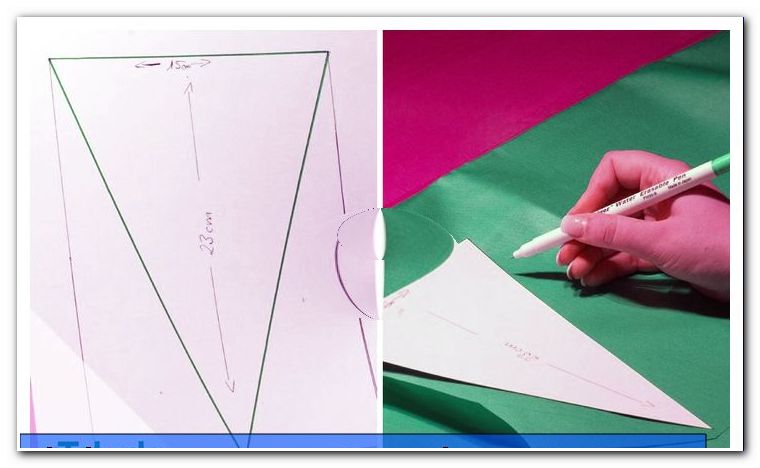
If you have lavender in the garden, you can use your secateurs to cut off at least 15 centimeters long branches, including the pretty flowers.
Tip: Keep in mind that one or two umbels usually suffice for a small gift bottle. Nevertheless, it is recommended to cut more lavender than you think you need. If the first result is not intense enough for you, you have at your disposal replenishment.
Option 2: Buy from the retailer
For a dried lavender bunch with a weight of about 100 grams, you pay about ten to 15 euros. Although the price is not cheap, but the amount is sufficient for a small vial of aroma oil but absolutely.
Note: The cost of home-made lavender oil is higher than for a ready-made if you have to buy the branches in the retail store and can not harvest in the garden. However, your own creation comes with a decisive advantage: you alone decide how intense the fragrance should be.
2nd step: dry lavender
Buy dried lavender, you can skip this step of our guide.
If you want to extract fresh lavender scent, you should first dry it. To enhance the aromatic fragrance and reduce the risk of your oil becoming rancid.
Tie the lavender twigs together in a bundle with a string or rubber bands. Hang the bouquet upside down in a warm, dry place.

Note: Even if a warm, dry place is required, do not expose the bouquet of lavender directly to sunlight. Although it would dry faster under these conditions, it would also lose a (substantial) portion of its essential oils. So place the branches better in the (warm) shade.
Freshly cut lavender takes up to two weeks to dry completely. Courageous (or rather impatient) people can match different aroma oil manufacturers and stop the drying process in one to three days - at a time when the lavender is withering but not crumbly. But do not be surprised if the oil spoils quickly due to the short drying time. It is advisable to be patient.
Step 3: Mash the lavender pieces and fill in the glass
Crumble the dried lavender pieces with your hands. Alternatively, gently crush it with a heavy object. Use buds "> 
Important: Both your hands and the used items must be clean. Wash the utensils thoroughly before you start working. And: Dry them carefully too, as oil in combination with water can affect the aroma of your lavender oil.
Fill the prepared lavender pieces into the glass container.

Note: Of course, the glass must be completely clean and dry.
Step 4: Pour lavender with oil
To macerate, sprinkle the crumbled or crushed lavender pieces with your favorite oil. The elements should be completely covered with the liquid. Leave 1.5 to 2.5 centimeters of space at the top so that the lavender can expand in the vessel. Close the glass tightly.

Step 5: Let lavender soak
Now is the time to let the lavender pick you up. You have two options to choose from:
- Sunlight (slow)
- Water bath (fast)
Variant A: sunlight
If you prefer the natural approach and bring the necessary time and patience, it is best to opt for the sunlight variant. Place the jar of lavender oil in a sunny place. You now have to wait at least 48 hours to get a hint of lavender scent. Leave the jar for three to six weeks to get a great result.

Important: The place should be consistently warm (the windowsill is too cold at night ...).
Variant B: water bath
If you lack time and patience, or if you can not offer a sunny spot to your lavender glass, there is a quick alternative that works well if you follow the guidelines.
Heat water in a large pot to 38 to 49 degrees Celsius. Put the lavender glass in the water bath and leave it there for two to five hours. The water should completely cover the glass.
Important: The temperature must be constant between 38 and 49 degrees Celsius. Therefore, the method is only recommended if you:
a) have a good controllable heat source and
b) have a Einkochthermometer.
Too high temperatures have a negative effect on the aroma and the durability of the lavender oil.
Step 6: Drain the lavender oil
Pick up a piece of gauze or cheesecloth and place it over a small glass bowl. Then pour the lavender oil into the bowl. The lavender pieces stick to the cloth and can be easily disposed of.

Tip: Do not throw the lavender parts in the trash, but dispose of them after the last step of this manual on the compost heap in your garden. So you can reuse the pieces later indirectly.
Intensify aroma (optional)
Get a taste of your lavender oil. Does it meet your expectations or do you want to intensify it again ">
Note: The procedure can be performed again if necessary. So do not overdo it with the addition of dried lavender pieces - not that the fragrance gets too intense in the end.
Add vitamin E (optional)
Finally, you can add a dash of Vitamin E to extend the shelf life of your lavender oil. This always makes sense, but especially if you do not have a dark, cool place to store the oil, or if you plan to preserve the home-made aroma oil for a longer period of time (several months).
Whether you stir a few drops of vitamin E oil from the pharmacy into the mix or cut a vitamin E gel capsule and pour the s into lavender oil does not matter. Both variants are suitable and have the intended effect.
Step 7: Press oil out of the cloth
Gather the gauze or cheesecloth with the pieces of lavender and squeeze it out over the glass bowl. Press hard to get as much oil out of it as possible.
Step 8: Fill the vial with lavender oil
Put the finished lavender oil in a dark glass vial. This prevents the loss of aroma that usually follows when the oil is too long or too exposed to light.
To be able to use the lavender macerate for several months, it must be kept in a dry, cool and light-protected place.
Tip: Would you like to give the oil away? Then it is recommended to lift the vial a bit more. Tie a few fresh or dried lavender flowers with matching ribbon or yarn around the neck of the bottle. Done is the great present!
Lavender oil fun in the bathtub
To conclude our guide, a little tip with great relaxation potential: Pour five to ten drops of your homemade oil in the hot bubble bath and enjoy the beneficial aromatherapy!
Use lavender oil for DIY soap
You can also use the lavender oil to refine homemade soap. How exactly this works, you will find out here: Make lavender soap yourself