Knitting V neck - Instructions for lace neckline
- Material and preparation
- Knitting V-neck
- Share mesh
- Knit left half
- Knit right half
- Quick start Guide
- Possible variations
A v-neck gives sweaters, vests and Co. a classic look and blends well with blouses worn underneath. Necklace pendants are also perfect for a pointed neckline. In this beginner's guide you will learn how to knit a V neck to your desired measurements.
A simple jumper with a rectangular cut will be a good idea for a knit beginner, but you have no idea how to make a V-neck "> Material and Preparation
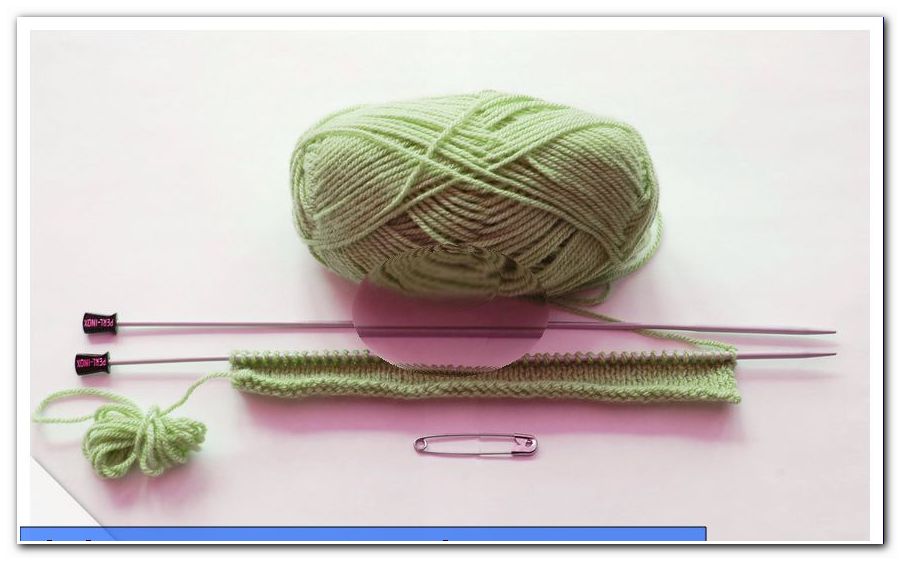
The choice of material is very simple: you use the same wool and the same knitting needles for the V-neck as for the rest of your jumper. In addition, you will need a fast motion. Alternatively, you can use a large safety pin.
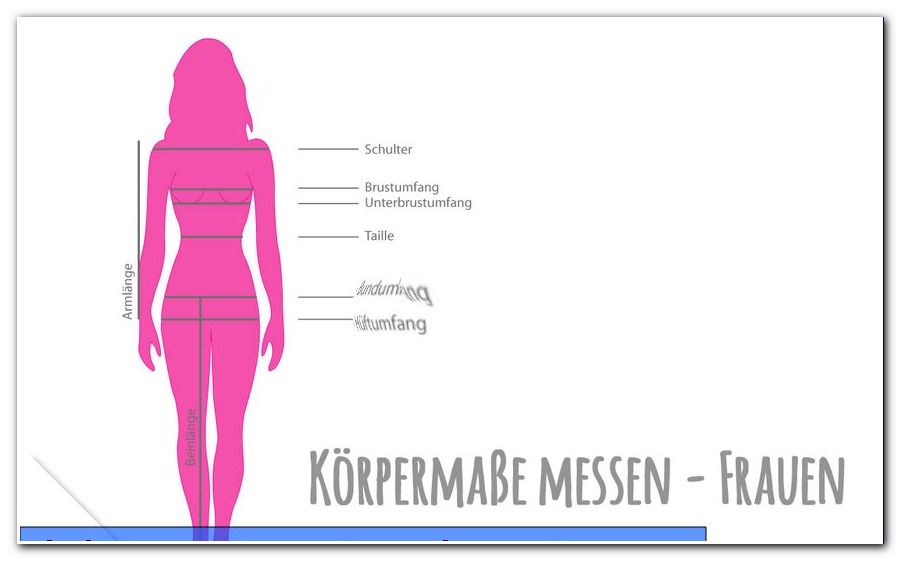
Surely you have already made a stitch test before you started the actual project. You have determined how many stitches and rows correspond to ten centimeters width or height. You need these measurements to make the pointy neckline possible.
In addition, you should now specify the height at which the neckline in the chest area should begin. Measure the distance from the desired starting point to the point at the neck, which is at a height with the shoulders. The result depends on the overall length of the pullover. Now you know how long you have to knit the front piece before you start with the neckline.
Second, consider how wide the V-thighs should go, that is, how far the neckline should reach onto the shoulders. Measure the distance between the desired point and the same point on the other side.
You need this:
- Wool and knitting needles as for the rest of the sweater
- Fast motion or big safety pin
Knitting V-neck
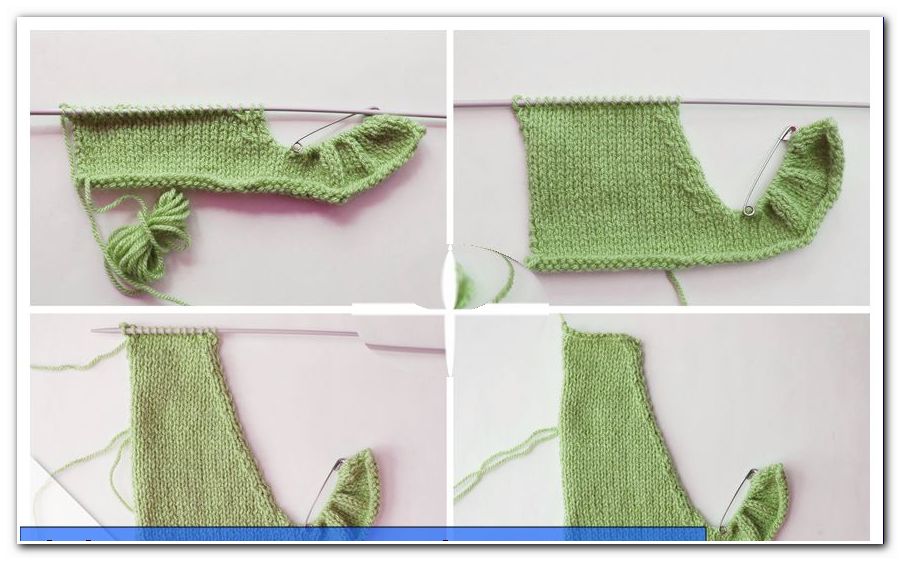
Share mesh
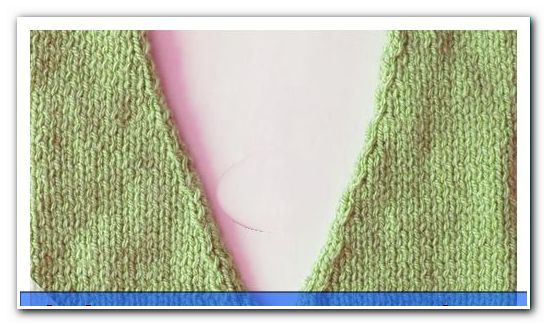
Knitt the front of your sweater up to the point where you want to start the lace neckline. Make sure that the last knitted row is a back row.
Tip: Outline means that you look at the front of the work while knitting. The opposite is a back row.
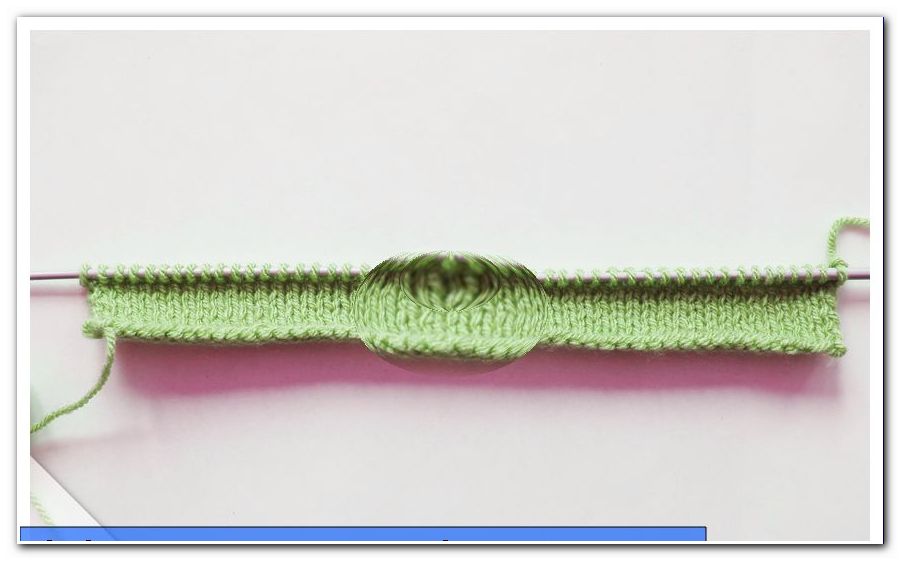
Knitting the following back row exactly in half. The stitches that you have not knit yet, then slide on a stitch or a safety pin and put it there. The parts left and right of the V-section are worked separately.
Tip: If your mesh size is odd, knit the last stitch of the first half with the extra one. Insert into both stitches and knit together. As a result, a mesh disappears.

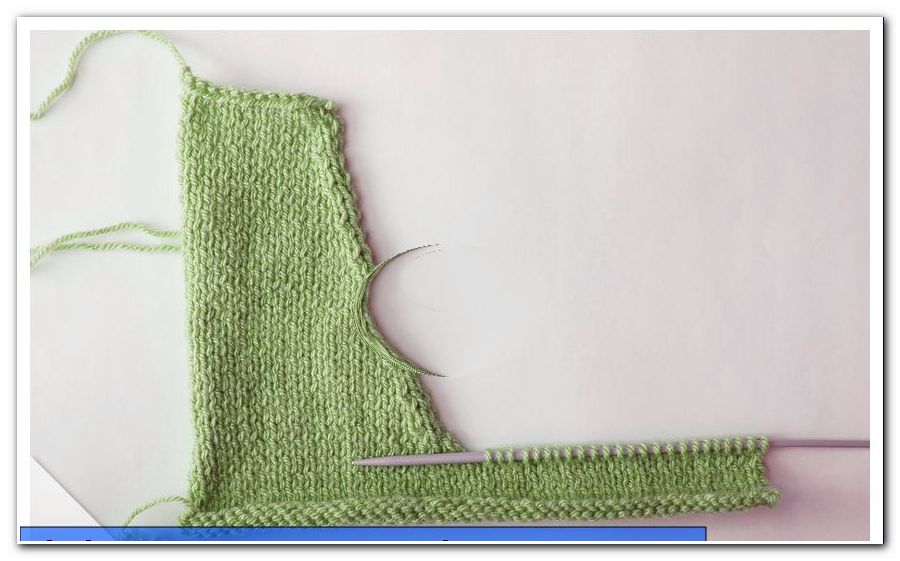
Knit left half
You will now start with the part that is located to the left of the section, viewed from the front. To create a slope for the first V-leg, remove a stitch at regular intervals. Use your mesh to calculate how many stitches you will need to lose to get the neckline to the predetermined size. The easiest way is to perform the declines only in rows, for example in every second or fourth row. In order for the slope to become even, it is important that the distance between the decreases always be the same.
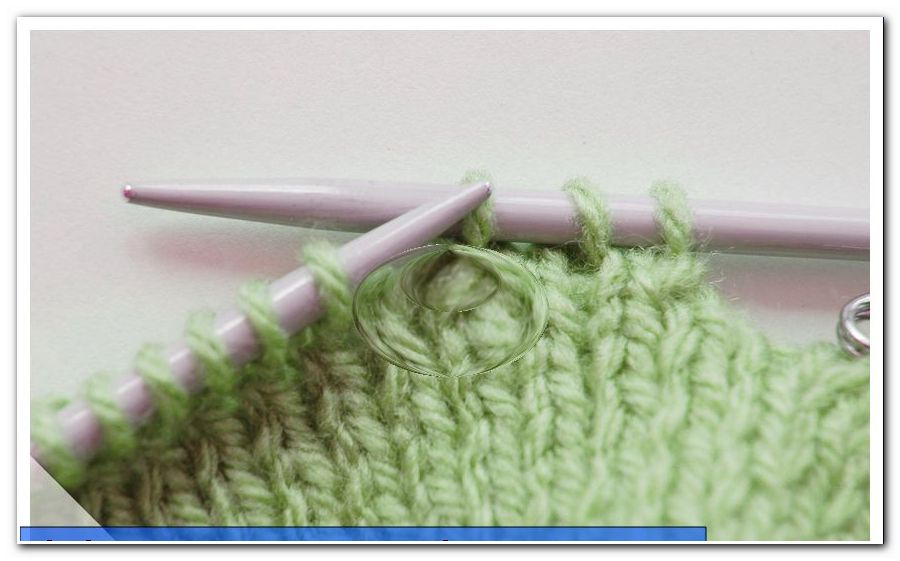
For the left half, remove the stitches inclined to the left so that they are parallel to the slope. This works as follows:
1. Lift a stitch from the left to the right needle without knitting. The thread lies on the back of the work.
2. Knit the next stitch normally.
3. Pull the lifted stitch over the knit as if to tie it off and drop it.
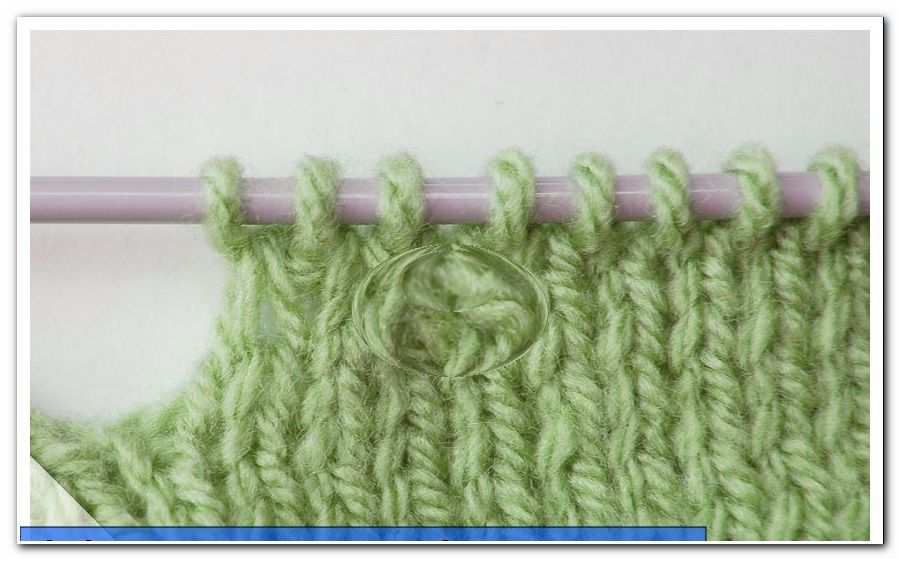
You always carry out this decrease at the calculated distance. To make the bevel at the neckline, be sure to remove the stitches from the edge facing the middle. For a uniform edge, there must be at least one stitch between the edge and the edge. You can also do the removal a few stitches in front of the edge. This emphasizes the neckline more. It is important to always keep the same distance to the edge, so that the visible decreases are even. We removed every four rows with two stitches from the edge.
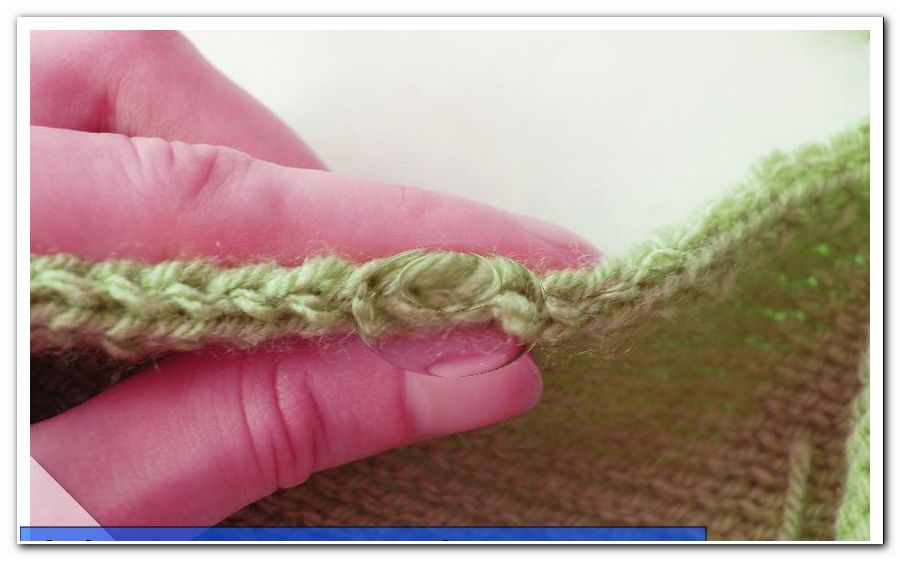
Use decorative edge stitching for the edge of the neckline. Well suited is the Kettrand. Slide the first stitch of each row onto the right needle without knitting. Lay the thread at work. The last stitch before the end of the row always knit right. It creates a pretty braid along the edge.
Knitt with the edge of the kitten and regular decreases until you are at the level of the shoulder seam. Unlock the remaining stitches.
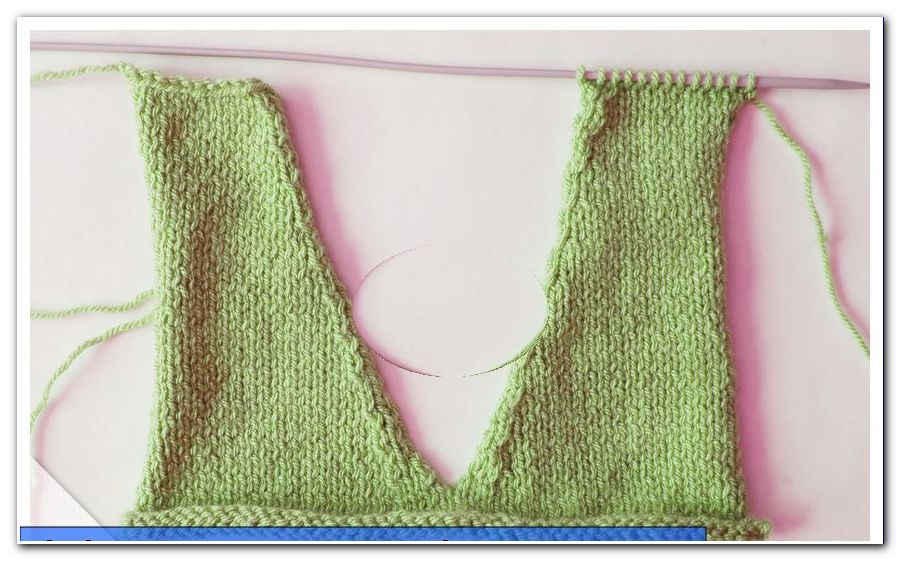
Knit right half
Put the disused stitches back on a knitting needle. Knot the thread in the first stitch as seen from the center.
Now bring the back row to an end, which you previously knitted only with the stitches of the first half. From the next row onwards, at the same rhythm as the other part, remove stitches at the edge of the detail. Remember to keep the same distance from the edge and knit the edge stitches the same way.
Since the slant in the second V-leg is in the other direction, the decreases must be the other way around. The right-angled decrease knit as follows:
1. Knit a stitch as normal.
2. Slide this stitch back onto the left needle.
3. Lift the second stitch on the left needle (the first unstretched) over the knit and drop it.
4. Take the already knitted stitch back onto the left needle without knitting it again. The thread is behind the work all the time.
Knit the second half to the same height as the first, and chain all stitches. The V-neck is ready!
Quick start Guide
1. Split the stitches in half. Rest the right-hand part.
2. Take one stitch at an even rhythm, one left each along the cutting edge. Always keep the same distance from the edge.
3. Tie off the first half as soon as the neckline is high enough.
4. Take the disused stitches back and knit the second half as the first one. Use this time the right-angled decrease.
Possible variations
1. For a simple, casual sweater, it's enough to split the stitches in half and knit both pieces separately without removing them to make a V-neck. Note that in this variant, you must also incorporate the same cutout into the back piece so that both sides of the pullover get the same width. The V-shape is created by the neck, which pushes the slot apart. The front and back parts therefore continue in the upper part and cover a part of the upper arms. Knitt the sleeves accordingly shorter.
2. You can sew a panel on the finished V-neck. Measure the length of a V-thigh and take two this time. Now use your stitches to calculate how many stitches you will need to get to that size. If necessary, round off to get an odd number. Now hit the stitches and mark the one that is exactly in the middle with a different colored thread. Now knit to the desired width of the panel in a pattern of your choice, for example, alternately a stitch left and right or only right stitches (curled right). In each row you take one stitch to the left and right of the middle stitch. Finally, sew the chipped panel from the back to the neckline.