Making tealight holders out of paper - 4 crafting instructions
- Simple floral tea light
- Tealight in crown shape
- Glowing wind light made of transparent paper
- Instructional Video
- Paper lantern for tealights
- Instructional Video
Dirty candlelight is part of every romantic meal, but also for a barbecue or a wedding. If you enjoy crafting and want to spice up your table decoration, these crafting instructions for paper tealight holders are just right for you. Partly with little effort and almost no cost you can make homemade lanterns - so easy!
Simple, white tealights are only really nice when lit. The purchased tealight glasses often do not fit the rest of the decoration. And every time to buy new ones, if you choose another decoration theme goes into the money. You can tinker tealight holder yourself. With simple construction paper or transparent paper, which lets the light shine through, you can be very creative.
We have put together 4 craft ideas for homemade lanterns for you. There's something for everyone.
Attention: Even if you use tealight glasses while making them, never leave the candles unattended.
Simple floral tea light
Our first crafting idea is simple but decorative and depending on the template for many different occasions to use. The paper lantern can have any shape you want. Whether flowers for spring or stars for Christmas, with this idea you spice up every tealight. You only need one template.
We will now show you how to make a floral tea light yourself. You need:
- Tonkarton
- tealight
- Flower template
- Scissors and pen

Click here: To download the craft template
Step 1: At the beginning you need a crafting template. For example, you can print out our flower template. If you have chosen one of the three flowers, cut them out.
Step 2: Now transfer the outlines of the flower to a sheet of cardboard in the color of your choice. Bright and friendly colors like yellow, orange or even light blue are especially suitable for the spring and the floral motif. Cut out the flower again.

Step 3: Now pick up the tealight. Place it in the center of the flower and circle the entire outline of the tealight with a pencil.
Step 4: Divide this circle into six equal pieces with a pencil.
Step 5: Carefully prick the tip of the scissors into the center of the circle. From the center point, the six pieces must now be cut.
Step 6: Now bend these six triangular pieces upside down.

Step 7: Before it goes to the decoration, put the tealight in the holder. The tips of the triangles then point down. So you can put the tealight easily, cut the tips easily.

Step 8: Now it's time to decorate! Depending on the motif and occasion, you can decorate, paint or even stick the finished tealight. If you have decided on an elegant template, you usually do not need much decoration. A few glittering stones there, there a curved line, the tealight holder made of paper is ready!
 Tealight in crown shape
 Tealight in crown shape
 Make this lantern holder lightning fast. The crown shape is reminiscent of a flower and fits perfectly into the spring and summer. You need:
- Working creatively
- Tonpapier or Tonkarton
- tealight
- scissors
- glue
Step 1: At the beginning you need our crafting template. Print this out and cut out the pentagon with scissors.

Click here: To download the craft template
 Step 2: Now transfer the outlines of the pentagon to a piece of cardboard in the color of your choice. This must also be cut out.
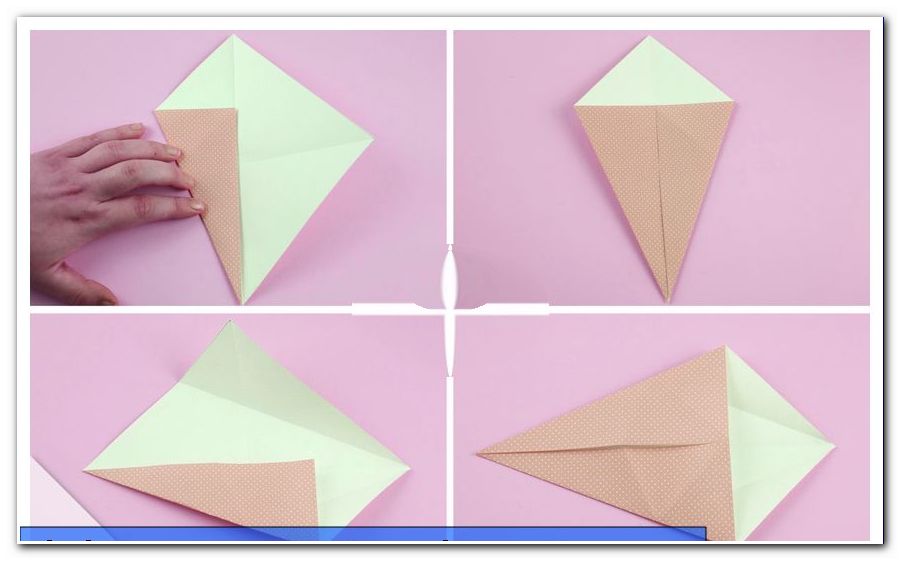
Step 3: Now fold the connecting lines of all opposite corners. The fold pattern results in a five-pointed star after folding all five lines.
Step 4: Now fold two adjacent peaks together so that they fold in the middle of the two peaks. Repeat this process on all other four pages.
Step 5: The five resulting fold lines are now cut with the scissors to the edge of the inner pentagon.
Step 6: Now you need the craft glue. The two pieces cut apart in step 5 now stick together again. Stick so that they overlap. Repeat with all other four pages. Always stick the same surface back and forward to make the tealight holder even.
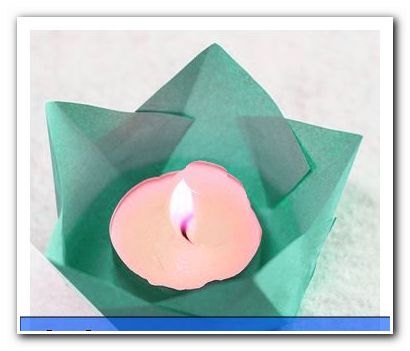
Now all you have to do is put the tealight in the middle and light it - done!
 Glowing wind light made of transparent paper
 Glowing wind light made of transparent paper
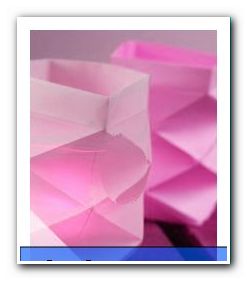
 Transparent paper is best for indirect light and warm candlelight. The semi-permeable paper is available in many colorful variations. Whether you want to make lanterns in the summer for a barbecue party or in autumn the living room in natural tones diving, this crafting guide is ideal for all occasions. All you need is:
- A4 sheet of tracing paper
- double-sided adhesive tape
- tealight
- Teelichtglas
Step 1: Place the A4 sheet lengthwise on the table in front of you. Fold a 1 cm wide strip on the left, short side.
Step 2: The strip still folded, fold the left half once to the right center. This fold is opened again.
Step 3: Now fold the left side towards the center line created in step 2 and open this fold again. Repeat this with the right side.
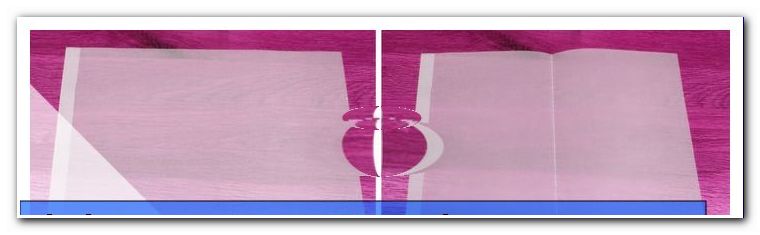
Step 4: Now repeat steps 2 and 3 with the long side of the bow so that you finally get this fold pattern:

Step 5: Now it gets a bit harder. Fold in the rectangles of the two inner rows of diagonals. This is what the fold pattern looks like:
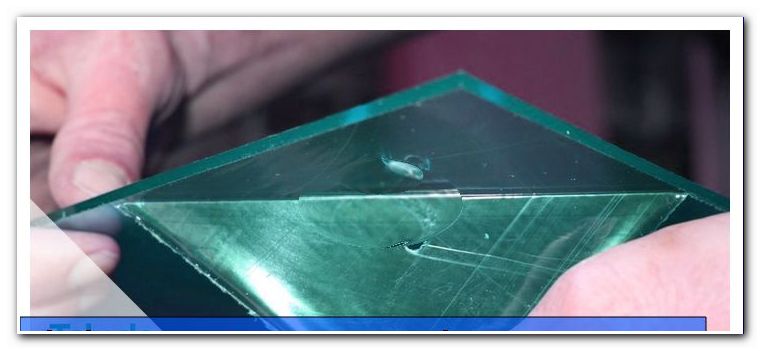
Step 6: Now open the 1 cm wide edge and cut out the bottom small rectangle with scissors. The parallel fold lines to the right of this cut to the length of the rectangle.

Step 7: The top, opposite row of rectangles now fold in twice. This will be the final edge of the opening.
Step 8: Now has to be glued. Now connect the adhesive strip on the left with the right, short side. It's best to use double-sided tape for this. Glue so that the tab is inside the lantern.

Step 9: Now only the four bottom surfaces have to be closed and glued.
Step 10: Now carefully fold the lozenges created by your diligent folding work. The lantern gets such a kink effect.

Put the tealight glass together with the tealight into the lantern and the homemade tealight is ready.
Instructional Video
 Paper lantern for tealights
 Paper lantern for tealights
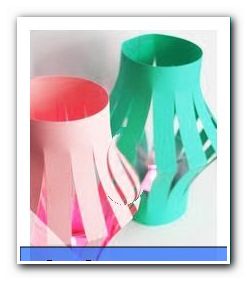
 This tealight variant is more for design households. Simple and elegant, this paper lantern can be used for any occasion. Everything you need for it:
- A4 paper or cardboard
- glue
- scissors
- tealight
Step 1: First, place the A4 board lengthwise in front of you. Fold the lower half centered on the upper half.

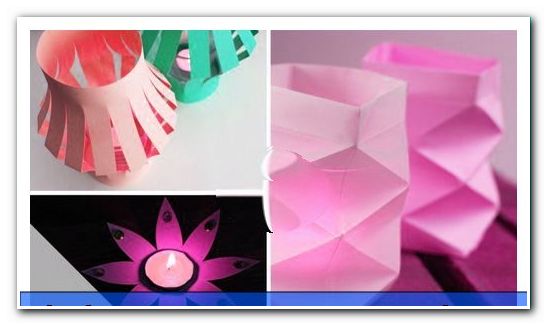
Step 2: Now cut the paper every 1 to 2 cm from the closed edge. Caution - be careful not to cut the strips. The sheet of paper is given a fringed appearance.

Step 3: Carefully unfold the fold from step 1. Put a line of glue on the short side of the A4 sheet. Then fold the paper together and glue it together on the two short sides.

Step 4: Now raise the lantern and push the whole thing together with the palm of your hand. Pull it apart again and the tealight lantern gets a bulge outward in the middle.

Instructional Video
Done is the tealight holder!