Connect rain barrels: instructions in a few steps
- Materials and tools
- preparation
- Connect rain barrels to hose
- Rain barrels connector
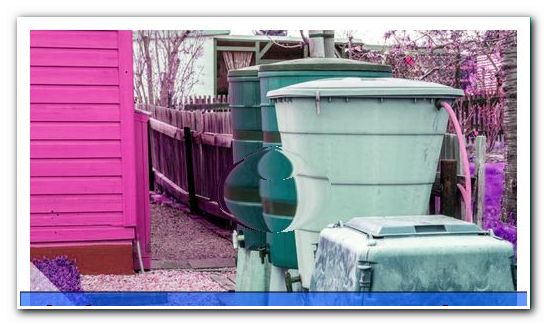
Everyone has a rain barrel in the garden. It helps to collect rainwater, which can then be reused. They are very useful, but they can overflow in particularly rainy seasons or dry up during periods of drought due to their low volume. For this reason, it is advisable to combine rain barrels to increase the volume of the tons even further.
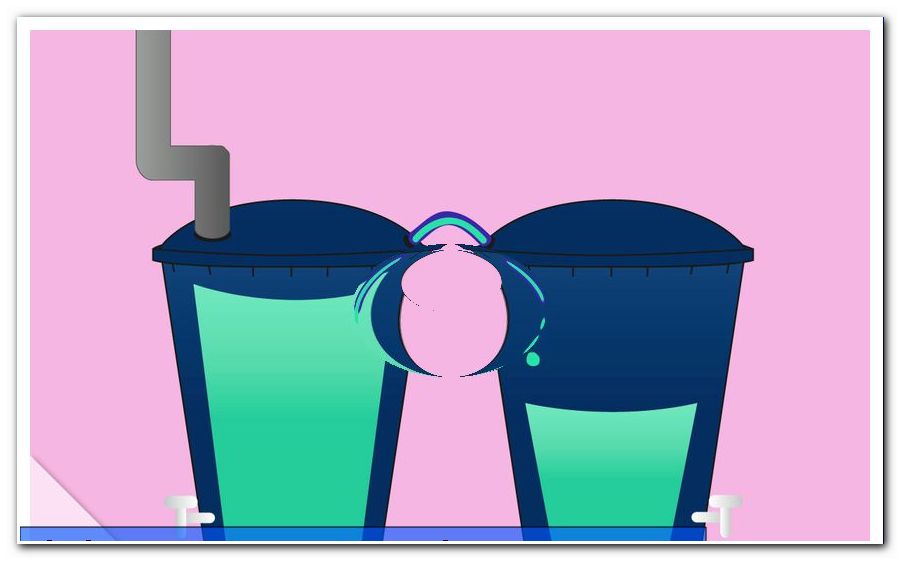
The connection of rain barrels is a well-known method to collect sufficient rainwater over the summer. In this direct modification, two or more rain barrels are connected by a hose, thus allowing the exchange of water from one barrel to the other. Depending on the position, the barrels can have approximately the same water level or can be used as protection against overflow if one rain barrel is higher than the other. Connecting rain barrels sounds more difficult than it actually is. The only thing you need is the right utensils and detailed instructions for setup.
Materials and tools
No matter if you want to adjust the water level of the containers with connected tons or protect a ton from overflowing, certain utilities are needed for this project. You have to decide beforehand which variant of the connection to choose:
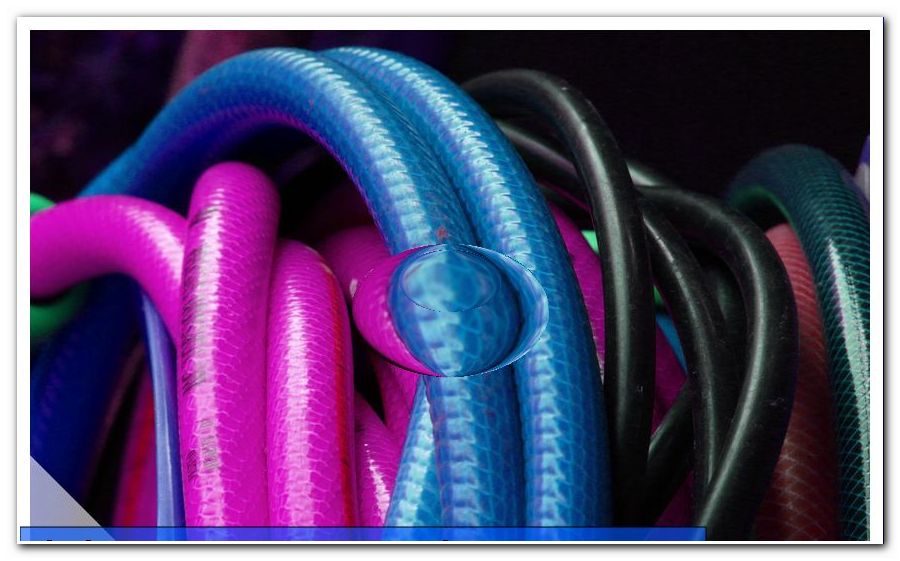
1. Hose: The hose comes to mind to many people when tons are to be connected together. This variant is the cheaper of both and faster. You do not need manual skills or heavy tools to connect rain barrels to a garden hose. Any garden hose is suitable for this, as long as it is not damaged. Compared to the rain barrel connector, however, this variant has some disadvantages that must be taken into account when using:
- Air can easily get into the hose, which limits the function
- can slip quickly or even fall into the rain barrel
- exposed to higher wear due to the material
In itself, the hose is effective as protection against overflow of individual tons. The regulation of the water level succeeds with this method only bad, since the hose is not permanently installed via holes. You need the following tools:
- garden hose
- Hose scissors with or without triangular blade, large wire cutter or cutter
- cloth tape
With the garden hose, you can easily choose an old one, but then you have to expect a higher wear than with a new one. If you use the hose variant only as a temporary solution, an old garden hose is of course recommended to save costs. The costs for a tube scissors are between 15 and 30 euros and make it easier to cut thick tubes. With a little patience, the hose can be cut with a pair of pliers or a cutter.
2. Rain barrel connectors: Rain barrel connectors are special devices that establish a fixed connection between two rain barrels. They are available in a variety of lengths, diameters and materials and are ideal for leveling the water level in two tonnes and protecting against overflowing a ton. One of the biggest advantages of rain barrel connectors is the corner installation. Through this you can connect two tons, which are not next to each other, but around a corner. Although this is also possible with the hose, the rain barrel connector is safer. The connection consists of the following components:
- tube
- two connecting parts
- two seals
- two locknuts
They allow the individual components after installation a tight fit and ensure a smooth water exchange between two tons. They are often offered as a complete set and range in price between 10 and 50 euros, depending on the quality and the components included. The following utensils are required for the installation of the rain barrel connector:
- Rain barrel connectors in a set
- core drill
- drilling machine
- Sealant in the form of sealing rings
Crown drills and sealants are already included in some sets and you do not have to look for the right drill yourself. If this is not the case, you have to choose the correct crown drill yourself. To determine the correct size for this, first measure the diameter of the hose or read it from the packaging of the rain barrel connector. Now choose a crown drill that has only a slightly larger diameter and can be used for plastic. When using sealants, you should also pay attention to the size of the individual components.
These two methods are available to you if you want to connect your rain barrels. If you want to connect several rain barrels one behind the other, the rain barrel connectors are particularly suitable as they represent a permanently installed system. You can even vary in height if, for example, you attach a connection near the bottom of a barrel and connect it to the opening. The rain barrel connectors are more versatile in use and lend themselves to long-term projects, because after installation, the tons may not be moved. In contrast, the hose version is mobile and installed within a few moments.
Tip: if you do not have a power drill, you can rent one from one of the many DIY stores or retailers. Since you only need them for a short period of time, the typical 4-hour rate is well priced for around 13 euros.
preparation
Connect rain barrels to hose
If you have decided on the variant with the garden hose, you must first make some preparations to enable the operation of the connection. Proceed as follows during preparation:
- Thoroughly clean the garden hose from inside and outside
- There should be no foreign matter inside the hose, which could clog it
- The hose must not be cut off in a fringe
- Be sure to check the hose for cracks, holes, or weak spots before use
- If this is the case you should definitely use a new tube
After you have prepared the hose, you can determine the length. On average, a piece of hose with a length of about two meters is suitable for small and large distances between the tons. Of course you can vary here and the closer the tons are together, the less hose is needed. Longer than two meters are not recommended unless one of the barrels stands taller than the other. Of course, if you have a long hose that you no longer need, you can try different lengths to see which one fits. The following instructions will help you to connect the rain barrels via the hose:
Step 1: Place one end of the tube in the first bin and run it over the edge. Now fix it there with the fabric tape so that it can not move. Do not overtighten the fabric tape to avoid squeezing the hose.
Step 2: Now pick up the other end of the hose and suck on it until water runs into your mouth. Only in this way is it possible to transport the water from one to the other rain barrel. By removing the air from the hose, the water can easily move through it and drain one rain barrel into the other.
Step 3: After sucking in the water, insert the end of the hose into the other rain barrel. Fix this hose part also at the edge of the barrel with fabric tape. It will not move, even in stormy weather or if you accidentally get to the hose, for example when you use the watering can to drain water.
Step 4: When placing the hose, make sure that it can not draw air. Even if only a little air is sucked in, the function is limited and you have to do the installation again. If this happens, you must completely remove the tube, empty it and start over again.
With the hose connection you have set up a rain barrel connection within a short time, without having to spend a lot of money. The biggest advantage of this method is the possibility of releasing the connection with just one hand movement, which makes sense in a polluted rain barrel, for example. This protects the collected rainwater from further contamination.
Rain barrels connector
If you opted for a rain barrel connector instead of the hose or planned a long-lasting installation
should be noted before the positioning of the tons. Since the tons can not be moved after installation, you should first think about it. Two different arrangements are used:
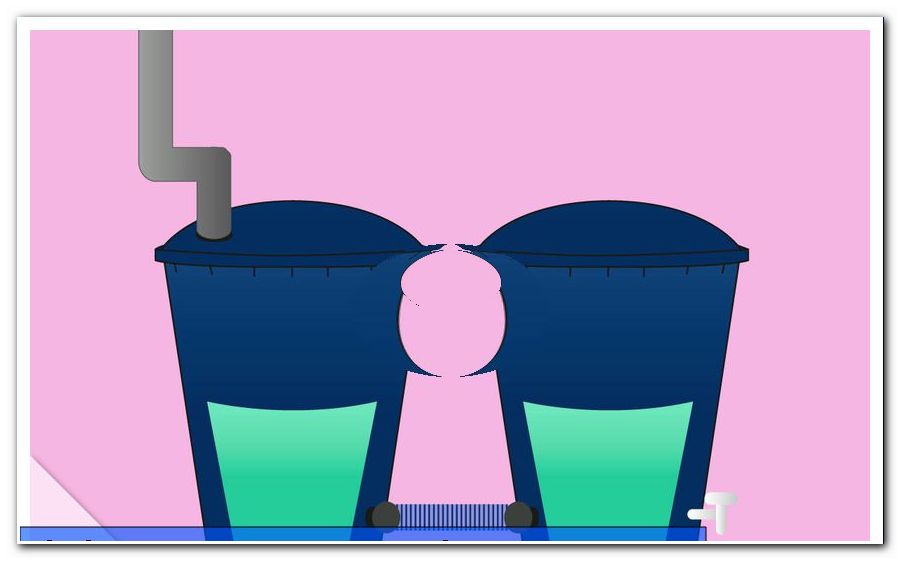
1. Uniform water level: in order to allow a uniform water level in two or more tonnes, the holes for the connector must be in the same place. The best way to do this is to use the lower part of the rain barrels, as the water is regulated from below.
2. First fill a rain barrel, then the other: attach the Regentonnenverbinden above the tons, fills first the rain barrel, which is connected to the gutter, then the other.

3. Transfer: in this variant, the holes for the connector are offset on the barrel. This makes it possible that the accumulated water passes through the connection in the other rain barrels. For example, one of the rain barrels can be placed a little higher to support the natural flow of the water. A great advantage of this variant is the ability to bridge any height.

Attach connection
No matter which variant you choose to combine rain barreling, the following guide works for all three:
Step 1: At the beginning you have to drill holes with the crown drill into the corresponding rain barrel. Be thorough and accurate. Be especially careful not to damage the plastic of the bin so you do not have to buy a new bin.
Step 2: Once the holes have been drilled, the connector is inserted with both ends into it. Secure the connection with the enclosed locknuts inside the rain barrel. Do not forget to use the sealing rings to prevent possible leakage of water.
Step 3: Now you can use the tons and arrange them as you please. But check again the seat of the connector before.
Tip: If at any time during use at the joints, so the holes, water should leak out of the barrel, this is the sign of a worn sealing tape. Just change it with a new one and you're ready to use the tons again.