Sew ring pillow for wedding - make vintage style yourself

- Material and preparation
- sewing machine
- material
- top
- bands
- fiberfill
- Tailor's chalk or textile marker
- Now it is sewn
Probably every bride and groom would like to design the most beautiful day in their life according to their own personal ideas. The preparation time is unique and many brides enjoy the excitement around the wedding day.
In order to sweeten your time and shorten the days until the finale, we have prepared a little guide for you. Sew your personal ring pillow.
There are no limits to the imagination here, because this guide is considered a suggestion and can be changed and adapted as desired.
Get inspiration from the Internet in advance and maybe even create a small drawing.
We have worked here for you a variant in vintage style and explain step by step how you can conjure up a beautiful ring pillow yourself.
This guide is also suitable for beginners.
Material and preparation
If you have sewn a few times, you will most likely already have most of the materials at home. Already do everything in advance to save work, time and stress.
You need this:
- sewing machine
- material
- top
- bands
- Yarn, tape measure and shear
- Pins and sewing needle
- fiberfill
- Tailor's chalk or water-soluble textile marker

sewing machine
For this ring pillow you only need a simple straight stitch. Therefore, you need a special or expensive sewing machine. Our sewing machine is from Silvercrest and costs about 100, - Euro.
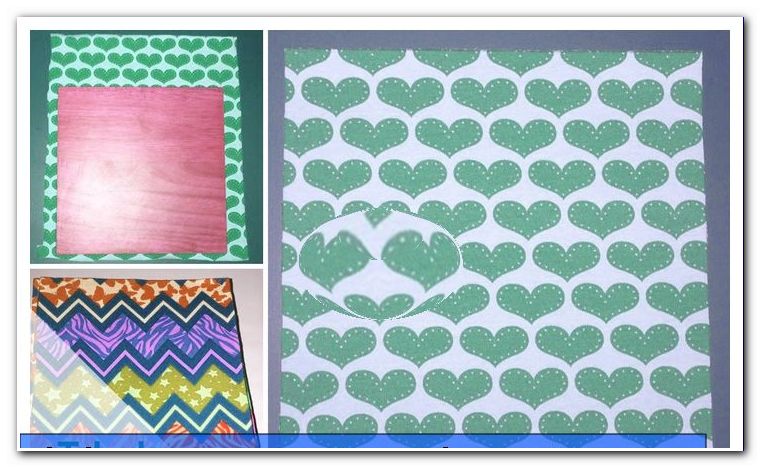
material
We used a gray cotton fabric. Of course, the selection is huge and almost everything is possible in terms of colors and patterns. For beginners are best suited cotton fabrics, as they do not warp or fray quickly. A running meter of fabric you get from 5, - Euro.
top
For this ring pillow we have chosen a lace ribbon with 8.5 cm width in ivory. One meter costs about 5, - Euro.
bands
Bands probably have everyone at home. Of course you can also use textile gift ribbon. 40 cm are sufficient. We chose a shiny gold organza ribbon.
fiberfill
These are available in the craft shop or in all Euro stores. 100 g cost about 4, - Euro.
Tailor's chalk or textile marker
Tailor's chalk is usually available in the colors white, gray or blue and is available in needlework or haberdashery. We recommend a water-soluble textile marker. This is comparable to a conventional felt-tip pen. After use, you can dab the lines with a damp cloth or if possible put in the washing machine.
Now it is sewn
Now we have all the materials together and can finally start sewing:
1. Create a pattern. We chose the dimensions 16 x 16 cm here. Of course you can adjust the size individually.
Important: Take your time for the pattern. The more accurate the pattern, the nicer the result.
2. Place the created pattern and draw it. If you are unsure, you can easily pin it with pins.
3. Cut out the two squares.

4. Lay the tip on one of the squares to resize. Let it pass the side for a few inches. This simplifies sewing.
5. Insert the top and bottom yarn according to the instructions of your sewing machine. Now sew the right side of the top.
The tip can slip easily. If you are not sure yet about the sewing machine, it is better to secure the fabrics for safety.

Important: Do not forget to always "lock" your seams. To do this, start with a few stitches and sew back 3 to 4 stitches. The backspace button is usually found on the front right of the sewing machine. Even at the end of the seam, sew back a few stitches and then back to normal until the end.
6. Now we need a little piece of the top. Think about how wide the loop knot should be and place the tip twice. Cut this piece too.
7. Now sew the long side together.
8. Turn the small tube. You are welcome to use a pen, crochet hook or similar.
Now you get a tube with invisible seam allowance.

9. Now the tube has to be folded once in the middle. Make sure that the open ends are congruent to each other.
10. Sew this together too. Do not forget to lock here as well, because with the delicate tip, the thread can easily come loose.
11. Apply the small ring again. Now all seams are inside and seam allowances are not visible.

12. Take the piece of fabric with the tip again. Pull the tip through the ring just made and drape the loop a little bit. The ring should be as central as possible.
13. Lay the almost finished loop aside. Now fold the tape in half and place it on the outer fabric. It should be in the middle under the loop ring. Stick the tape tight. This is recommended in any case, because the band slips guaranteed when sewing.
14. Sew over the tape a few times.
15. Turn the loop over and pin the other side. Make sure that this side is at the same height as the right one. Sew the page tight.

16. Now we come to the most difficult part: Temporarily insert the ends of the bands under the loops. These must not point beyond the edge. Place the second square with the right side on the loop. Stick everything. Be very accurate here. Any error in this step is noticeable in the end result.
17. This step is optional: Mark the place where you want to leave room for the turning opening. Especially as a beginner, you like to sew completely around to find out in the end that you can not turn the work now.
18. Either start on one side of the turn-around or on a corner with the seam. If you are not using the reversing hole as a starting point, you need to lock just before the mark, lift the presser foot and reposition at the other end of the mark.

Tip: When you reach a corner, let it stick the needle in the bottom of the fabric, lift the presser foot and turn the fabric 90 degrees. This will allow you to continue your seam and have difficulty repositioning the seam.
19. Now imagine the turnaround opening. Now turn your nearly finished ring pillow on the right side. Use a pencil, crochet hook or similar to help work out the corners.

20. Now fill your ring pillow with filling cotton.
Tip: pick up fabric scraps and use them as filling material. You do not have to dispose of old stuffed animals and cushions either. Disconnect the seams and store the filler.
21. If you have stuffed the ring cushion sufficiently, only the turning opening needs to be closed. Use the ladder or mattress stitch.
22. Finally, we sewed on a small gemstone.
23. Now your personal ring pillow is ready and you can look forward to your big day.

We wish you a lot of fun with your unique item, either at your own wedding or you give it away.
Tips for quick readers:
- Create a pattern
- Cut out 2x
- Adjust tips
- Sew the lace on one side
- Loop knot work from a small piece of lace
- Pull the loop knot on the loop
- Attach straps
- attach second side of the loop
- put both squares right to right and sew them together, do not forget the opening
- Gush out pillows
- Close turning opening with conductor stitch
- Attach gemstone