Batik itself - DIY instructions for T-shirts + Batik colors

- Batik - DIY Guide
- T-shirt batiken - Instructions
- preparation
- Batiken - let's go!
- Fix batik colors
- Creative batik patterns and tying techniques
- Tying technique for circle design
- Tying technique: spiral
- Freestyle
- Tying technique: stripes
- Instructional Video
The batik method is an imaginative way to give a new look to boring clothes. It creates a wonderfully cheerful look. The following instructions show you step by step how to do it, what you need to do batik and how to create different patterns. Classic batik circles are made quite easy, but even ideas that are taken aback can be easily implemented with just a few tricks and with all the fun.
Batik - DIY Guide
In particular, anyone who went to school around the 1990s was certainly already in contact with batik. This is not surprising, because especially children have great fun experimenting with colorful batik colors and looking forward to surprising patterns. Depending on your taste, Batiken's multifaceted styles can be shaped: from the restrained batik look in two related colors to brightly colored designs with several shining tones or even in the rainbow process. Currently, the radiant look of vibrant batik designs is absolutely in vogue again. Their look is reminiscent of the popular hippie style and is at the same time modern.
If you dare to batik for the first time, the detailed instructions will tell you everything you need to know to prepare, bind and dye yourself and then fix the color. Basically, Batik always works according to the same pattern: The T-shirt - or any other garment, from scarves and headscarves to whole dresses - is bound in a special way. This results in the possibility to create a variety of patterns via batik. Thereafter, the T-shirt wanders into the dyeing solution applied via batik and water. After exposure, it is dried and then fixed. As you can see, batik is a breeze! Kids should always batiken under the supervision of an adult.
T-shirt batiken - Instructions
preparation
Before you start right away, some basic preparation information.
The T-Shirt: Which shirt you want to use depends on your personal taste - and on two factors, namely its basic color and the material. If you do not have any experience with the Batiken, you can first use an old T-shirt, which is not that bad if something goes wrong.
In general, always choose a plain-colored model in white or a shade as light as possible, such as beige, cream or pale yellow for the batik technique. Here, the base color seems minimal and gives an interesting effect. Tone-on-tone designs give a very elegant effect. For example, combine a light blue T-shirt with bright blue batik colors.

Darker tones would no longer bring out the batik colors. When it comes to material, batik uses almost everything but pure synthetic fibers such as polyester. Attention also at the seams: Many "cheap" manufactured shirts come in a well dyeable source material, but were sewn with a synthetic thread. This remains then even after the batik in its original color. If you can not get used to it, you should study the labels carefully and make sure that all components are made from batik-friendly fibers.
Definitely suitable textiles:
- cotton
- silk
- viscose
- Linen and half linen
- polyamide
The batik colors:
In the trade or online you will find a diverse selection of finished batik colors. You can buy different nuances directly ready. Otherwise, equip yourself with the basic colors and mix these later to great own creations, so about an individual purple of red and blue. If you are unsure about color theory, you will be offered practical overviews on the Internet.

Important: The instructions on the packaging give details of the quantities of substance the is designed for and how the color result should be. With more fabric, the nuance becomes lighter and softer. That can be wanted. Nevertheless, you should rollover in advance and provide enough batik colors.
Overall, you need:
a) Shirt made of matching fiber
b) enough batik colors of your choice
c) rubber bands or package tape
d) Dyeing vessel for batiks - preferably pots
e) hot water
f) optional: stove
g) iron
Difficulty: With the right instruction, the batik technique is easy even for beginners.
Time required: Schedule several hours. One of them already starts as a contact time, a few more to dry, before the color can be fixed.
Material costs : Depending on the manufacturer, 50 g batik paint costs about 5 euros. Many brands offer practical complete sets for less.
Batiken - let's go!
Step 1: First, thoroughly read the instructions for your particular product and apply the color accordingly. In most cases, the colorant is stirred into several liters of hot water.
Step 2: Since most batik paints require a constant warm to hot water temperature, it is recommended that you refrain from using buckets or bowls as dyeing containers, contrary to the instructions in the package. Instead, choose sufficiently large cooking pots and keep them warm on the stove at the lowest level.
Tip: Batik cold paints are of course an exception. If you have purchased one, you can read all the notes on the subject of heat confidently and also for batiks just use any sufficiently large vessel.
Step 3: Wait until the staining crystals are completely dissolved. Important, otherwise there are stains!

Step 4: Now you can either put your already bound - see "Creative Batik Patterns and Tying Techniques" - fabric packs completely in the color.

Or just dip individual parts into the water, making sure that they are completely soaked with the solution.
Tip: The drowning results in wonderfully smooth color gradients, when the different colors easily flow into each other.
Step 6: Leave the t-shirt in the dyeing solution for about an hour (or different from your product instructions).
Important: In the meantime, the fabric should be moved again and again, so that the color does not settle on one side. Simply agitate the water gently or drag fabric back and forth at a dry end (in the case of partial drowning).
Step 7: Then turn off the stove and pull your pots into the bathroom, more specifically into the bath or shower.
Step 8: Take out one batik package after another and rinse it with cold water until hardly any more color comes out.

Important: If you have opted for a uniform complete coloring, you can unfold the package, otherwise it must necessarily remain in its tightly laced form!
Step 9: With the packages that will get even more batik colors, just repeat steps five through eight.
Step 10: All ready-dyed garments can be rinsed in unfolded form. Then hang up everything to dry. Does not the new batik pattern look great!

Fix batik colors
In order to enjoy your new creations for as long as possible, it is important to fix the color on the completely dry pieces.
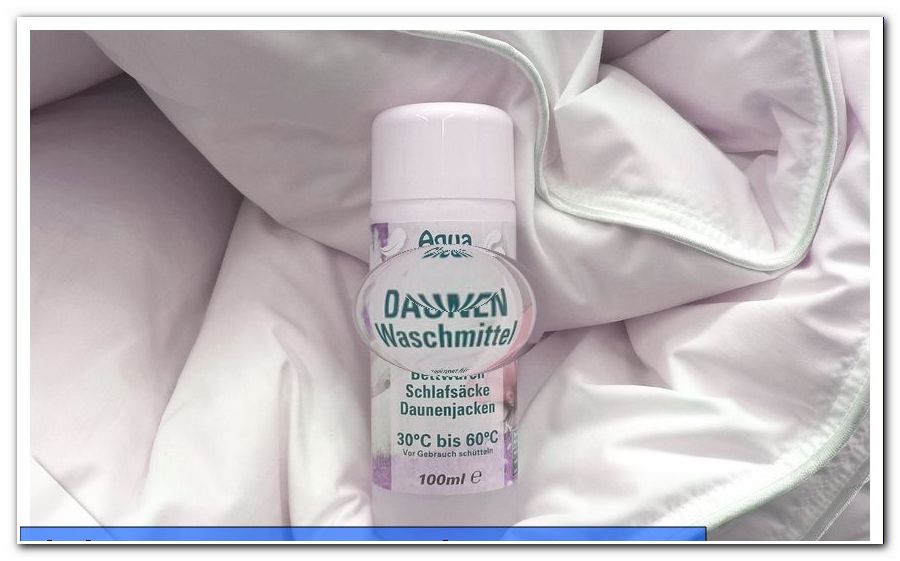
It works very easy: iron every T-shirt as usual for several minutes. This makes the paint washfast. This means you can now wash your chic designs normally with color detergent and at about 30 degrees in the machine and the pattern gets its radiance.
Creative batik patterns and tying techniques
Tying technique for circle design
To create the circles that are typical of batik patterns, lift small pieces of fabric from the flat T-shirt and tie them with your thread or rubber band as you like. You are welcome to start in the middle of the shirt and bind it at intervals of several centimeters over and over again, until the entire garment forms a kind of role. But that does not have to be, you can also apply the middle circle to the side and bottom of the fabric edge.


This is what the circular batik pattern looks like after dyeing:

Tip: The thicker and thicker you wrap the respective area with rubber or thread, the more intense the white patterns appear later on the T-shirt. This is not just true for the circles but for every binding technique.
Tying technique: spiral
Step 1: Spread the T-shirt flat in front of you.
Step 2: Pick a point in the middle of the shirt.
3rd step: You grab this point fabric like the circle pattern. But instead of tying it off, start twisting it in, like turning a screw cap on.
Tip: Turning in works particularly well if you moisten the fabric with a spray bottle before.
Step 4: The fabric, which has been completely screwed in, looks a bit like a flower. Fix it by putting the rubber bands around from the outside. Threads would be unnecessarily complicated here.

Tip: Use too many rubbers to keep the fabric really tight.
Step 5: A very special look results if you really imagine the ready-bound package as a flower with corresponding petals and then batik them separately in different tones! Otherwise, of course, is also the complete variant.

Freestyle
This binding technique ensures one hundred percent individual results. Simply fold your t-shirt into geometric shapes that come your way. You could put it in rectangles again and again until a tiny package is left or you try to make small triangles. Or you simply knot different parts of the shirt together, attach little balls of rubber. In the end, the package should look like a shapeless knot.

You can also dive the package in different colored batik baths. But the t-shirt must not be completely submerged. Then it is dipped exactly the other way around in the second color. With a thread you can attach the package to the pot handles so that it does not completely sink.

After rinsing off the batik color, you have created a truly individual T-shirt. This variant is also a great way to test out various knot techniques and the results.

Tip: This technique is especially fun for children because it gives an exciting surprise, which pattern comes out.
Tying technique: stripes
Even stylish stripes can be created quite simply using binding technology. Simply fold the T-shirt exactly in the direction in which you want your stripes. For diagonal lines at a distance of 10 centimeters you would start with one of the lower edges and put down a 10 cm piece. The next envelope is in the same direction again after about 10 cm. It continues until the T-shirt is completely folded. Then fix the shape again as usual with rubber bands or threads.

That's the result:

Tip: The distances and edges do not have to be too accurate. Small bumps are no longer noticeable in the Batiken due to the gently flowing patterns in the connection anyway.