Make decoration for Halloween - 3 scary ideas for children

- Folding origami bat
- DIY candle glasses for Halloween
- Skeleton craft for Halloween
Halloween - the time of haunting, scary and of course funny parties. The creepy celebration is becoming more and more a tradition and celebrated in Germany by many, whether by children or adults. We now introduce you to three foolproof ideas that you can tinker with your children as a Halloween decoration.
Halloween decoration is a must for any scary party. Therefore, in this tutorial, we show you how quickly you can make your own Halloween decoration yourself - your kids will love it.
Folding origami bat
Halloween can come with this eye-catching origami bat in the window. Fold a bat out of a square piece of paper at lightning speed -
Difficulty level: 1/5 (5 represents the professional level)
Time required: between 15 and 20 minutes, depending on the skill
Material costs: under 5 euros
You will need that:

- 10 cm x 10 cm origami paper (black, brown, dark red)
- bonefolder
- Pen and ruler
- self-adhesive wiggle eyes
Step 1: Pick up the square piece of paper and fold one corner onto the opposite corner - this results in a triangle, which now lies with the right-angled tip up in front of you.

Step 2: At the following points make a marker in the middle with pencil and ruler: after 2.5 cm, after 4 cm and after 5.5, cm.
Step 3: Now fold the triangle along the points once and then open again.

4th step: Now take your bearings from the markings. First, fold the right-angled tip down at the mark after 2.5 cm. Then fold this top back up along the second marker. Finally, fold the tip back down to the point of 5.5 cm.

5th step: Now think of a triangle at the following position (marked in red). Then fold the right wing inward, along the outer edge of the imaginary triangle. Open the wing again.
Step 6: Repeat the previous step with the left wing.

Step 7: Now the wings get the typical field mouse appearance. Fold the right wing inward, along the lower outer edge, to the nearest point. Now take the outer edge and fold it upwards towards the outer edge of the head triangle. Open this last fold again. Afterwards, the wing is folded in again and opened again.

Step 8: Repeat the procedure from step 7 with the left wing.

Step 9: The wings are then aligned. Fold the right wing as in step 5 towards the middle, but this time a little further than before. Retain the fold and fold the entire wing completely backwards at the edge from step 5.
Step 10: Repeat the previous step on the other side.

Step 11: Finally, fold the head - open the middle triangle for this purpose. The up-pointing tip is hammered down. The down-facing tip, however, is folded up over this.

The Origami bat is finished! You can hang them up, fix them to the window or use them as a table decoration.

With several paper bats you can create whole curtains. Let your creativity take over your mind and body!
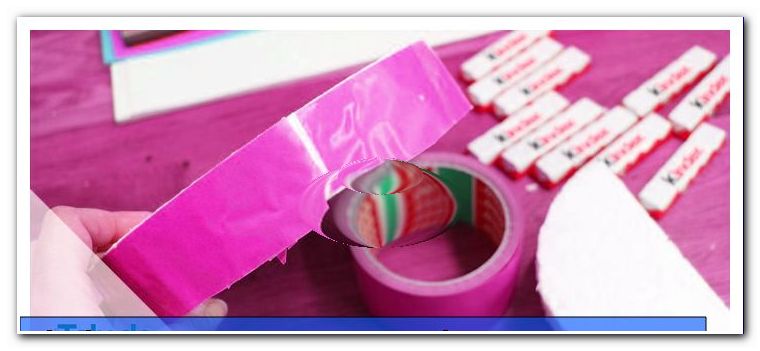
DIY candle glasses for Halloween
These spooky tealight glasses make for an eye-catcher on every Halloween table. The advantage of this crafting idea, the glasses are very cheap and can be designed individually. So they are also suitable as beautiful gifts for DIY.
Difficulty level: 1/5 (5 represents the professional level)
Time required: 30 minutes
Material costs: under 10 euros
You will need that:

- old jars of jams, sauces, cucumbers etc.
- transparent paper
- black construction paper
- felt-tip pen
- scissors
- Paste or Bastelleim
- brush
Step 1: Remove all labels of cucumber and jam jars at the beginning. In hot water, the paper and the glue are best solved.
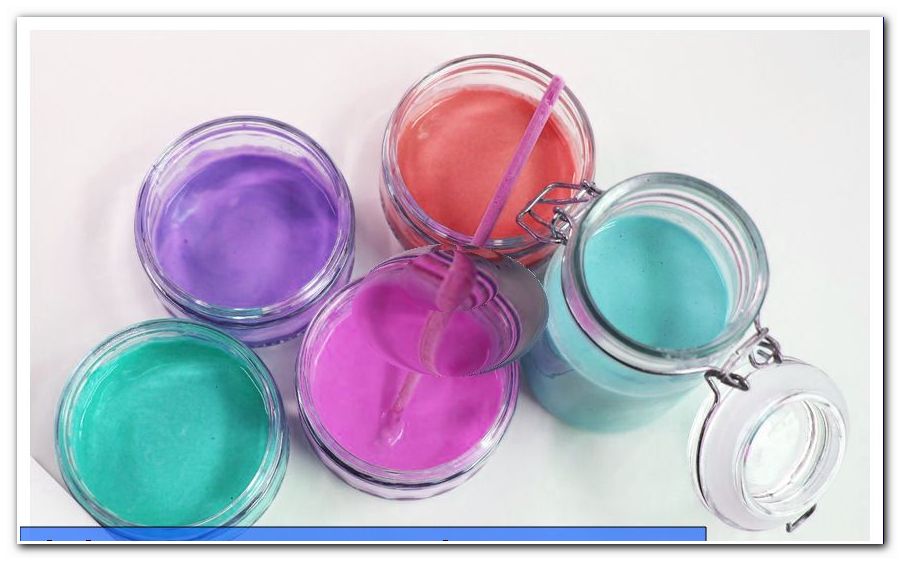
Step 2: Now cut or tear the translucent paper into small pieces. The colors are completely up to you. Best suited are orange, yellow or green tones. These are especially suitable for the spooky Halloween theme.

Step 3: Then brush the glass with Bastelleim or paste. Paint the entire surface once.
Step 4: Now apply the individual snippets to the glue with your fingers or brush. Cover the entire surface with transparent paper so that no gaps are visible.

Step 5: Let the glue dry first. Meanwhile, you can paint the faces. Take the black tone cards and draw creepy faces with your felt-tip pen as you wish. Make sure you paint your eyes, nose and mouth as you should see them later on the glass.
Step 6: Cut out the eyes, noses and mouths one at a time.
Step 7: Finally, the faces are glued to the glasses. You can do this easily with craft glue or even paint the entire construction paper with paste again.

Tip: Thin lines, such as a narrow mouth, can easily be painted with a black marker.

Now only small tealights are placed in the glasses and lit with a long lighter. Done are the scary DIY candle glasses for Halloween. The table decoration shines with these tealight holders in a dim light - perfect for a large chalkboard on Halloween.
Skeleton craft for Halloween
Of course, a skeleton on Halloween should not be missing. With this idea, your children can make a nearly life-size cardboard skeleton in just a few easy steps, which can hang on the wall for one or the other fright.
Difficulty level: 1/5 (5 represents the professional level)
Time required: 30 minutes
Material costs: under 5 euros
You will need that:

- 11 white paper plates
- Pincers or punches
- scissors
- pen
- possibly pencil and eraser
- twine
Step 1: At the beginning the skull of the skeleton is tinkered. Turn a paper plate on the back. Draw the outline, eyes, nose and mouth on the cardboard with the pen. Then cut out the skull, as well as the eyes and the nose with the scissors.

2nd step: Now follows the upper body. For this you also need a paper plate. Draw the following outlines on the reverse side and then cut them out again.

3rd step: The pelvis takes the following shape - proceed exactly as in the previous steps. First paint, then cut out.

Step 4: The arms and legs of the skeleton each consist of two bones - so you need four for the arms and four for the legs.
First, make an arm bone, something like this:

This is also cut out. Then transfer the outline of the bone to three other paper plates, use this as a template. Cut out these bones as well.
The leg bones are a little wider. Do the same with the arm bones. First, draw a bone, which you then cut out to use as a template for the remaining three bones.

Step 5: The skeleton now needs hands and feet. These are simply painted by eye on the undersides of two arm and leg bones and cut.

Step 6: Then pick up the punch or punch. Punch the cut paper plates at the connection points.

Step 7: Now the individual parts of the body have to be tied together evenly using string.

The home made Halloween skeleton is done! Decorate walls, doors or even windows with such simple and cheap skeletons. Saving money can be so easy.