DIY school bag - ideas for boys & girls
Did you know that school bags have been known in Germany since the 19th century ">
Although school bags usually contain mainly delicious sweets and some other gift for the daughter or son, however, the gifts should also include useful utensils for starting school. A complete package is needed. But before you have to fill a bag. Logically you can buy them ready for sale - but you can also make them yourself. Our guide to the basic model is the basis, whose further development is entirely in your hands. We provide you with detailed explanations as well as short inspirations. Make something nice and have fun with it!
Make a school bag
If you want to make an individual school bag, you always start with the creation of the basic model. You can then design, decorate and fill as you like. For the base you need only a few materials that you get in each craft store at a reasonable total price of about 5 to 10 euros.
You need this:
- stable cardboard box (rollable, 80 x 80 cm)
- Crepe paper OR tulle in your desired color
- Wrapping paper in your desired design (optional)
- Ruler and pencil
- stable scissors
- tape
- liquid paper glue or hot glue
- Decorations (feathers, buttons, stickers, washi-tape, ribbons etc.)
- line
How to proceed:
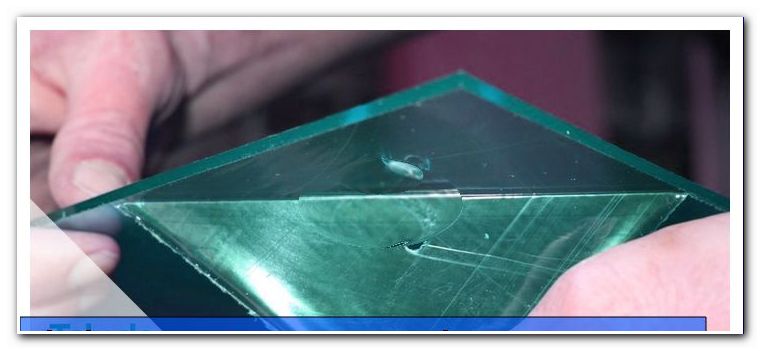
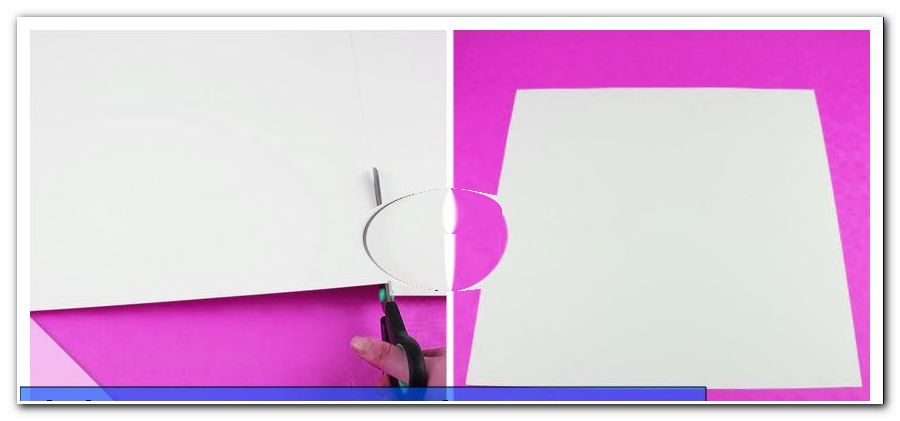
Step 1: Pick up rollable cardboard and cut it to 80 x 80 cm.
Step 2: Make a circle from a string and a pencil - draw a circle with the radius of 80 cm starting in a corner opposite to the diagonal corners. Cut off this quadrant.
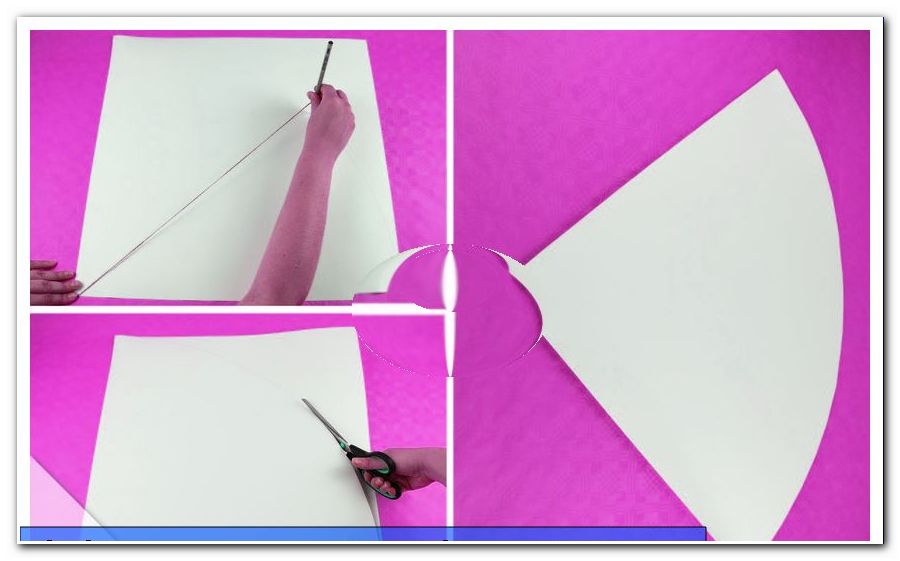
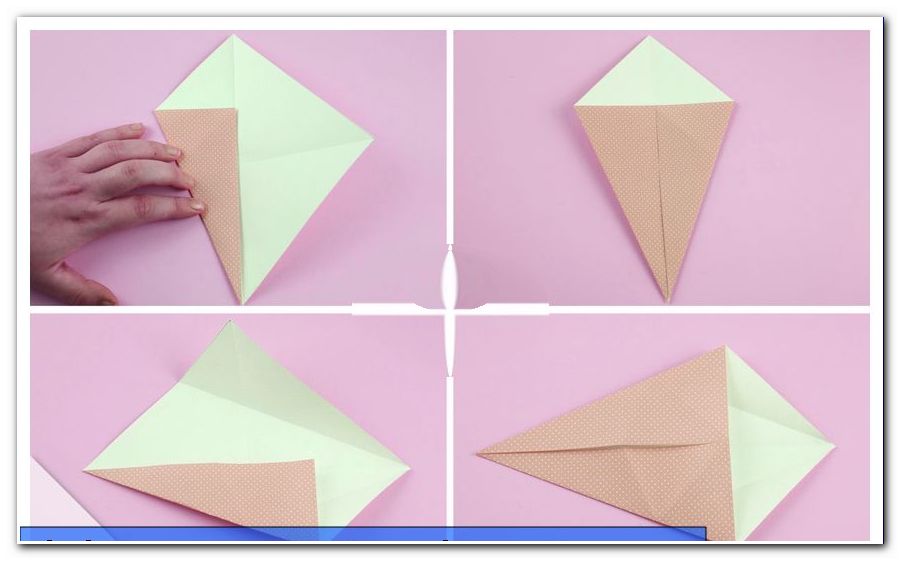
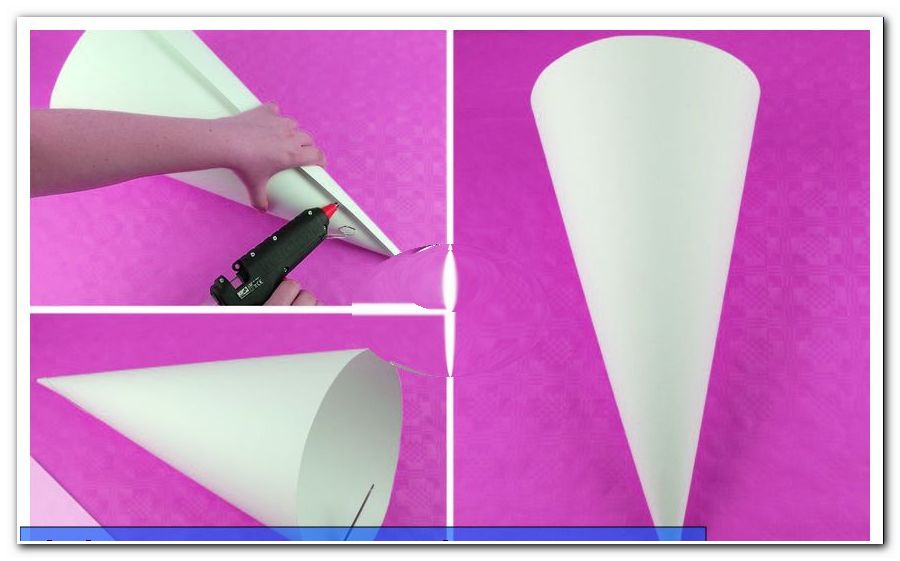
Step 3: Then you turn a nice bag out of the box. The upper end should have a diameter of about 25 cm. In addition, the lower end must be pointed, as you know from the school bags from the shops.
4th step: Glue the bag now with paper glue or hot glue. If necessary, you can also apply adhesive tape.
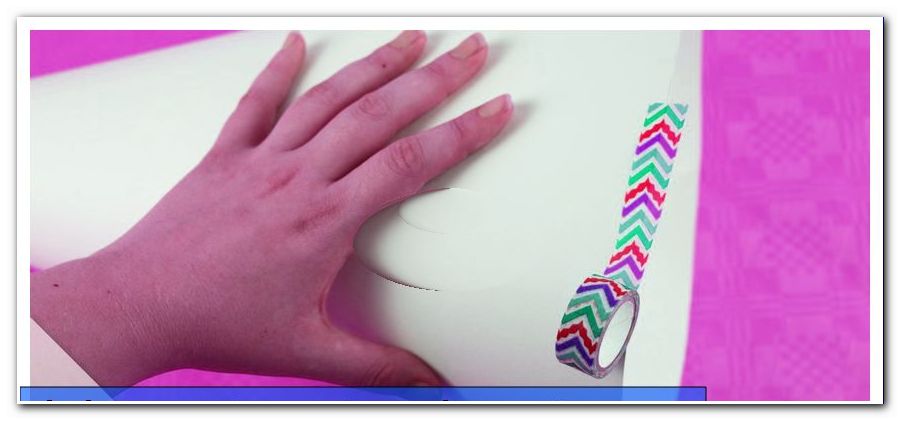
Tip: If you do not want to wrap the sugar bag with wrapping paper afterwards, but stick it with deco- totives, it is advisable to attach the adhesive strips to the inside. This is the only way to achieve a flawless surface on the outside.
Step 5: Cut off the protruding upper part of the bag. Be sure to get as straight as possible.
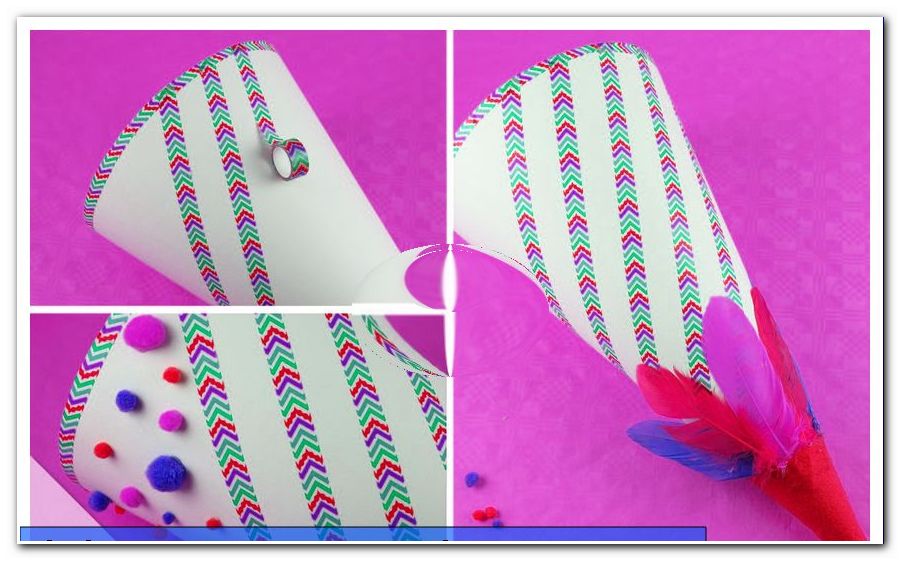
Step 6: Fix the upper edge of the school bag blank with adhesive tape or washi tape. The school bag blank is now neatly rolled up and thus reached the first milestone. Next is decorated.
Step 7: Now you are basically ready to decorate the school bag blank to your taste, because the necessary basis is created. The easiest and quickest way to get the bag to a decent conclusion is to wrap it with matching wrapping paper. We now explain how to do this.
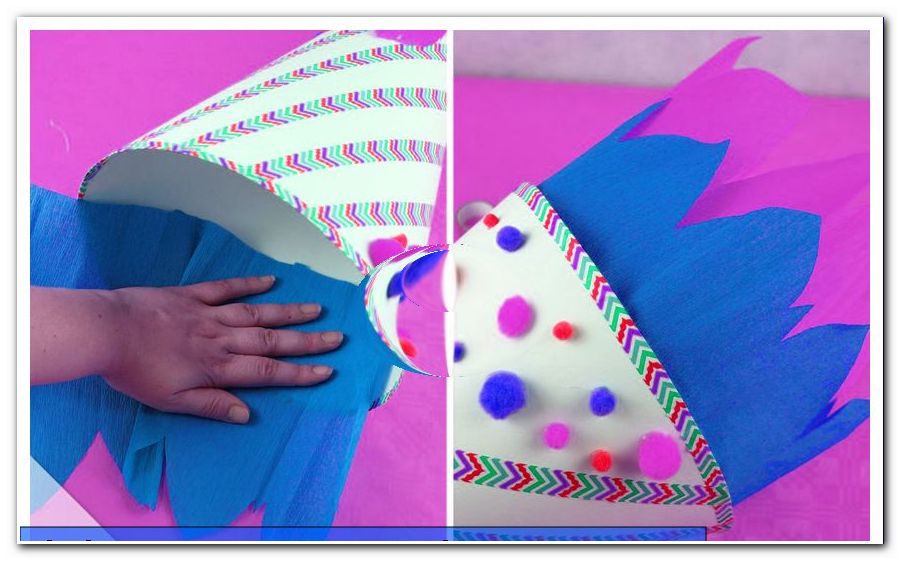
Wrap the school bag with wrapping paper
a) Spread out your desired wrapping paper and lay it out over a large area.
b) Apply several strands of the paper adhesive to the school bag blank.
c) Carefully wrap the blank in the prepared wrapping paper.
d) Make sure that the transfer of the gift paper to the crepe paper or tulle collar is as accurate as possible. If necessary, help with the pair of scissors. Finished!
- How about creating a bag with a collage of the most beautiful and / or funniest family photos ">
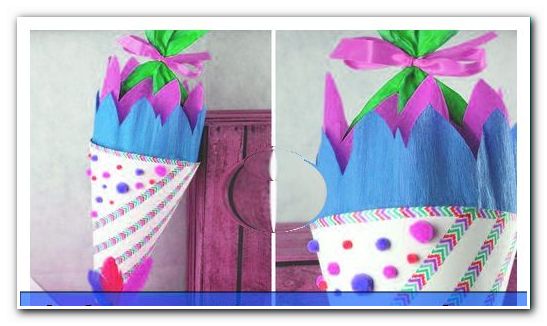
Step 8: Grab the crepe paper or tulle of your choice (for color) and glue the material to the upper inner edge of the bag all around with paper glue.
We glued three layers in different lengths - green, yellow and blue crepe paper. For the green and yellow paper, we folded the crepe several times and cut round and pointed on one side.
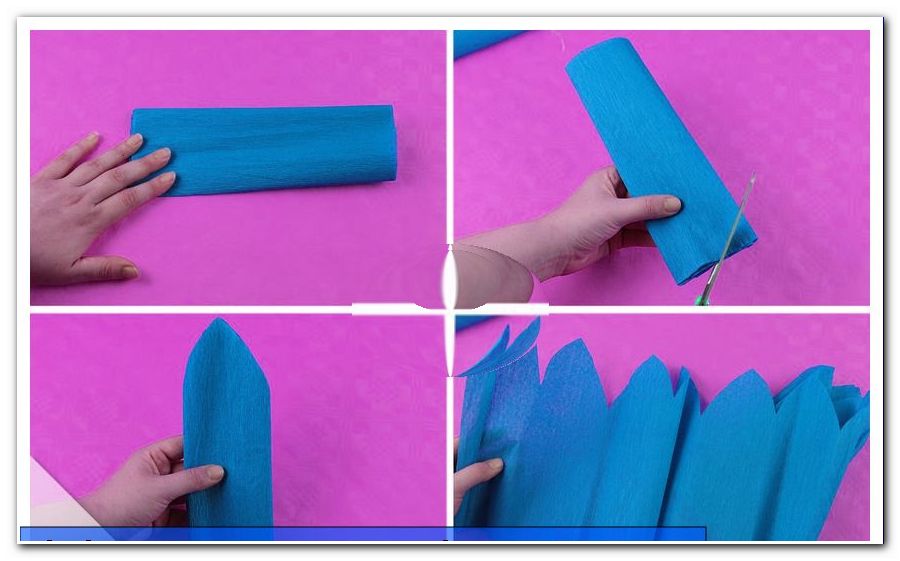
Make sure that the "collar" protrudes about 30 cm at the top edge of the bag and is firmly connected to the cardboard. So you have enough material to close the bag at the end. So long only has to be the blue crepe paper in our example. The other two layers serve only as decoration and are not connected later.
Tip: In order to achieve a (even) more beautiful look, you can gather together the crepe paper or the tulle a little before gluing.
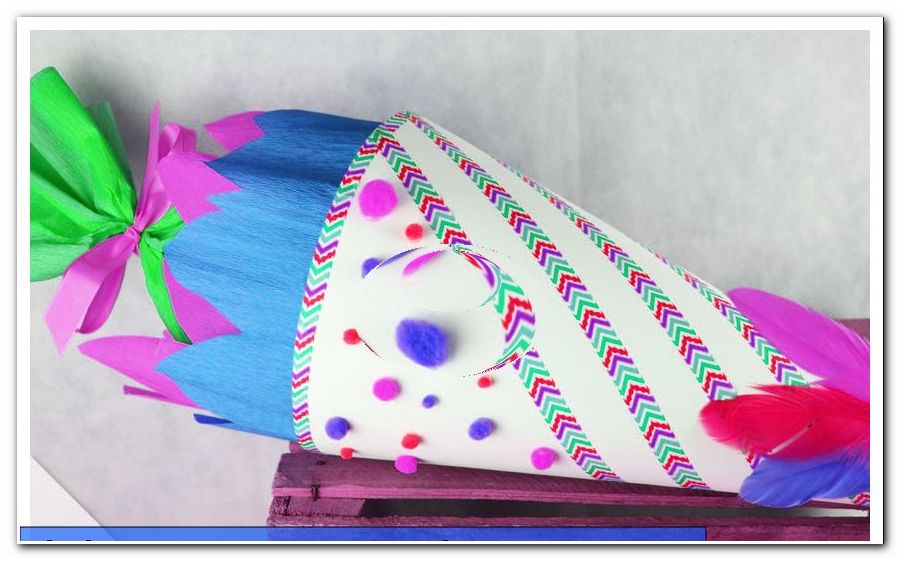
With the inspirations of this guidebook, you will not only succeed in creating beautiful fairy and pirate bags for boys or girls. Thanks to the many basic information you now have the necessary know-how to craft your own personal school bag. Let your creativity take over your mind and body!
In our guide to filling school bags you will receive more practical information! Here is the contribution: Fill the school bag
Here we show you two variants for mini school bags as small souvenirs or decoration pieces for the enrollment party: Make a mini school bag