Paint over tiles - floor tiles in bathroom / kitchen refreshed

- Material and preparation
- Instructions - paint over tiles
- Tips for quick readers
Old tiles often have a major disadvantage, they last forever. The fashion and our taste, however, are constantly changing. Ripping out the sturdy old tiles just because the decor is outmoded would be a waste. Therefore, we show here how to paint floor tiles in the kitchen and bathroom itself.
Removing floor tiles means a huge amount of work and a lot of dirt, which you always have to keep in mind when you want to freshen up the floor. Also, the painting of floor tiles makes a lot of work, but it is much cheaper than a complete renovation. Especially since the old floor tiles are actually very robust and so precious. Today you will only find such resistant floor ceramics at a very high price per square meter. If it is only the often nasty pattern of the old tiles, you can make these great tiles with our guide to optical eye-catchers.
Material and preparation
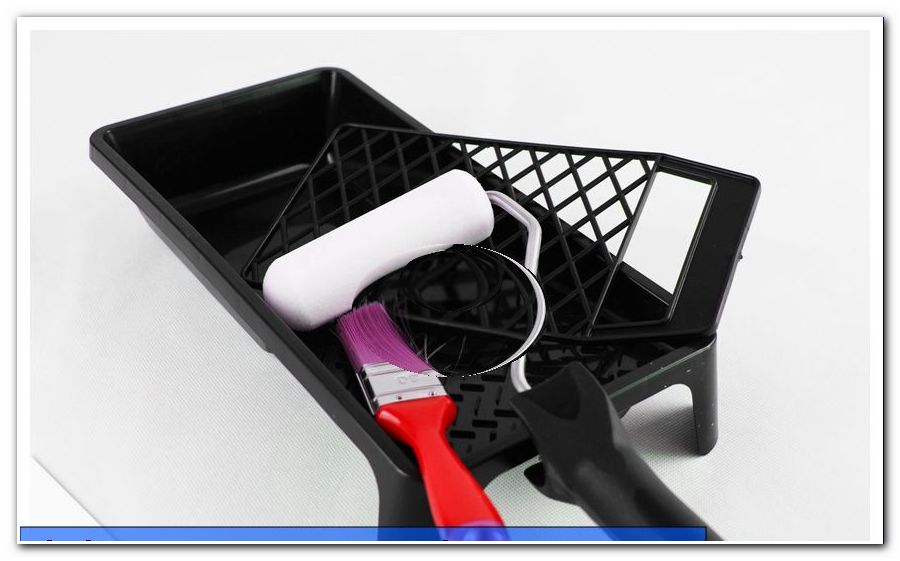
You need this:
- brush
- paint Roller
- lacquer bowl
- scraper
- Shish kebab wood
- caulking gun
- puller
- spatula
- bucket
- sponge
- Floor paint colored
- Floor paint clear
- primer
- grease Cleaning
- Turpentine / dilution
- tile glue
- grout
- joint silicone
- Plastic liquid
First of all, the painting of the floor in the kitchen or bathroom can not be undone. Therefore, as a tenant, you must never go to work without written permission from the landlord. Do not be put off by a verbal permission, later nobody will remember it or there will be a change of ownership of the building. All verbal agreements are then null and void. This would not only lose your bail, but you would also have to bear the additional costs of a new floor.
Paint floor tiles
You can safely do without prying because with the new floor varnishes you get a very durable surface. A few years ago, floor coatings were on the market, which the home improvement found after a few months in the mop rather than on the floor, today's products are almost as durable as new floor tiles. However, you will have to go through a few steps and finish the decorative layer with a clear finish. The clearcoat forms a kind of transparent plastic layer over your floor tiles, which prevents traces of running and abrasion. This even makes it possible to embed glitter in the colored floor paint - if that's what you want. The main thing is that almost everything is possible, what you want for the flooring.
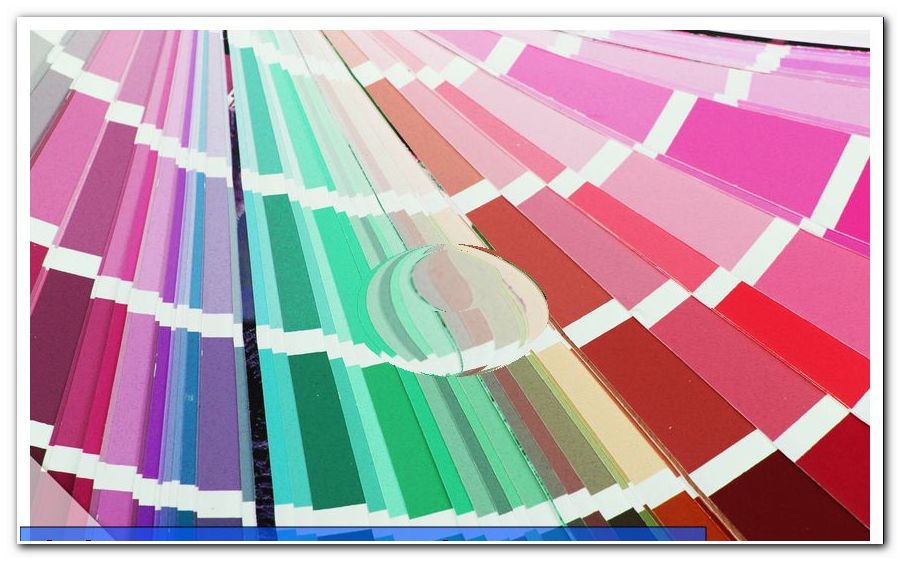
Kaufberatung - Lacquer for the tiled floor
Buy a high quality paint for the floor. Even if a two-component product is always a bit more difficult to process, you should always play it safe when it comes to flooring. As a base, an epoxy paint is almost indestructible when it is completely dried through. For every coat of paint you need about 250 grams per square meter of surface. Pay attention however to the processing instructions of the manufacturer, how much you need from the respective product.
Tip: If you want to mix a colored paint yourself, you should use a letter scale or kitchen scale to keep the exact mixing ratio. So you can mix later even a small amount if necessary.
These special properties should have your floor coating:
- high abrasion resistance
- easy to clean
- fade
- UV and weather resistant
- Adhesion on ceramic and mineral substrates
- Resistance to chemicals
- possibly dyeable with special dyes
Main problem: waiting times
Make sure that you do not need the room for at least two weeks before starting such a task. The drying times are long for each individual step and must be strictly adhered to. If you have no way, for example, to keep the kitchen cold for so long, then wait until summer to paint over the floor tiles. Then you may be able to prepare some meals outdoors.
Instructions - paint over tiles
1. Check old tiles
You should only get the floor tiles if they are worth it. If many tiles are already loose and are actually held in place only by the grout, you should take the trouble and tiling the room again. Loose sheets do not get better if they are only sealed from above with a coat of varnish. Take a close look at all the damages. Even small damage should be repaired before painting, because with the new paint even the smallest bumps fall on.
2. Repair damage
Smaller cracks or holes can be filled with flow filler or liquid plastic. Should individual tiles be loose, they are either removed and the missing surface filled with tile adhesive. But this is only recommended if you want to completely compensate the floor anyway, so fill the gaps between the plates. Even if you no longer have a replacement of these floor tiles and the removed tile is broken, filling with tile adhesive may be a good solution. Otherwise, the loose tiles are simply reinstalled with some tile adhesive or assembly adhesive.
Tip: If you want to achieve a real tile structure, you can completely remove the grout before painting the floor tiles. After painting, the joints can then be backfilled. That does however a lot of work. Not recommended is the tactic of masking the joints and painting only the panels themselves. By peeling off the tape, you also damage the new paint in many places. It would peel off after a few weeks through the shoes and the moisture while wiping.

 The problem with all repairs is actually in the waiting time. The repaired areas must first dry completely, which can take up to a week. After all, the floor should not only be resilient, but completely hardened.
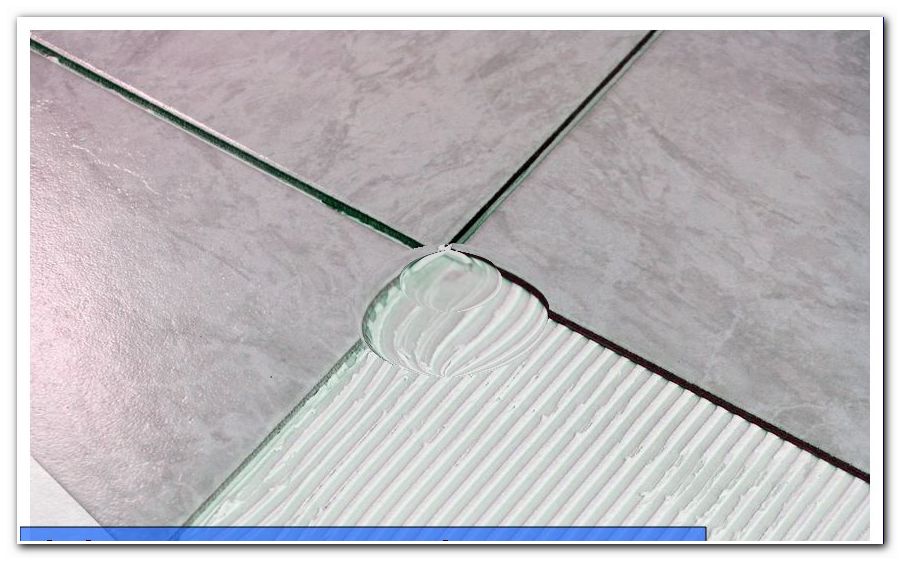
Tip: If you want to achieve a smooth surface and cover the joints between the floor slabs, you can also use tile adhesive. The tile adhesive is even finer in the surface as a leveling screed and takes the floor paint better. Apply leveling screed, it may be advisable to sand the surface before painting, as the screed has a slightly too rough structure compared to a tiled floor.
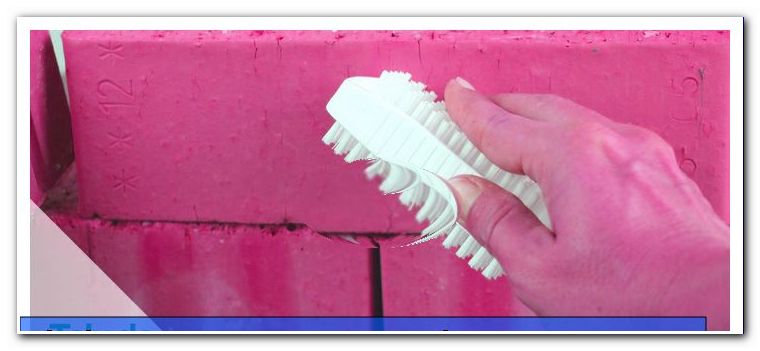
3. Special cleaning
The old flagstones must be absolutely free of grease before you can put something new on it. A special grease cleaner or even turpentine is suitable for this purpose. In the kitchen, you should pay close attention to this point and prefer to clean a little too much, as there is naturally an invisible greasy film on all surfaces. Otherwise, the grease forms a veritable protective layer on the old floor tiles and repels the primer and floor paint.

Tip: Before cleaning, you should also completely remove the silicone or acrylic joints in the kitchen and bathroom. These would later damage the edge of the floor, especially in the bathroom, when they have to be renewed. Only refit the edges when the floor is completely finished. At these points you should also clean with some turpentine or synthetic resin thinner, so that absolutely no residues remain on the stone slabs.
4. Primer and barrier
First, a barrier layer is applied to the clean, grease-free floor, which is particularly important in the bathroom, so that the high moisture load does not detach the paint from the floor tiles. The barrier layer can be painted with a painter's brush. Of course, the barrier layer gets smoother with a paint roller. If the joints between the floor slabs are very porous and absorbent, you should first coat them with a special brush with a barrier.
Tip: You must buy all products from the same manufacturer and from a product line. The individual products can support each other. Mix different types of products on the floor, they may peel off and later roll up quickly.
After a thorough drying, a primer is added to the barrier layer. Pay attention to the joints again. If these still absorb the primer, you should also carefully rework with a narrow brush. The effort is worthwhile when later repainting the tiles, as the joints then give a harmonious picture with the plates.
5. Painting and decorating
Allow the previous layers to dry thoroughly before painting over the floor. If you use a two-component paint, you should always mix only the required amount exactly as per the manufacturer's instructions. These types of lacquers become very fast, so look at the processing time the manufacturer specifies and how long it takes to process that amount. Always ensure good ventilation of the rooms, the vapors of the colors should not be underestimated.
Always start painting in the farthest corner of the bathroom or kitchen and work your way backwards towards the door. Pay attention to what the manufacturer recommends for the processing and use either a paint roller or with some products also a rubber spatula to smooth the paint layer.
After this first coat of floor paint, you can sprinkle decor chips or glitter particles on the floor as you choose. For most floor finishes for flagstones or ceramics, a second coat must be applied. Check the drying times that the manufacturer specifies between the individual layers. They are critical to the success of the mission.
- start in the back of the room
- work backwards towards the door
- Use paint roller (rubber spatula)
- mix small quantities
- Break bubbles immediately
- after the first layer of decochips possible
- usually two layers required
6. Clearcoat - protective layer
The clearcoat is the ultimate protective coating that prevents paint from being damaged again. After mixing, make sure that you have no air bubbles in the clear coat. They would either burst open later on drying or create unsightly inclusions. Do not forget to air at work!
Tip: Place a wooden skewer made of wood next to your tool so that you can pierce a possibly existing air bubble at the same time. Then the varnish can smooth itself out again before it dries.
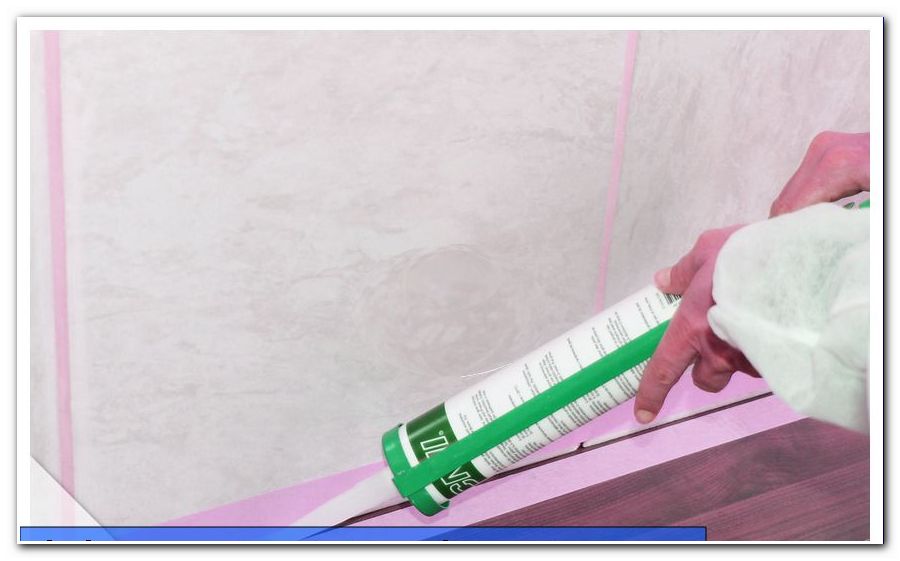
7. Rework joints - renew edge joints
If you have removed the grout to create a natural tile look, be sure to wait for the full cure time before grouting. With a two-component paint, this can take up to two weeks. The grout but otherwise acts as sandpaper on the still fresh paint.
Then the edge joints are grouted again with silicone or acrylic. The excess should be removed as quickly as possible, as the paint likes to combine with these products. Then you should ventilate the room again and do not load it for a while. So the furniture should not be put back on the new floor as soon as possible.
Tips for quick readers
- Calculate area
- Repair damage and glue loose plates
- Remove edge joints made of silicone
- Clean floor thoroughly without grease
- Apply barrier base
- Paint floor with primer
- Painting 1. If necessary, decorate the layer with decorative chips
- good airing when painting
- Painting with 2nd layer of varnish
- thoroughly dry thoroughly
- Apply clear lacquer as protective layer
- Grout edge joints again with silicone