Make Easter baskets - Instructions + templates for Easter eggs

- Simple easter nest in the glass
- Simple Easter basket
- Checkered Easter basket
- Easter Bunny Basket
What would be Easter without pretty Easter eggs ">
At first glance you would not expect it, but easter eggs are functional all-rounder: As a colorful table decoration, they decorate the Easter breakfast. Children prefer to use empty baskets to gradually fill in the gifts found during the great egg hunt, and are happy to proudly present a bulging basket to their parents at the end of this fun-filled activity. Alternatively, the Easter eggs are filled in advance with delicious sweets and other presents and presented in this version on the Easter days as gifts. These are really enough good reasons to make Easter baskets yourself. Below are several instructions for differently designed variants. Which nests do you like best ?!
Simple easter nest in the glass
Finally, another suggestion on how you can make a simple Easter basket yourself: "Hide the sweets and other small gifts just in an empty glass with a lid - a quick and inexpensive, but still pretty method.
You need this:

- empty glass with screw cap
- Decoration elements we a small porcelain bunny
- Easter grass
- Sweets and other gifts
- green felt
- Felt clover
- feather
- hot glue
How to proceed:
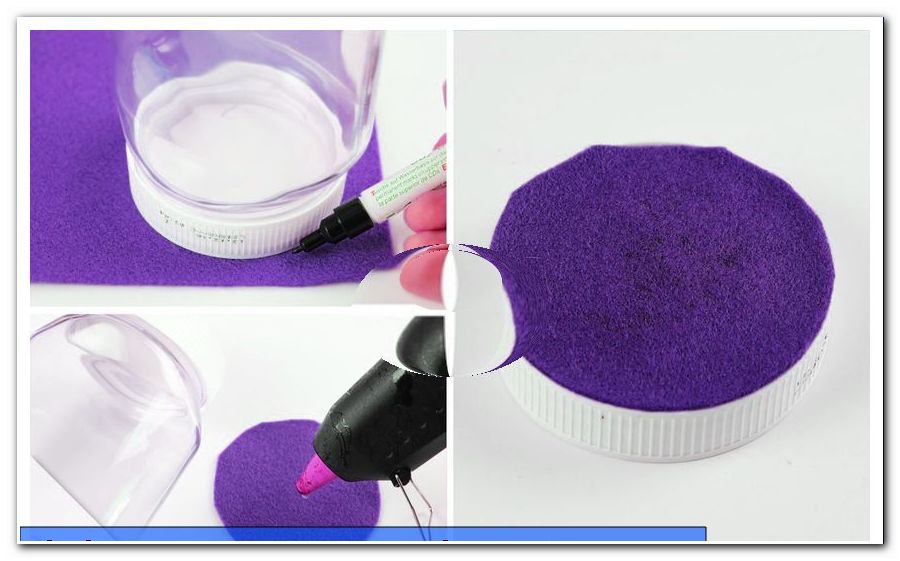
Step 1: Empty and clean the glass if necessary - this can be a Nutella jar or marmalade jar.
Step 2: Then transfer the outlines of the lid with a pencil on matching craft felt. Cut out this circle and stick it on the lid.
3rd step: Then the glass is decorated. Simply stick it on with Easter and spring decorations. We decided on a feather and a cloverleaf made of felt.
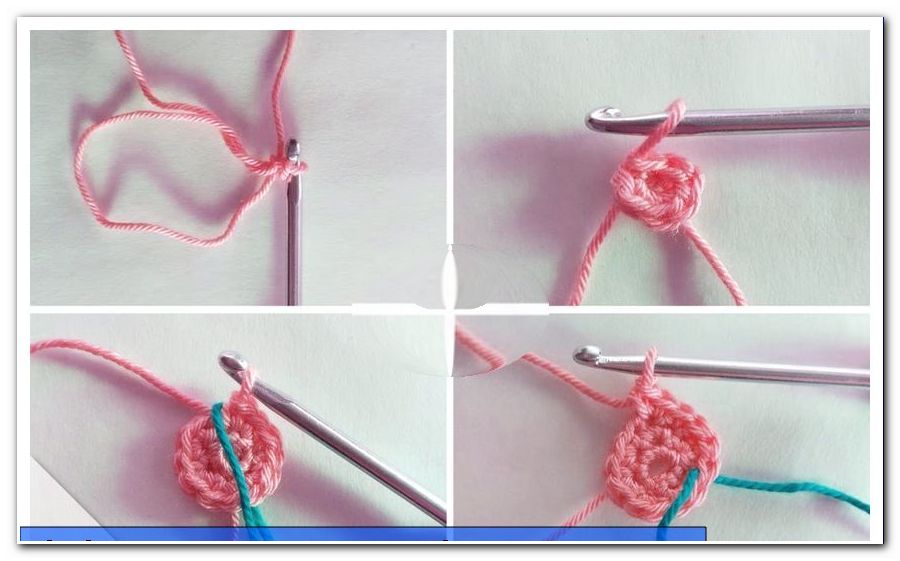
We will show you how to tinker the felt clover with child's play: making felt clover

Tip: Stick the rabbit on the lid when it is screwed on the glass - so you can see exactly where the front will be and in which direction the rabbit must look.
Step 4: Now the glass is filled with Easter grass, sweets or small presents up to the top.

Close the glass with the lid and you're ready to be given away.

Simple Easter basket
You want to make an Easter basket, but do not have much time for it ">

Step 2: Draw nine equally sized boxes (each 7 x 7 cm) in the now square paper. To do this, use ruler and pencil.

Tip: Alternatively, you can also record the Simple Easter Basket on thicker paper and work with it. Cut off the area above the nine squares and store it - it will later serve as a handle.
Step 3: Take a look at our picture and cut in the following lines.
Step 4: Fold the two side pieces towards the middle and bend the outer wings.

Step 5: Glue the adjoining parts together with double-sided adhesive tape.

Tip: Do not glue straight, but a bit diagonally - as seen in our picture.
Step 6: Cut a 21 cm long and about 4 cm wide paper strip.
Tip: If you have printed our craft template, you can skip this step and go directly to the next.
Step 7: Stick the paper strip as a handle to your Easter basket.

Step 8: Glue the last pieces of paper, the middle squares. Finished!

Tip: Now you can decorate the colorful basket as you wish and / or fill it with sweets, etc.

Checkered Easter basket
Our second proposal is also made of paper, but is a bit more expensive to produce. Who has the necessary time, should tinker such a Easter basket. Due to its braided structure, it corresponds to the classic Easter eggs and therefore makes a lot of impression.
You need this:
- stronger construction paper in two different colors
- double-sided adhesive tape
- Power strips
- pencil
- ruler
- scissors
How to proceed:
Step 1: Cut colored construction paper into several long strips. You need 11 green stripes and 5 whites. This has a format of 2 cm x 29.5 cm.

Step 2: Pick up two of the strips. Lay one in front of you, the other across. Now follow five more stripes, which are always alternately on top of the first strip or below.

Tip: Use this and the following steps to orient our pictures to see how the stripes are to be arranged.
Step 3: Now it's time to braid. To do this, pick up a new strip and push it from right to left through the vertical strips. Guide him alternately down and up.
Step 4: Lead the next strip up, then down, back up, and so on.
Step 5: Repeat this process so that you now see a total of four horizontal stripes in front of the six longitudinal stripes.

Tip: Of course, you can also operate with more strips, depending on how big your cup should be. The principle always remains the same.
Step 6: Now fold the projecting strip ends all the way up.

Step 7: Pick up a white stripe and braid it around the entire object. Here are the following things to consider:

- Alternately push the strip to be weaved back and forth through the upstanding strips of paper.
- Fold the strip around the next corner around it and fix it inside with tape.
- Reposition the strip over and over so that it fits tightly and closes well.
- Glue the end of the strip to be intertwined inside well and start with the next strip.
Step 8: Repeat step 7 with the other four stripes. Place each stripe exactly where the previous one ended. The ends are always fastened inside with a piece of double-sided tape.

Step 9: Fold the supernatant and protruding strips that cover the topmost surrounding strip into the inside of the basket.
Step 10: Cut off the remaining raised and protruding strips.

Step 11: Shorten the strips that you have folded inside the basket in step 9. The ends should remain long enough to secure them to the inside of the basket with double-sided adhesive tape.

Step 12: Cut a long and slightly wider strip of construction paper. He serves as a handle. Stick powerstrips to the ends of the handle strip and attach the latter inside the Easter basket, which is now ready and ready to be filled!

Fill the basket with sweets, presents and, of course, Easter eggs and Easter grass.

Easter Bunny Basket
The Easter bunny is very popular with children and as an important symbol is not to imagine Easter without it. So how about a rabbit basket as table decoration "> 
Click here: To download the template
Step 2: Transfer these forms to the desired construction paper. You need the rabbit twice, the side element three times. To do this, lay the side panel together as follows.
3rd step: then cut all elements clean. Caution - the page element will not be cut apart. The two rabbits are once cut straight at the bottom of the dashed line, so that the basket later has a flat surface to stand on.

Step 6: Grasp the center piece and fold over these folds.
Step 7: Coat the outside of the folded-in areas separated by dashed lines.
Step 8: Glue the middle piece between the two Easter bunny pieces. The middle of the three elements is glued so that it closes down with the straight edges of the hare.

Press the splices neatly and let the rabbit bask dry well.
10th step: Now the hare has to be decorated, painted and of course filled. Wiggle eyes are doing particularly well, as well as a sweet nose, hare teeth and a small Puschelschwanz (the pipe cleaner ball) at the back.

No matter which of our variants you choose: We wish you a lot of fun with crafts and Happy Easter!