Tinker bead animals - instructions and templates

- DIY Bead Animals: Just make your own!
- Simple beaded snake in 2D
- You will need that
- manual
- Sweet 3D crocodile
- You will need that
- manual
Bead lizards are as colorful and imaginative as the great wide nature itself. They are suitable as a gift, as a key ring or serve as small toys for children. Even jewelry can be created with it. Anyone who has ever wanted to try the fascinating art of small shimmering rocaille pearls will find here two easy-to-copy instructions for a very simple snake and a somewhat more sophisticated crocodile.
DIY Bead Animals: Just make your own!
Perfect for beginners: If you've long wanted to make one of the sweet pearl animals, but never dared - since the animalistic works of art can sometimes be extremely demanding and look like this - now is the right time. Our snake offers an easy start, and then the crocodile is no longer a hurdle. If you notice that he likes the technique, you will find countless detailed compilations in the book trade with practical templates for every topic from the bird world to the advanced Japanese method.

For now, however, back to the first steps: All of the cute little animals need only a tiny spectrum of materials. In addition to the so-called Rocaille pearls is above all a utensil for threading the main actor. For this, thin wire is considered as well as nylon thread. What makes the choice, decides the personal taste: Wire animals, of course, prove to be a bit more robust, which offers an advantage especially for models that should stand upright. However, we have not gotten that far with our reptiles, so you have the choice. Nylon gives supple animals, which make a good figure especially as a key fob. The flexible nylon thread may make it easier for beginners to begin tightening. Try both options!
Simple beaded snake in 2D
The cute beaded snake is perfect for getting started in the art of making pearls. Even those who have never worked with seed beads, achieved a remarkable result, which can be great worn as a keychain!
Difficulty: 1/5 (5 is the most difficult stage)
Time required : absolute beginners should plan for about 1 to 2 hours, but with practice, the queue can be done in 20 minutes.
Material costs: the beads are available in colorful sets - in total well under 10 euros
You will need that
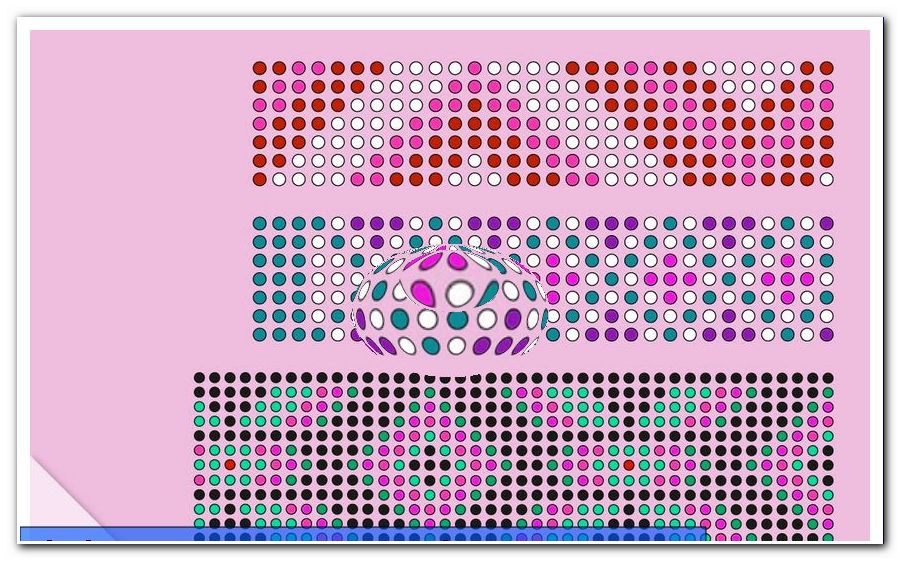
a) pearls of course! (in 2.6 mm and three different colors of your choice for the eyes, the tongue and the body)
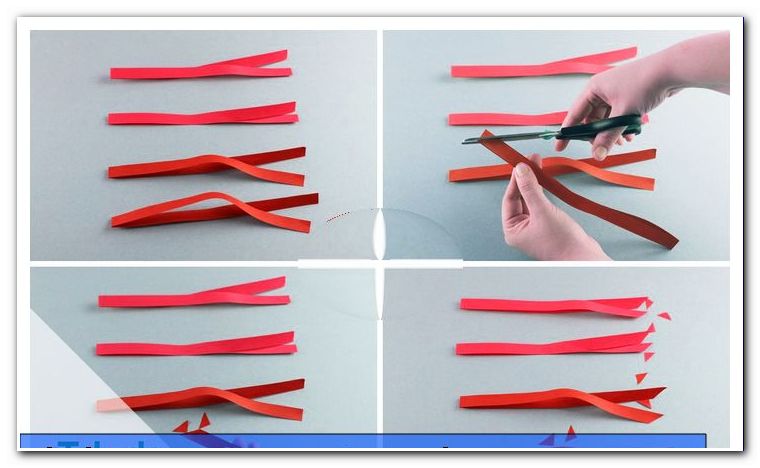
b) cord, alternatively nylon thread or wire (0, 3 mm)
c) scissors
d) Template
manual
Step 1: Print out our guide.
Click here: To download the template
Step 2: Determine which colors you want for the snake body and eyes and tongue and mark them clearly in the instructions - either by colored pencils or self-defined symbols. Beginners in particular benefit greatly from this step, but even for advanced users, the labeling simplifies the general overview.
Step 3: Now trim about 40 cm of string.

Step 4: Apply a bead to the tongue and drop it into the middle of the thread. Make sure both ends are the same length.

5th step: Now thread a second pearl in tongue color on the right end of the Schur. Now pull the left tip of your string through the second bead as well - from the right. This will provide the first fixation.
Step 6: Then gently and evenly pull on both ends so that the second bead lays over the first one. Even after this step, the two thread ends should again be about the same length.

Step 7: Afterwards, draw three pearls in body color on the right string. Then follow the left end as above again from the right through the newly added beads. Pull firmly over the tongue (the snake ...)!

Step 8: Follow the instructions for the next bead rows. After the first three body beads now come four more. Work according to the same pattern: first pull on the right and then fix with the left thread.
Tip: Do not be afraid of the eyes: In the "eye series" simply insert the corresponding beads according to the template in the middle of two beads for the body - and with two further body beads between them.
9th step: When the headboard is completed, join several rows of three beads width. Decide for yourself how many you want to include. The more, the longer your snake gets!

10th step: already in the end "> 
Tip: A nylon thread is simply knotted instead of spinning. In this version, protruding remnants can be threaded almost invisibly between the beads using a needle.

Sweet 3D crocodile
An alligator has legs and, in our case, a bulkier body than snakes. Therefore, the pretty beaded robe is a bit more complex than the beginner's snake - but still easy to imitate and (for perlent animals) relatively light.
Difficulty: 2/5
Time required: for complete newcomers safely 1 to 2 hours. Once you have internalized the technique and practiced it, after about 30 minutes you should hold a cute mini crocodile in your hands!
Material costs: the beads are available in colorful sets - in total well under 10 euros
You will need that
1) Rocaille pearls * (arbitrarily large as desired, the main thing is that all are the same - conventionally 2.6 mm are used)
2) Nylon cord about 1m
3) scissors
4) Template
* Three different colors of your choice are needed, for the eyes, back and stomach. Example: A very realistic crocodile would probably consist of black, light and dark green pearls. As you know, there are no limits to the imagination.
manual
Step 1: Here is our template for the Pearl Crocodile:
Click here: To download the template
The beginning is a pearl in the color of the back. First push the left and then the right (or vice versa, the order does not matter) end of the string through the bead. Tighten everything so that your rocaille is the center of two equal length threads.

Step 2: Follow three more back beads. Thread them onto the string by threading one end of the thread to the left and the other to the right into the opening ("the opening" refers to the tunnel that all three beads form together in their unit). These two ends of your thread meet in the tunnel and pull in opposite directions over each other into the open air.
Now pull the thread pushed through the bead tunnel in this (important!) Way gently and evenly at both ends. In the end, the Rocaille trio should arrive exactly in the middle, so both ends of the string are the same length.

Tip: The ends are not the same length ">
Step 4: In the following, each row is threaded twice according to the template - once with pearls for the abdomen and once with those in the back color. The muzzle forms an exception with the initial pearl.
Tip: Although it might be handy at times, even an alligator has no eyes on the stomach! Therefore, these two beads are of course only involved in the back part. In the parallel abdominal row you simply use five rocailles of the same shade throughout.
Step 5: In rows 12 and 19, make your crocodile legs! For this you form the back row according to the well-known pattern only in the normal way. Before now the opposite belly row comes, legs are inserted.
Step 6: Six beads are threaded to the end of the thread for this purpose. Thread the same end of your thread through three of the six beads again. This creates a loop. Important: The second pull-through is always in the direction that the solid beads would slip from the loop, if there were not the three other remaining seed beads, which prevent this. Imagining this effect helps to maintain the correct direction.
Tip: If you have pulled the six leg beads onto the left thread, for example, push three of them forward again and pull the tip of this left thread through these three separated beads again.
Step 7: Now just tighten this loop and already has the crocodile his first finished leg. Since it requires two opposite each, repeat step 8 also on the other side.
Step 8: In this way you complete the entire crocodile. If the tail is long enough for you, knot the thread ends behind the last bead well and firmly. Remains can then be easily inserted between the beads with a needle. See you later, alligator!
Tips for quick readers
- equal rocaille beads and wire or nylon thread
- Print template
- Template shows number and color of beads
- two-dimensional snake perfect as an entry
- 3D crocodile with two layers and legs
- Start snake with a pearl (tongue)
- Thread on and tighten with other thread end
- Place the pearl in the middle
- Thread further beads using the same method
- Crocodile also starts with initial pearl
- then opposite rows are raised
- always a row for belly
- and a row in back color
- tie finished animal to ends (nylon)
- or wire: turn each other