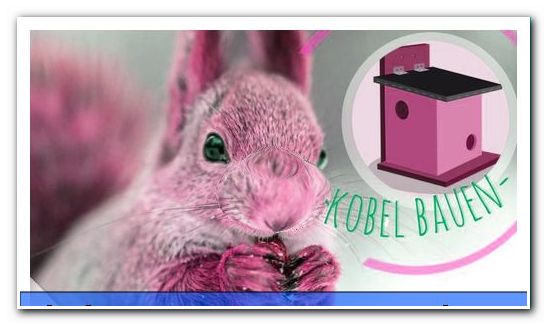
Kobel build instruction for a squirrel wooden house
- Squirrel house
- Tools and materials
- Building instructions
Squirrels are with their bushy tails and the cute behavior of the most popular, wild guests in their own garden. As rodents are more and more in the vicinity of human settlements due to urbanization, it is advantageous to offer them a kobel for wintering and raising their offspring. Best of all, you can build a Kobel yourself and only need wood.
Squirrel house
If you equip your garden with a squirrel house, the Kobel, you will be able to enjoy in a short time about one of the little rascals as a subtenant. With the house you provide the animals a nesting site, which offers itself as a winter shelter and breeding ground and protects them from predators such as martens or cats. Squirrel houses can be easily built by yourself, because only wood, few utensils, matching tools and detailed instructions are needed for them. Even if you have few home improvement skills, building squirrels is easy. They help the Eichkatzen through the winter and can enjoy the sight of the animals.
Tools and materials
You definitely need wood for the construction of the kobel. The market offers numerous houses made of plastic or even stone, which are not suitable for the animals. In small houses, the small rodents feel most comfortable and they like to relate to them. The house should have a footprint of 26 x 26 inches and a height of 30 centimeters . The following list gives you an overview of the necessary materials and tools that you need for a squirrel house with a footprint of 35 x 30 centimeters and a height of 40 centimeters, which is good for the animals.
- twice wooden boards, dimensions 35 x 30 centimeters and a thickness of 20 mm
- three times wooden boards, dimensions 40 x 30 centimeters and a thickness of 20 mm
- a wooden plate, dimensions 35 x 30 centimeters and a thickness of 20 mm
- Twice hinges made of brass or stainless steel
- Self-tapping screws made of brass or stainless steel
- alternatively normal screws made of brass or stainless steel when using a drill
- drilling machine
- Cordless Screwdriver
- Hand or electric saw
- roofing felt
- stapler
- staples
- Weatherproof wood glaze on an ecological basis
- brush
- pencil
- coarse sandpaper
- file
- 1 x small nail made of brass or stainless steel
- 1 x small hook
Of course you can adjust the dimensions for the Kobel to your own wishes. The instructions below are a suggestion for a squirrel house that is perfectly adequate in size, but you can easily make it bigger . As wood, you should never use chipboard, as they quickly start to rot.
The most effective types of wood for the Kobel include:
- pine
- maple
- beech
Especially dense and solid solid woods should not be used because they are too heavy to hang. In addition to the list, you should also prepare building material for the nest, because the animals set up their own squirrels house. Do not forget this point, otherwise the squirrel snatch fabrics from your garden and do not even shy away from your underwear.
Following the nesting material:
- Base: straw or wood wool
- Filling material: feathers, sheep's wool or dry moss
- Construction material: small branches, feathers, dry moss and untreated textiles such as cotton
With the building material, the squirrels set up their Kobel, while the base and the filling material constitute the basic nest. In addition, you can still get a wooden staff with a length of 80 centimeters, which is 20 to 40 millimeters thick. This serves subsequently for hanging the Kobels.
Tip: It is normal for squirrels to find that a single kobel is not enough, for example when they have to flee from predators or because of the weather they can not make it into their preferred nest soon enough. For this reason, it is recommended to build several houses and hang them at a sufficient distance from each other.
Building instructions
Build wood-Kobel: Instructions
Once you have all the materials and tools together, you can build the Kobel. Follow this guide.
Step 1: First select one of the two 35 x 30 centimeter boards as a base plate. Now take the three plates in the dimensions 40 x 30 centimeters at hand. These serve as the load-bearing walls of the construction. The plate with the dimensions 35 x 30 centimeters serves as the front.
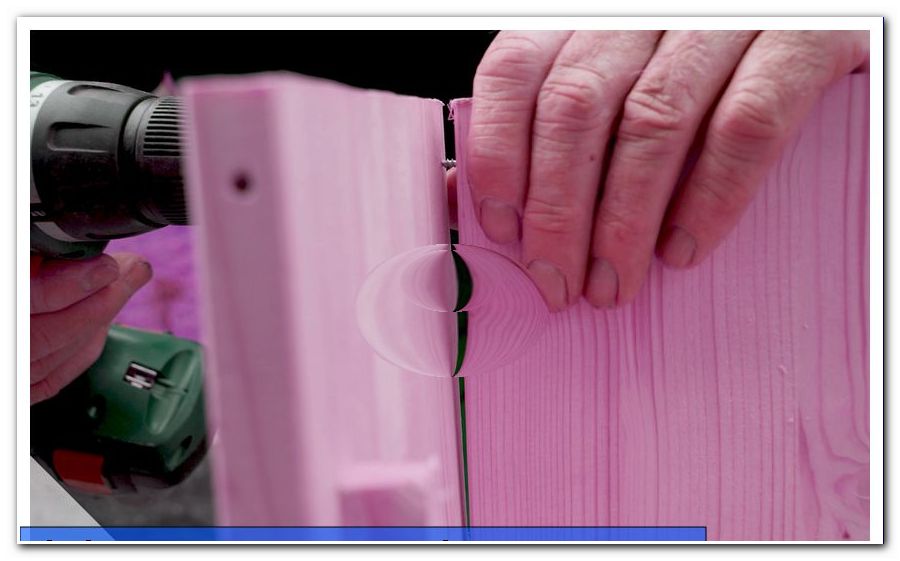
Step 2: Draw a hole with a diameter of 7 centimeters on at least two of these walls. Squirrels in nature always plant kobels with two or more openings, so they still have an escape hole available. It is best to draw one of the holes in the front of the lump, but not in the back as it will be attached to the tree. Then saw out the holes.
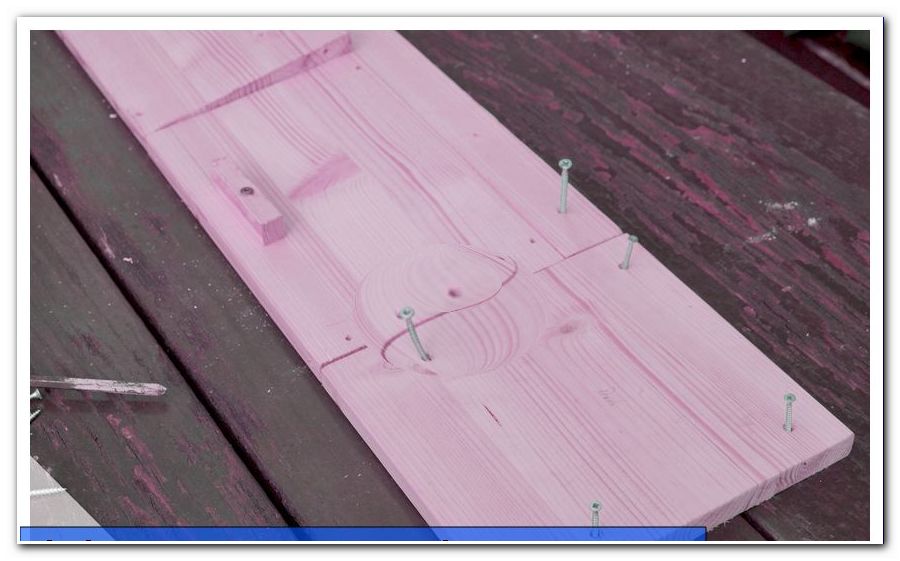
Step 3: Now place the load-bearing walls on the base plate, which will project forward about four to five centimeters. This is a seat for the animals. Connect these with screws from below to the base plate and at the corners.
Step 4: Mount the front panel using screws on the side walls. Now the walls should be robust and only the roof is missing.
Step 5: As you can see, the front plate is shorter than the back. The reason: the Kobel roof must be slightly inclined, so that rainwater can drain off. However, squirrels do not like it when the roof of the kobel is too steep, as they like to sit on the squirrel house and even sun themselves there. For this reason, you now have to slightly chamfer the side walls, so that the roof can easily rest against the front.
Step 6: For beveling, simply take the roof panel and attach it to one of the side panels. Now use a tilt angle between 15 ° and 20 ° (eye size) and draw a line on the side wall. Repeat this step on the other side. Now remove the wood towards the front and work on the interfaces with the file and the sanding paper. The roof panel should now rest well.
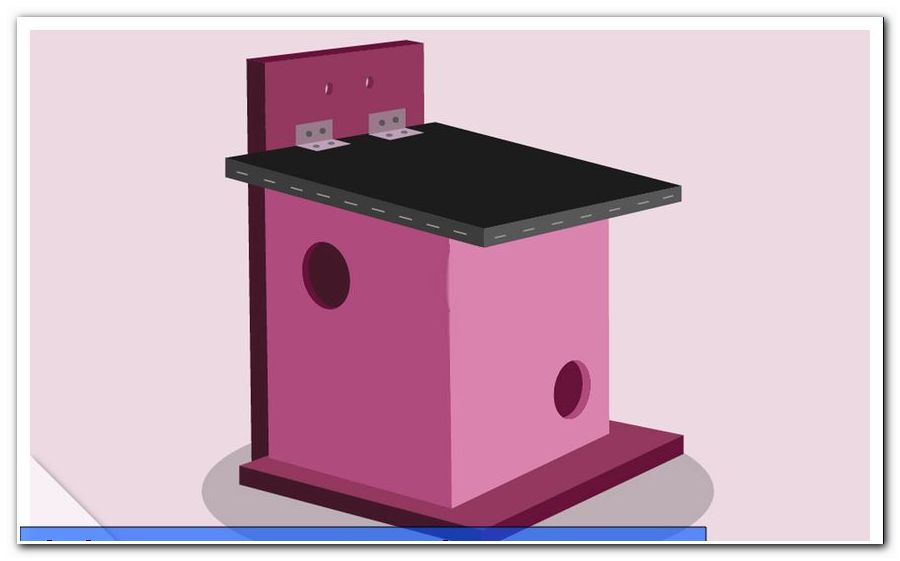
Step 7: Mount the roof plate now. This is fastened by the two hinges on the back, so that the Kobel can be opened by you. It is important to always refill the squirrel with some nesting material or to see if the kobel is even occupied. Yes, the roof is slightly overhanging so that the main entrance is protected.
Step 8: Then attach the roofing felt with staples to the roof panel. Make sure that it is well cut and not broken.
Step 9: Finally treat the wood with the glaze according to the manufacturer's instructions. Let it dry completely.
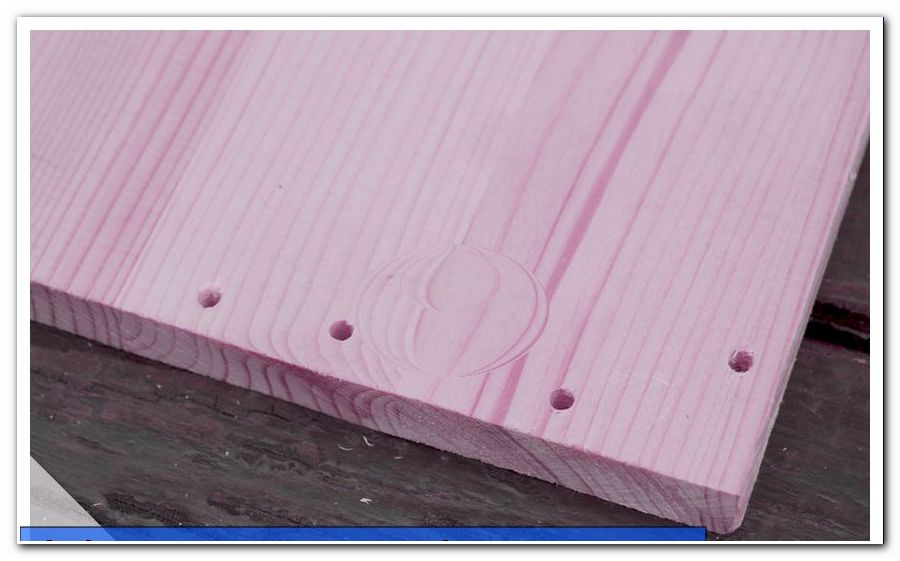
Step 10: Last but not least, you can drill small holes in the sides at regular intervals with a 12 mm diameter wood drill bit. These ensure a good air circulation and act against damming summer heat.
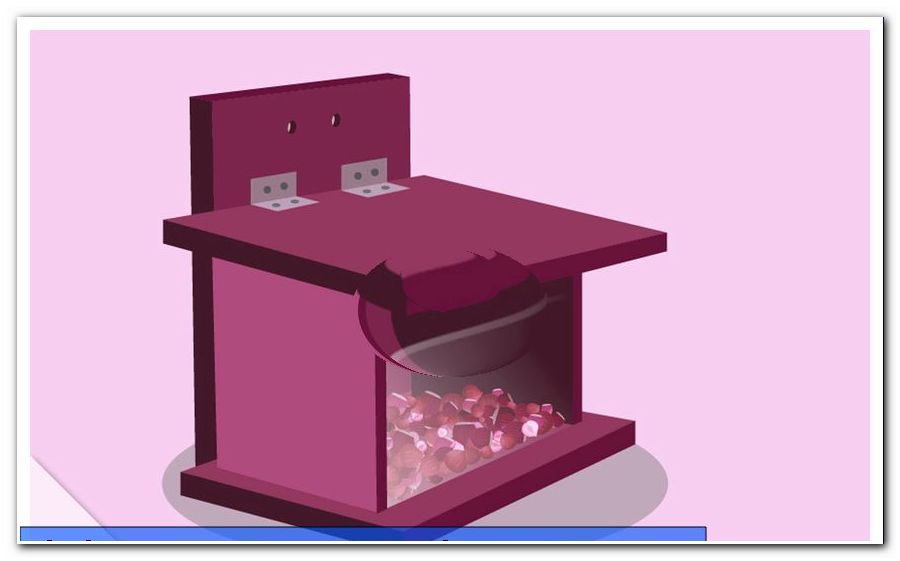
Tip: If you want to support the animals even more, you should not just build a Kobel. A rodent feeding house allows the rodents to feed without any problems throughout the year without having to go on a long search.