Stick shoe sole yourself and repair shoes

- Instructions I - Glue on the shoe sole
- Instructions II - Stick or nail hacking
- Instructions III - abrasions in leather
- Instructions IV - Attach the zipper
- Instructions V - Color leather soles
Of course, it is the shoes that we like to wear that break quickly. Whether the shoe sole loosens or the heel has slanted at an angle, here we show you how to repair your favorite shoes again. This does not require a great tool or a comprehensive spare parts warehouse. For all Schuhnotfälle our five instructions provide you with the appropriate help.
Shoes today often cost much less than repair by a specialist. But that is no reason to dispose of every cheap pair of well-worn shoes. You can fix many small damages yourself. Here we show you which tool you already have to repair the shoes and what else you need for it. So much is revealed, you spend less than 25 euros for a basic stock of repair materials and can give almost every pair of shoes a second life at home. Here are five instructions for you to help you repair your favorite shoes.

You need this:
- small hammer
- small grater
- wooden blocks
- clamp
- hairdryer
- brush
- strong sewing needle / leather needle
- Cuttermesser
- sandpaper
- White spirit / turpentine
- leather Color
- shoe polish
- thread
- Special glue for shoes / better: cobbler glue
- larger safety pin
- paper towels
Tip: In the kitchen or at the bicycle accessories you will find small rubbing wheels, which are perfectly suited to roughen the adhesive surfaces of soles, hooks and shoe underside. With a small grater you will produce a better adhesive surface than with a single emery cloth.
Instructions I - Glue on the shoe sole

 Take a special adhesive for all gluing work on shoes. There are some products offered by the relevant manufacturers of glue. You should pay attention to the term "elastic" when you buy adhesive for soles. But it is even better to get the right shoemaker's glue, which is available at many retailers for about six euros plus shipping on the Internet.
Tip: When buying, pay attention to the water resistance of the adhesive or glue. You do not want to go barefoot after an unexpected puddle.
Special glue as well as the cobbler glue is flexible after drying, so the sole can adapt while running. Although normal adhesives hold the sole firmly to the shoe. However, they make sure that it becomes as rigid as a board. So the sole gets cracked or breaks through after a short time, so you would not have gained anything.
1. Clean
Both sole and shoe underside must be thoroughly cleaned. Of course you can not take water for that. Carefully rub both parts very roughly with a hard brush. If you want to put on a brand new shoe sole, it's done in the same way as an old sole that has only loosened slightly. However, you should always replace new soles on both shoes at the same time.

2. sanding
The adhesive surfaces are well sanded after cleaning so roughened. This should especially be done with a new sole, because the smooth surface otherwise can not permanently adhere to the shoe bottom.

Tip: Take some time to choose a new sole. In most cases, you should put on the same strength that was previously on the shoe. However, if you felt that the sole was too thin, you can use a slightly stronger sole. But do not overdo it. A shoe that was previously covered with thin, smooth soles, visually does not tolerate a thick sole with a strong profile.
3. Gluing
When gluing you need a little patience. After the adhesive surfaces have been applied, they should not be compressed immediately, but tighten for a moment. Then, however, the surfaces have to be softened again with the hair dryer . If the splices are warmed up (but not hot!), Press them together. You have to apply a lot of pressure and press the sole longer.


If the shoe is open enough to allow you to use a screw clamp, you should insert a few small boards and leave the whole shoe with the screw clamp overnight. Some users swear to put on the shoe and load it, but this is only true for real straight running shoes, otherwise you may forgive the shoe by tightening and the sole later sticks slightly wrong next to the shoe.

Instructions II - Stick or nail hacking
Basically, it's usually not the actual hacking or heel that's renewed, just the running patch. This last layer of the heel is considerably stronger and harder than the rubber used for the sole. Theoretically, we are lucky that these heel patches are standardized in size in this country. But most loafers we wear are no longer made in Germany today. However, the finished heel pieces can be cut relatively well with a craft knife. If the previous patch was nailed, you should do it again with fine cobbler nails. Otherwise, you can also glue this heel sole.
1. Remove running marks
It can sometimes be a little tricky to loosen the old marks from the heels. It's a bit easier with a weed hook from the garden. Also, the water pump pliers from your tool box may be useful to remove the pad. If necessary, you will have to cut the old runway crisscross with the knife or a small hacksaw until you can peel off the rubber.
2. Crop
Prepare the heel well. If it has already gone wrong, you should shorten both paragraphs until they are straight. In case of emergency you have to try your toolbox again and use a fine hacksaw for hacking. Small inclinations can often be compensated with the cutter knife at the new heel patches. Cut the patch to fit before attaching it so that you do not damage the outside of the heel when you trim it.
3. Glue or nail  If you want to glue the heel, follow the instructions above and rough up the surfaces beforehand. With a little handcrafted talent, you can nail the patch expertly. Remember exactly where the heel provides enough substance to hold the little nails.
Tip: If your shoes have been rattling very annoyingly so far, you can use the opportunity to at least reduce this noise problem when renewing the patches. Often the extreme rattle is that the heels are hollow . That makes the shoes pretty easy, but annoying too. Either fill in the gaps with styrofoam pieces or if you just have construction foam on hand, you can fill up the hoes with it. It is also suitable silicone compound, but the complains the shoe unnecessary.
Instructions III - abrasions in leather
Sometimes you step into a gulli and tear up the whole liver coating on the heel. Frequently such accidents happen of course with the latest boots or noble heel shoes. Leather or artificial leather, which has come off the surface of the heel, can be smoothed out with a little heat from the hair dryer if it looks like an accordion. Then it is glued with very little cobbler glue. Emulsifying glue must be removed immediately.
 If there is too much paint on the track during the action, use either leather paint or a corresponding colored shoe polish. For black shoes is still the good old Bundeswehr shoe cream the best choice. You can get it today on the Internet for a few euros as a civilian.
Tip: Our grandmothers knew, black smooth leather shoes, which looked a bit worn and worn, were polished with a crumpled newspaper. Today, this is no longer possible with every newspaper. In any case, you should use a black and white copy. Newspapers that stain heavily on the hands are ideal for that.
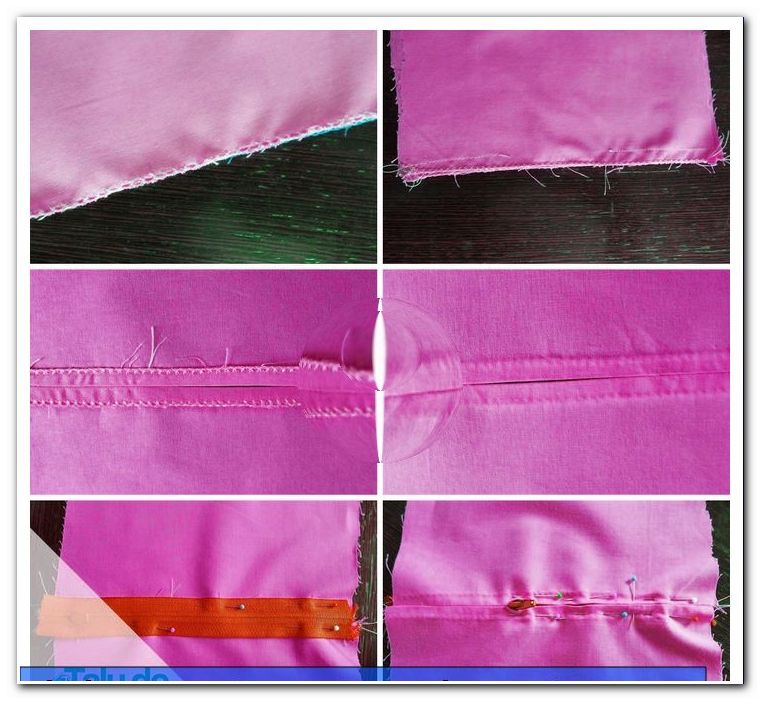
Instructions IV - Attach the zipper
Many ladies know that, the zipper on the beautiful new boots or boots separates from the bootleg. Often a loose thread is the cause that has been pulled out when putting on the shoe. So that the zipper is firmly connected to the boot shaft, only some manual work helps.
A strong sewing needle or a leather thread with a strong thread connects the zipper permanently and durable with the boot. If the zipper itself is broken, you can even use this way with a little patience, a whole new zipper.

Tip: Many already know this trick. If the zipper on the zipper is missing, a strong safety pin is the first quick help, until you can attach a new zipper at home. You should therefore always have a safety pin in your handbag for such emergencies.
Instructions V - Color leather soles
It is difficult to dye rubber soles because their structure does not allow the color to be pulled in. But leather soles can be dyed very durable and durable. However, you must choose a high quality leather color.
Of course you can also dye the leather sole dark brown, it does not necessarily have to be black. What does not work is to dye a dark leather sole brighter. A light brown sole, for example, never bright red or blue, because the base color always interferes with. So you can only produce mixed colors for these shades, so basically only a black or dark brown shoe sole is a real success to guarantee.
1. Clean the shoe sole
First, you need to roughly clean the sole and then make it as fat-free as possible. For this purpose, benzine or turpentine is suitable. Use an old cotton rag to rub off the sole with benzine. Never pour turpentine or benzine on the sole, the glue will dissolve.
2. Apply paint
If the shoe sole is still very smooth, lightly roughen it with emery cloth before applying the paint. The leather color is then evenly applied with a brush. You should wear gloves, because the color also very well colors skin. Depending on how much the shoe sole absorbs the paint, you can apply the paint again after some time.
3. Color test
The leather must dry for at least 24 hours. But do not put the shoes on the heater, it could cause snow edges and uneven spots. After drying, place the leather shoes on several layers of kitchen paper for a while and check that the soles are still rubbing off. After all, you do not want to ruin your own ground or that of your friends. An impregnation spray can help to fix the color to the sole. However, you should be careful with a leather impregnation spray, as you slip on it easily.
Tips for quick readers
- Clean splices
- Roughen splices well
- use special shoe adhesive
- Apply adhesive and leave to don shortly
- then heat the glue with the hair dryer
- Squeeze splices firmly for a long time
- Renew running marks on the hack
- remove old stains
- Straighten hacking
- Cut running marks
- Stick or nail stains
- Smooth and glue the abraded surface
- Color black soles of leather shoe soles
- Clean shoe soles and apply leather color
- Let soles dry for 24 hours