Hang up nesting boxes: the ideal direction for 20 species of birds

- foreknowledge
- material
- Hang the nesting box
- 20 species of birds and their nesting boxes
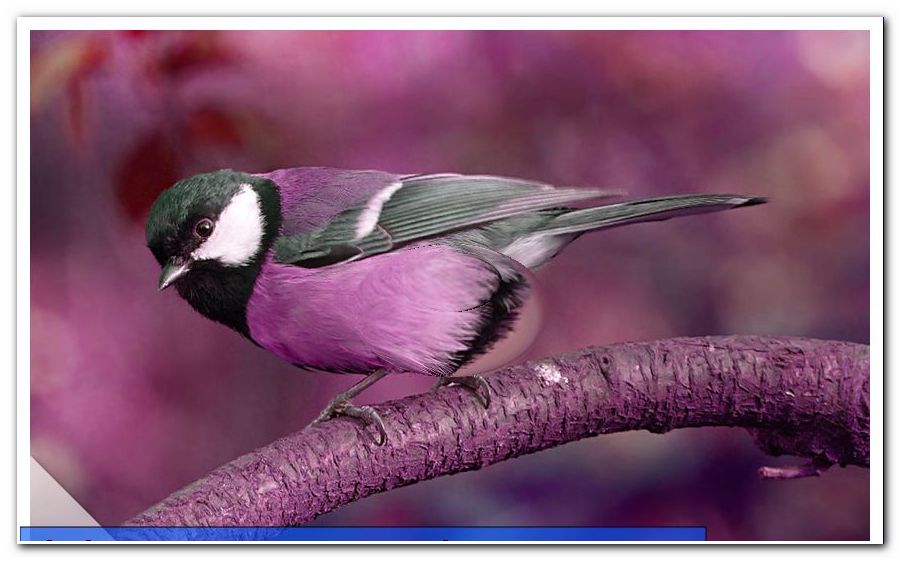
Songbirds are welcome guests in the garden. If you want to offer a nesting site to the local bird species, you must pay attention not only to the right nest box, but also to the orientation. Only by this nuthatches, nuthatches, starlings, sparrows or tits nest on their own property, as they are not exposed to the weather too much and protected from predators that would eat the chest.
Nesting boxes are important aids for birds, as they have less and less breeding grounds available due to humans. Especially in urban areas, there are hardly any nesting possibilities for the animals, because they are exposed to the weather, exhaust fumes and too frequent contact with humans there. A nesting aid provides the birds with a sheltered place that is perfect for raising young birds as long as they are optimally hung and selected according to their needs. In addition, the time for hanging the nesting box is important so that the birds can get used to the new home early.
foreknowledge
Before the birds can get the nest box, you have to hang it up. Above all, you have to pay attention to the right utensils, height and direction, so that the birds are not too exposed to the elements and protected from predators such as cats or martens. The most important part of the preparation is the time and location of the nesting boxes. These are either hung at the end of February or already in autumn. Autumn is more recommended due to the following points:
- Birds can already test the box and refer directly to the beginning of spring
- At the same time, they remember where the box is
- over the winter he provides as refuge for all kinds of birds
- This happens especially on rough, cold days
Although you can not hang up the box until spring, boxes that are hung in the fall are used more often. Regarding the location, you should make sure that the nesting boxes can not swing in the wind, because the animals do not like it at all. Although there are numerous boxes on the market, these are really only available for wind-protected gardens. Choose the location as follows:
- Swallow Nest: House Wall
- Half caves: house wall
- Boxes for cave breeders: trees that match the box size or locations that correspond to the species

When distributing the boxes, make sure you have enough space for each box. For this they should choose a distance of eight to ten meters between the individual nesting boxes, so that the birds can nest in peace. If the selected nesting box does not have a roof, it must be hung slightly forward so that it does not rain.
material
After choosing the right location, you can start hanging the boxes. For this you need:
- nesting box
- Garden hose in length of trunk circumference
- Secateurs with integrated wire cutter
- Binding wire of sufficient thickness and length of the vocal cords should be able to withstand the weight of the nesting box
- two eyelets
- Ladder with tall trees
Tip: Choose nest boxes made of wood, wood and pumice concrete. These provide good thermal insulation and are therefore better for use as variants of plastic or metal, as they give off too much heat.
Hang the nesting box
1. Once you have selected the correct location and time, you must determine the direct position on the tree or house wall based on the direction of the compass. The direction of the nest boxes is crucial, as the birds and their brood are protected from the elements. Each direction has a different effect on the nesting animals:
- West and Northwest: the weather side, too much rain and wind
- Southwest or west: too much sunlight, heats the box too much, could damage eggs and brood
- North and Northeast: generally too cold
If these rules are observed, the only direction left is the east, partly the southeast. Here, the animals are not too heavily plagued by rain, wind and sun, which has a positive effect on their nesting behavior. At such locations the animals like to nest.
2. Now take the eyelets in your hand and screw them into the back corners. Be sure to screw them deep enough into the box to prevent them from breaking out. The thread should be completely in the wood and not visible.
3. Prepare the binding wire. Loop the wire once around the log to determine the necessary length, taking the necessary length for the eyelets so that the wire can be securely fastened.
4. Now cut the garden hose back to the correct length. This is based on the length of the binding wire. Now pass the wire through the hose, making sure that there is enough space at the ends to twist the wires. The hose acts as protection for the tree, so that it is not damaged by the wire.
5. Now fix one end of the wire, climb gently on the ladder and lay the wire with hose around the tree. The wire and hose should be over a side branch, which is directly opposite the box. So this can not fall down.
6. Check if enough wire has been used. If this is the case, you can twirl the second eyelet and check again if the box fits well. If it wobbles, you have either used too much wire, one of the wire ends is not sufficiently fixed or the location on the tree is unfavorable.
Please note: If you install a nest box on the house wall, these are usually the right devices and operating instructions, which you can orientate yourself. The above instructions are purely for all nest boxes that are hung on the tree.
20 species of birds and their nesting boxes
Important in the nest boxes, besides hanging, of course, the type of box and the size of the Einfluglochs, as there is no universal nesting box. Each species of bird prefers different proportions, which must correspond to the natural conditions, so that these relate to the box at all. However, the compass direction is the same for all boxes, except for certain exceptions. The details of the entry holes and internal dimensions (width x depth x height) are given in millimeters, the suspension height in meters.
1. Blue tit:
- Height: 2 - 3.5
- Entry hole: 26 - 28
- Interior dimensions: 140 x 140 x 250
- Beginning of the nest time: mid-April
2. Great tit:
- Height: 2 - 3.5
- Entry hole: 32 - 34
- Interior dimensions: 140 x 140 x 250
- Beginning of the nesting season: end of March - beginning of April
3. Crested tit:
- Height: 2 - 3.5
- Entry hole: 26 - 28
- Interior dimensions: 140 x 140 x 250
- Beginning of the nest time: mid-April
4. Swamp tit:
- Height: 2 - 3.5
- Entry hole: 26 - 28
- Interior dimensions: 140 x 140 x 250
- Beginning of the nesting season: April - May
5th coal tit:
- Height: 2 - 3.5
- Entry hole: 26 - 28
- Interior dimensions: 140 x 140 x 250
- Beginning of the nesting season: end of March - beginning of April
6. Pied Flycatcher:
- Height: 2 - 3.5
- Entry hole: 32 - 34
- Interior dimensions: 140 x 140 x 250
- Beginning of the nesting season: May
7. Redstart:
- Height: 2 - 3.5
- Entry hole: 4
- Interior dimensions: 140 x 140 x 250
- Beginning of the nesting season: early May
8. Nuthatch:
- Height: 2 - 3.5
- Entry hole: 32 - 47
- Interior dimensions: 140 x 140 x 250
- Beginning of the nesting season: April

9. House Sparrow:
- Height: 2 - 3.5
- Entry hole: 32 - 34
- Interior dimensions: 140 x 140 x 250
- Beginning of the nesting period: mid-April - end of April
10th field sparrow:
- Height: 2 - 3.5
- Entry hole: 32 - 34, oval shape 30 x 45
- Interior dimensions: 140 x 140 x 250
- Beginning of the nest time: end of April
11. Wagtail:
- Height: 2 - 3.5
- Entry hole: 50 (slot)
- Internal dimensions: 140 x 140 x 160
- Beginning of the nesting season: April
12. Black Redstart:
- Height: 2 - 3.5
- Entry hole: 50 (slot
- Internal dimensions: 140 x 140 x 160
- Beginning of the nesting season: April
13. Gray Catcher:
- Height: 2 - 3.5
- Entry hole: 50 (slot)
- Internal dimensions: 140 x 140 x 160
- Beginning of the nesting season: May
14. Star:
- Height: 3 - 10
- Entry hole: 45 - 50
- Internal dimensions: 160 x 160 x 320
- Beginning of the nest time: mid-April

15. Hoopoe:
- Height: 3 - 10
- Entry hole: 70
- Internal dimensions: 220 x 250 x 320
- Beginning of the nesting season: early May
16th House Swallow:
- Height: 2 - 4
- Entry hole: no hole
- Internal dimensions: 120 x 120
- Beginning of the nesting season: May
17th Barn Swallow:
- Height: 2 - 4
- Entry hole: no hole
- Dimensions: support board of 120 x 120
- Beginning of the nesting season: May
18th Wryneck:
- Height: 5 - 8
- Entry hole: 80 - 90
- Inner dimensions: special shape: Ø 200 x H 460
- Beginning of the nesting season: mid-April to mid-May
19. Wren: The Wren is a special case, as he uses all the nest boxes he can get. Whether closed with Einflugloch, half-open or round nesting boxes, the Wren feels comfortable here. It is only important that you do not hang the box higher than two meters because the bird usually does not build its nest higher. Beginning of the lecture from the beginning of March. In addition, the nesting box can even be oriented to the south.

20th swift:
- Height: 8 - 20
- Entry hole: 32 x 64 (oval shape)
- Internal dimensions: 170 x 280 x 110
- Beginning of the nest time: mid-May
Tip: Be sure to protect against predators, especially cats and martens, for the lower hanging boxes. For this purpose, a so-called marten protection, which is attached at a height of 1.5 meters and thus prevents the animals from catching the chicks, parents or eggs.