Knit buttonhole - instructions for beginners

- material
- So knit a buttonhole
- Create sketch
- Knit horizontal buttonhole
- Knit vertical buttonhole
When the days get shorter in the late summer, the DIY season starts for many DIY fans. Especially friends of self-knitted garments love to make scarves, sweaters, tank tops, socks and jackets in their favorite colors in the evenings of the dark season. Many even meet in the group to support each other during the development process of their projects.
Particularly consulting-intensive are projects with button closure or bar. Even those who have been knitting for years and have a lot of experience often seek advance advice when it comes to incorporating buttonholes. Here's how to proceed step by step as you work buttons into a knit object.
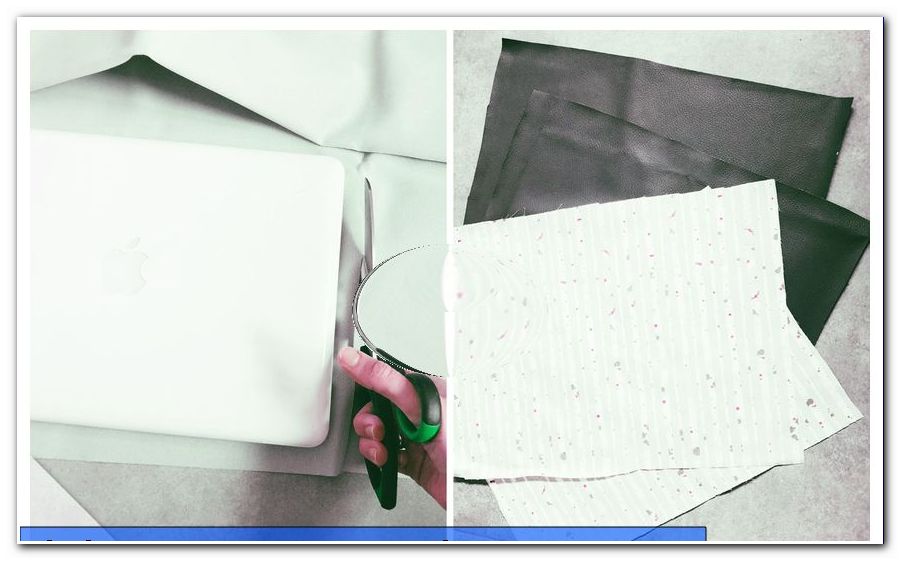
material
- Wool
- knitting needles
- crochet hook
- Needle for sewing
- scissors
- Paper and pen
- Buttons in the required number
- tape measure
So knit a buttonhole
Create sketch
Before you start knitting, you should always make a sketch for larger projects, in which you note the respective dimensions. How to make such a sketch, for example for a self-made sweater, can be found here: //www.zhonyingli.com/richtig-massa-nehmen- Strickpullover /
Here is an overview of the knitting instructions for a child's sweater, for example: //www.zhonyingli.com/kinderpullover-stricken/
If you want to button your project, you should first think carefully about where you can best apply it. The sketch can help you a lot. First draw your ideas on paper and see if they can actually be realized. Especially when a whole button placket is to be attached, it is necessary to calculate exactly at which height and at what distance the individual buttonholes have to be knitted. Take the measurements of the button placket and the button. You also have to decide if you want to knit horizontal or vertical buttonholes.
So be careful with your planning. It would be a pity if a pretty and laboriously knitted project would be ruined just because it does not close properly with the buttons.
Knit horizontal buttonhole

In the case of the horizontal buttonhole, stitches are chained in one row and resumed in the following:
1. First measure the diameter of the button.
2. Then calculate how many horizontally knitted stitches correspond to the average of the button.
3. Then set the location for the buttonhole.
4. Knit the row in which the buttonhole is to be worked first.
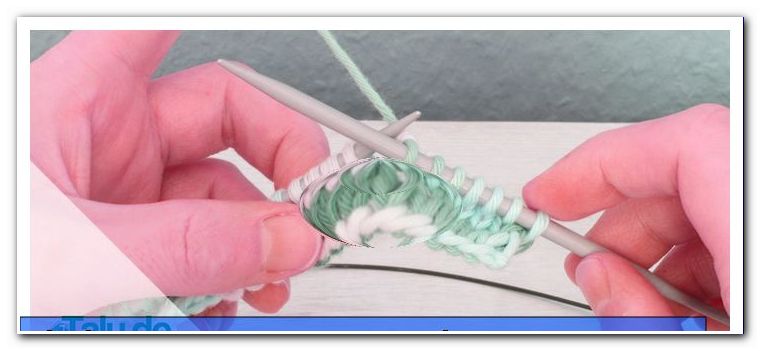
5. At the place where the buttonhole should be attached, bind the stitches with the crochet hook:
Guide the crochet hook through the loop from right to left.
 Place the thread around the crochet hook with your left index finger. Then pass the thread through the loop with the crochet hook. Leave the resulting stitch on the crochet hook and pass it through the next stitch so that there are two stitches on the crochet hook.

With your index finger, thread the thread around the crochet hook and then pass it through both stitches. In this way remove the next stitches until the buttonhole has the desired size.

6. The last stitch is now taken over by the crochet hook with the right knitting needle.

7. Knitting the row normally.
8. The following row is initially knitted over the buttonhole.
9. At the point where stitches have been removed in the previous row, the same number of stitches will be hit again:

To do this, lay the thread around your thumb as with the usual stitch stop. Pass the right needle below the resulting cross from right to left. Then grab the thread from the top left and pass it under the cross. Tighten the resulting stitch on the right needle. Hit the other stitches the same way.
- How to strike a mesh principle, you will learn in this article: //www.zhonyingli.com/maschen-anschlagen/
- You can learn variants for decapping stitches here: //www.zhonyingli.com/maschen-abketten/

10. Now continue to knit as normal.
11. Finally attach the button on the counterpart and close it with the buttonhole.
Knit vertical buttonhole

In the vertical buttonhole, the knitting work must be divided in half:
1. First measure the diameter of the button again.
2. Then calculate how many vertically knitted stitches correspond to the average of the button.
3. Find the appropriate location for the button in your fabric.
4. The row in which the buttonhole is to be worked is initially knitted normally.

5. At the place where the buttonhole is to be attached, the stitch is attached as a left edge stitch on the right knitting needle. The remaining stitches remain on the left needle.

6. Pick up a third knitting needle and in the right part of the work, knit as many rows as you need for the buttonhole. If you do not have a third needle, you can use a thread.

7. Then proceed as in step 6 with the left side of the knitting work. Be sure to knit the same number of rows.
8. Knit the row above the buttonhole normally, taking all stitches back on the right needle.

9. Now just continue to knit normally.
10. Then attach the button to the counterpart and you can close it with a buttonhole.