Connecting the water heater - instructions and notes

- warning
- manual
Good reasons to switch to a water heater are lower utility bills and no unpleasant (albeit supposedly healthy) change showers. Up to 20 percent energy can be saved, while at the same time enjoying more comfort during showering and bathing.
To connect a water heater is not a simple craft, which can be done just once.
warning
WATCH OUT! Electrical installations should always be carried out by a specialist in order to ensure maximum safety. This is even essential for gas-powered devices. Instantaneous water heaters are connected to the mains with high current. Connecting without training as an electrician can be life-threatening. Nevertheless, devices are readily available in well-stocked retailers that can be connected themselves.
Turn off power and water is not enough to protect yourself from the dangers of installation. Without the required expertise, can cause very expensive damage. Short circuits, water damage or even fires are unfortunately not rare and usually take on large proportions. Because instantaneous water heaters require a high power output to heat water quickly, installation should only be done by trained professionals.
Especially devices with a gas operation can cause fatal accidents, if the gas line is damaged or leaking due to a faulty mount, this can lead to an explosion.
Danger when connecting a water heater with normal power connection:
Although it is comparatively easier to connect a water heater with normal power connection with the socket to the mains, it can also lead to accidents here. If you still want to connect the water heater yourself, you have to expect these consequences:
- Loss of insurance coverage
- Loss of manufacturer's warranty
- Damage to the device
- Risk of electric shock
- Consequential damages such as short circuits, water damage and fires
manual
If you are aware of the risk and still want to connect the water heater yourself, we will now provide you with instructions. Since this is a generalized guide, it is important to look in the manual for your device for more information before starting to connect.
Optional materials in addition to the scope provided:
- voltage tester
- tracking device
- Pencil for drawing the drill holes
- Drill with matching drill bits
- Towels for catching the escaping water from the pipes
- Protective sleeve for the cables (from one Euro in the hardware store)
- Electrical tape (one to three euros in the hardware store)
- Adapter for regulating the flow of water (up to 15 euros in the hardware store)
- Cuttermesser

Step 1: Check the delivery
It is important to check if all specified parts are present and no transport damage. Read the instructions carefully.
2nd step: Preparation
Water supply lines must be shut off. Electrical connection cables must be de-energized. The fuses must also be switched off. Depending on your energy provider, you may need to inform him that you want to run a water heater and have its use approved. Check the wall on which the device is to be mounted on cables and cables.
Tip: Check with a voltage tester, whether the electrical leads are de-energized. A detector that responds to metal can be checked where water pipes run in the wall.
3rd step: fixing the mounting strip
If you need to remove an old device first, loosen the screws of the luster terminals and pull out the wires of the water heater. Then the main tap of the water supply has to be turned off. Drain the water before loosening the water pipes. If all lines are disconnected, the old device can be removed and disposed of in an environmentally friendly way with the packaging of the new device.
To connect the new water heater, you should read the instructions carefully because the exact installation varies from device to device. For mounting the mounting rail you should first drill holes. Then it can be fixed to the desired wall with the help of the instructions and the supplied dowels.
Tip: The drilling template can be inserted at the marked points over the water connections. This makes it much easier to mark the drill points in the correct places.
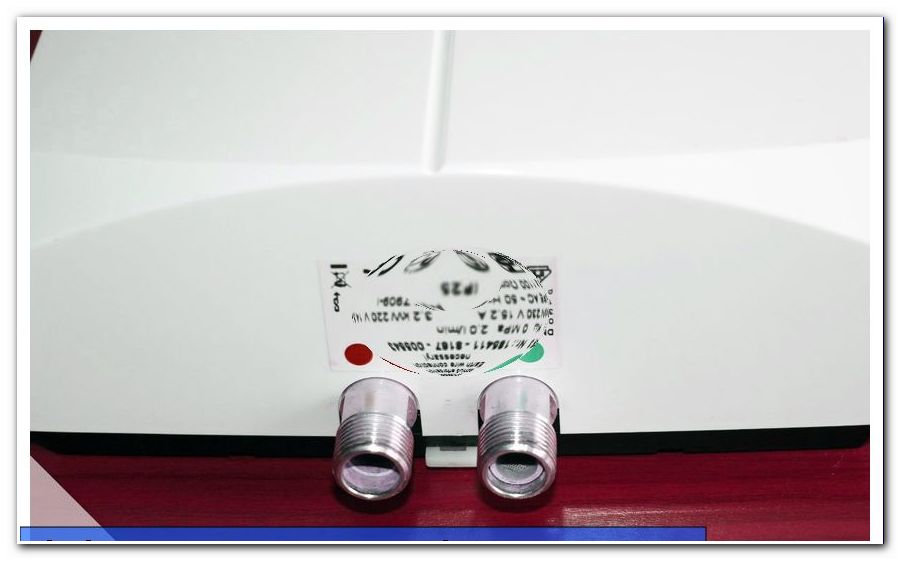
4th step: Connecting the water pipes
Before connecting, the pipes must be thoroughly cleaned and rinsed out. Only then can the corresponding connections be connected. Since it is only possible to connect the connections directly to the associated fittings when the water connections are vertical, it is important to pay attention to this detail.
Tip: As a rule of thumb, you can remember that the outlet is red and the inlet is blue in cable ducts. That should not be confused.
5th step: Fixing the water heater
In most cases, only the housing must be attached around the lines according to the instructions. It can then be easily hooked to the mounting rail.
Step 6: Testing of cables and water pipes
You should be absolutely sure that the connections have no damage and are tightly tuned. A protective grommet (to get from one Euro in the hardware store) is helpful to protect the cables from water. The spout can be nestled in the wall, helping to prevent short circuits.
Tip: With a special insulating tape (one to three euros), the seals of the device can be sealed. It does not hurt to be careful when you pay attention to the water flow.
Step 7: Connecting the instantaneous water heater to the water and electricity grid
The water line can be slowly unlocked to check that the water connection is not leaking. It is important to check this first, because it is only when it has been tested whether there is nothing leaking at normal water flow, the device may be connected to the power network. To do this, the cables must be stripped and then connected according to the circuit diagram enclosed with the instructions. Switch on the fuses and test the voltage again with the voltage tester.
Tip: Use a utility knife to carefully cut off the insulation of the cables.
8th step: fine adjustment
It is important that when the water heater is connected, an optimal water jet is created. The amount should be kept as low as possible so as not to waste energy unnecessarily. Set the heating power of the unit to the control unit.
Tip: Special adapters can be interposed to regulate the intensity of the water flow. Ask a customer service representative in your DIY store and have the model number of your water heater ready. It is also worthwhile to look again in the manual, as some providers include a reference to matching adapters.
We give no guarantee for the information in this manual, nor for its accuracy, timeliness and completeness. In particular, we assume no liability for damage caused by this manual. Electrical installations should only be carried out by a specialist. We recommend that you have the connection made by one of them.
Hints
- Water heaters with normal plug connection are lighter and safer in the installation.
- A timer provides hot water when you need it.
- A hot water connection with solar energy reduces the electricity costs considerably.
- Instantaneous water heaters are efficient up to a demand of 10 L per minute. In addition, a hot water tank is more economical.