Sew pumpkin - Sewing instructions for pumpkins as autumn decoration

- Material and preparation
- Sew pumpkin
- Quick guide
Autumn is here and everywhere the houses are decorated. It's the best season for crafting. In nature you will find great treasures to make your own, such as chestnuts, colored leaves and various pumpkins. Unfortunately, the pumpkins in the apartment do not last that long. That's why we want to show you today how to sew a pumpkin. It is very simple and suitable for beginners. In a few minutes, you'll have a pumpkin ready to decorate every autumn.
Material and preparation
Difficulty level 1/5
suitable for beginners
Material costs 1/5
0.5 m jersey costs about 6-12 €
1 kg of filling wadding costs about 4 €
Time expenditure 1/5
10 min
You need for a pumpkin:
- Classic sewing machine or overlock sewing machine
- Jersey (possibly cotton fabric)
- fiberfill
- branch
- needle
- Thicker yarn
- Scissors or rotary cutter and cutting mat
The material selection
You need a jersey fabric or a cotton fabric, cotton wool and a small piece of branch or a small stick.

We chose a jersey fabric with black crosses in white. This fabric fits great for the upcoming Halloween.
The amount of material
Now you should consider how big the pumpkin should be. You should also consider whether you have enough stuffing for stuffing.
Note: If you want, you can work with the fabric leftovers.
You only need one rectangle.
The cut

We first cut a rectangle. You can decide the size yourself. You just need a shorter edge (= that is the height of the pumpkin) and a longer side (= if you put the fabric right to right, you get the width of the pumpkin).
Sew pumpkin
Now we put the fabric right to right and sew the shorter edges together with an overlock machine or with an elastic stitch.

Note: Once you have decided on the cotton fabric, you will have to sew over the longer edges first and then sew the shorter edges together with an overlock or with a simple straight stitch.

We take both a white yarn and a needle to hand and quilt an open edge around at about 1 cm intervals. Now we pull the yarn ends together so that the opening is closed. Then we make a knot and put the edges into the opening.

Now we stuff the pumpkin with the filling cotton until it is completely filled.

Then we quilt the other edge around, just like the first one.

Before we tighten the yarn ends, we place our branch there. Now we can pull the twines together and make a knot. Finally, we put the edges in the opening.

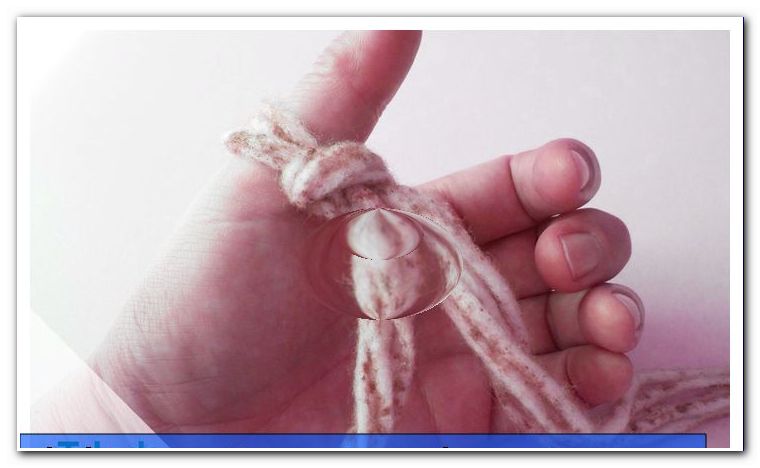
Once we have finished the pumpkin, we pick up the thick yarn and wrap it around the pumpkin shape to create the classic pumpkin pattern.
Tip: You can also thread the thicker yarn onto the needle. Then try to stick the needle through the pumpkin and wrap it around.

Now we are done and we think the result is great!
Quick guide
01. Get the branch (eg in the forest).
02. Cut a rectangle from the jersey.
03. Put the jersey right on the right.
04. Sew together the shorter edges.
05. Quilt the longer edge around.
06. Tighten the yarn ends.
07. Close the opening and tie a knot.
08. Plug the pumpkin with the filling cotton.
09. Quilt the second longer edge around.
10. Tighten the yarn ends.
11. Insert the branch into the opening.
12. Make the knot.
13. Wrap the thicker yarn around.
Have fun sewing!