Install opaque window film as privacy screen - instructions
Material and preparation
Make window with foil opaque
Prepare window
Which window film "> Cut film
Remove protective film
Align the foil
Remove bubbles
let dry
Not always a view from the outside through the windows of the apartment is desired. If you want to make your windows or a glass door opaque, privacy screens are an ideal solution. The foils are easy to apply and do not darken the room too much. With decorative glass decorative films make every window a gem.
The big advantage of window screens is that they are easy to install on any window or glass door. You do not have to make expensive installations, drilling and screwing are not necessary. An important point, especially for tenants, is the fact that films as privacy screens do not damage the glass and in most cases can be removed without residue. In order for the decorative foil to fit perfectly later, you have to work carefully. With this guide you make your windows opaque.
Material and preparation
Get the material you need. If you need to get forgotten tools later, window or film will dry out, roll the film or tear.
You need this:
Window cleaner
Towels, lint-free
possibly glass scraper
Water spray bottle / flower syringe
Dishwashing liquid, pH neutral
Privacy film / decorative film / glass decorative film
Squeegee if possible with lip (hardware store)
tape measure
possibly a spirit level
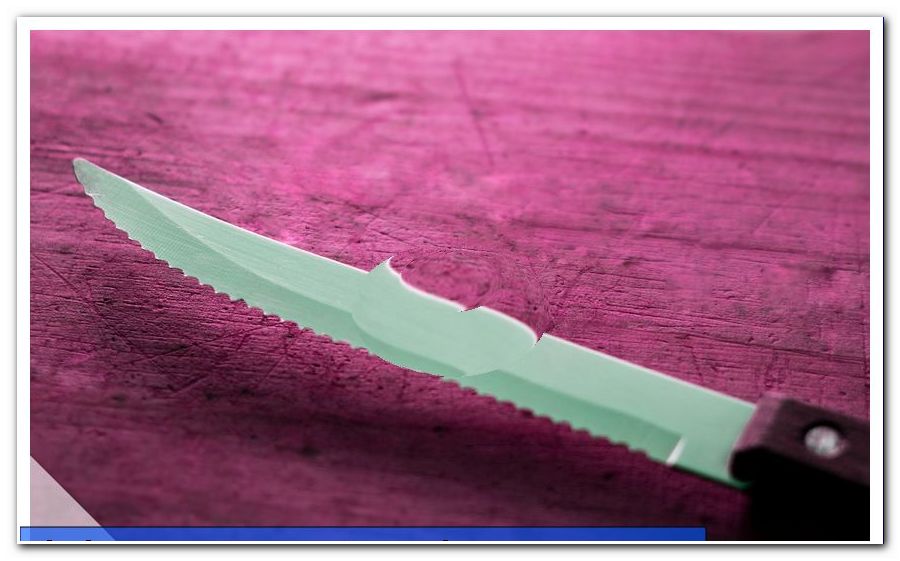
Cutter knife or utility knife
Tip: get support. For two, window film can be much easier and without streaks and kinks bring on the glass as privacy. Especially with larger windows or glass doors, you better not work alone if you want to achieve a perfect result.
Make window with foil opaque
Clean windows well
Cut the foil to size
Remove protective paper
Moisten the film on the adhesive side
Moisten window with water-detergent mixture
Apply protective film
Align the foil and smooth it out
if necessary, cut
Streak water and compaction
Let the window dry
clean the dried window
Tip: The adhesive side of the foil must be kept completely clean. If necessary, clean the surface of dust, dirt and hair before spreading and cutting the film.
Prepare window
Good preparation will save you a lot of trouble afterwards. Above all, the window or the glass pane of the door must be cleaned very carefully. Every minute dust particle is visible below the film and forms small inclusions. In addition, the glass must be completely free of grease, otherwise the film does not stick, but later dissolves again.
To remove sticky particles use a glass scraper, as they are available for Ceranherde. But be careful not to scratch the glass. Also clean the edges of the disc thoroughly. If the window putty is a bit irregular, straighten it with a utility knife or a cutter.
Dry the window with a lint-free cloth, such as a microfiber cloth. Under no circumstances should lint remain on the glass.
Tip: Do not forget the frame when cleaning the windows. This often deposits dust, which you unintentionally carry on the window when applying the privacy film.
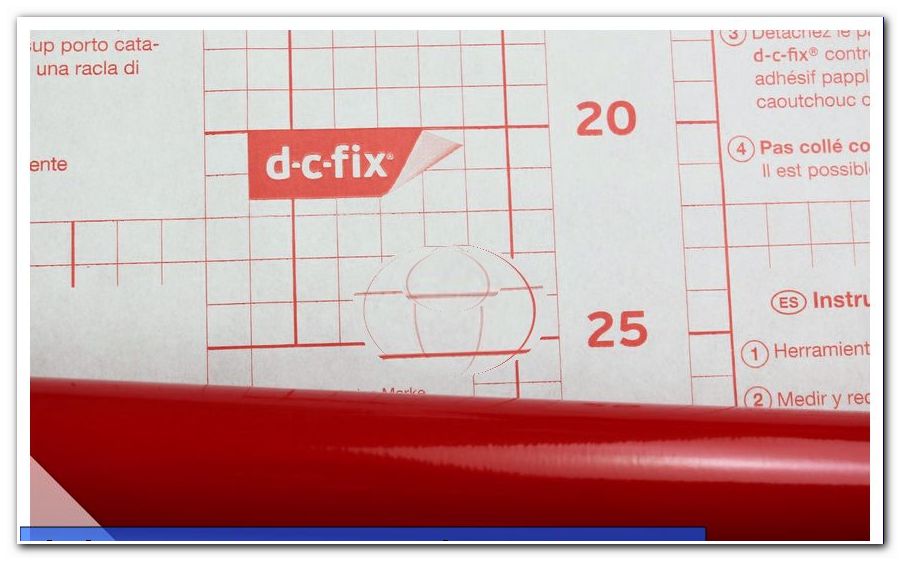
Which window film "> DC-fix foil
High-quality window films are provided with a protective paper that protects the surface from damage and dirt. This so-called transfer paper remains on the protective film during processing.
Each roll of foil is provided with instructions on the reverse side for processing. Sometimes a guide is included. In any case, you should carefully read and observe these before applying the protective film.
Cut the film
Measure the window or the glass door exactly. Cut the film to match. Make sure that you leave one or two millimeters at the edges. This saves you later laborious cutting work. For decorative foils on a backing paper, you will find guide lines where you can cut along. Incidentally, scissors are not suitable for cutting film. The edges are not really smooth.
If you want to cover a large window or a glass door with decorative foil, you usually need several lanes. You must consider the pattern when cutting. Add more foil at the bottom so you can later correct the trajectories to preserve the pattern.
Tip: Avoid looking at the window or the glass door on a very sunny or frosty day. In bright sunshine you overlook streaks and bubbles. Frost causes the film to become brittle and tear much faster.
Remove protective film
The most difficult part of attaching privacy films to glass windows or doors is the detachment of the film from the backing paper. It often happens that the film curls up and sticks together. Some adhesives stick so fast and strong that the protective film can hardly be pulled apart again.
Here is a little trick: Lay the film with the non-adhesive side on a smooth surface, slightly peel off the backing paper at the corners and fix the decorative film with small Tesastreifen. Then the carrier foil is carefully pulled down to about halfway down.
Meanwhile, your helper gently spray the adhesive side with a mixture of water and detergent. If the film curls up again, it can be easily detached again.
Align the foil
Before putting the foil on the window, spray the glass with the flower syringe so that it is moist but not dripping wet. Start in the middle. Carefully coat the rolled-up end of the privacy film on the glass and, if necessary, use the spirit level to check that the privacy screen is level. If this is the case, pull the rest of the backing paper aside with a strong kink and glue the rest of the backing on the window. Smaller corrections are still possible if you push the window film on the disk back and forth.
If you have to attach two sheets, stick them slightly overlapping on the window. If everything fits, cut off the rest of the cutter. But be careful so you do not scratch the windowpane.
Remove bubbles
Once the privacy screen is properly seated, begin to remove moisture and possible air holes from the film. For this you should use a squeegee, as you get it in the hardware store. For many slides, this important tool is even included. Place the squeegee in the top center and swipe out to the left and right and then down. Air and water pass through the edges to the outside.
When painting with glass, you must be careful when spreading that you do not scratch the decor. If you are not using a squeegee with a rubber lip, wrap a clean dishcloth over it to protect the glass sheet. This also applies to adhesive film, which is not glued, but only hung up.
Once all bubbles and thickenings have been removed, apply a squeegee to the edges of the glass sheet so that it does not come loose later.
Tip: If you think you have blistered all, open the window or door and check on the back to see if there are any leaks or other obstructions.
let dry
To keep the privacy on the window for a long time, you must then let the film dry. This can take different lengths depending on the film and the amount of water. Start from 18 hours to three days. Before that, you must not clean the foil-clad windows.
For window film with transfer paper, you may not remove the protective film until the window is completely dry. It can then be easily removed. For very long lengths, just tuck it in at the side to remove it.
Tip: If the privacy in the first few days still looks a little milky or slight streaks are visible, this is quite normal. They disappear as soon as the window protection has completely dried.