Badeponcho sew for baby / child - Instructions with hood
- Material and preparation
- Sew bath poncho
- Quick guide
Last year we were on vacation for the first time with our child. We were every evening on the promenade walk and in almost every stall there were great Badeponchos for the children with Disney motives. I found it super handy, but too cheesy. Therefore, in this guide you will learn how to sew a bath poncho for the baby or child.
This year, I have decided to sew on such a hooded towel, which grows with the child for a while, before the holiday fast.
The advantage is that child can put on the poncho already on the way to the beach. The child is protected from the sun rays and the parents do not need to bring so many towels to the beach. The bath poncho can not rise in the front like a bathrobe, is easy to put on and makes fun!
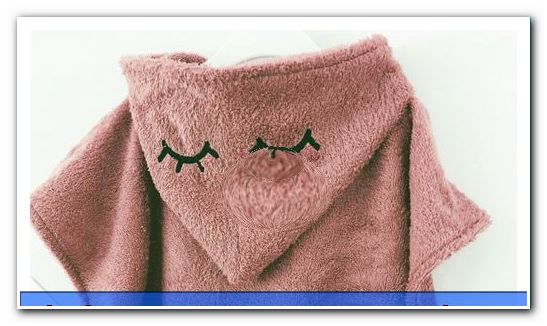
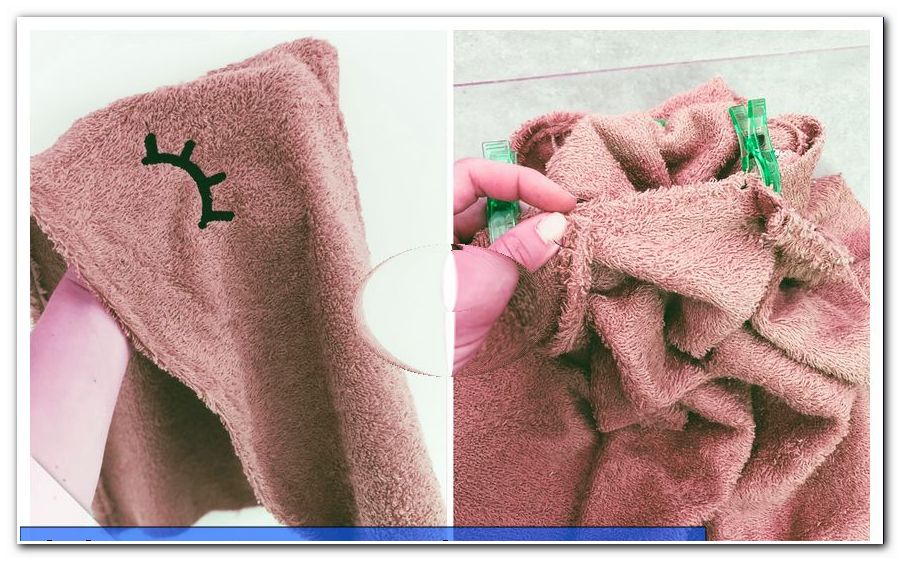
If you sew beautiful applications on the bath poncho, such as buttons, labels or embroidery, every piece becomes a real eye-catcher on the beach or in the outdoor pool!
I'll show you how to make a great soft terry poncho for the summer.
Tip: You can also sew a hood and towel from a large and a small towel.
Material and preparation
Difficulty level 2/5
suitable for beginners
Material costs 1/5
1 m terry costs about 11 €
Time expenditure 2/5
1 h
You need for a bath poncho:
- Classic sewing machine and / or overlock
- Paper, pen and ruler
- possibly bias binding
- terry
- pen
- Pins or Wonder Clips (Cloth Clips)
- tape measure
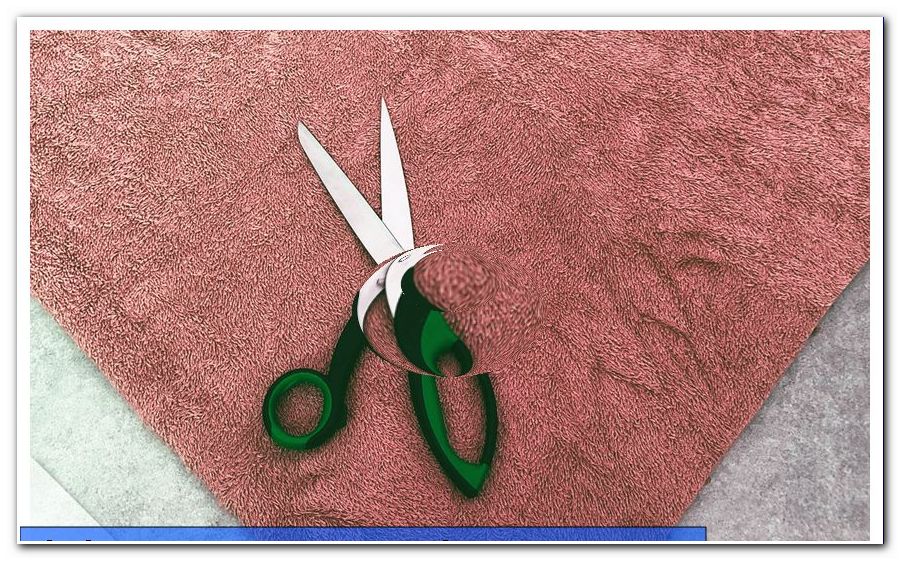
- Scissors or rotary cutter and cutting mat
The material selection
You need a terry cloth of your choice. I opted for cuddly and very soft terry with looped front and back in a beautiful old rose.
The amount of material
You need about 1 m terry for a bath poncho for babies / children.
Note: If you want to work with towels, you need two towels in the size of about 140 x 70 cm for the poncho and 50 x 70 cm for the hood.
preparation
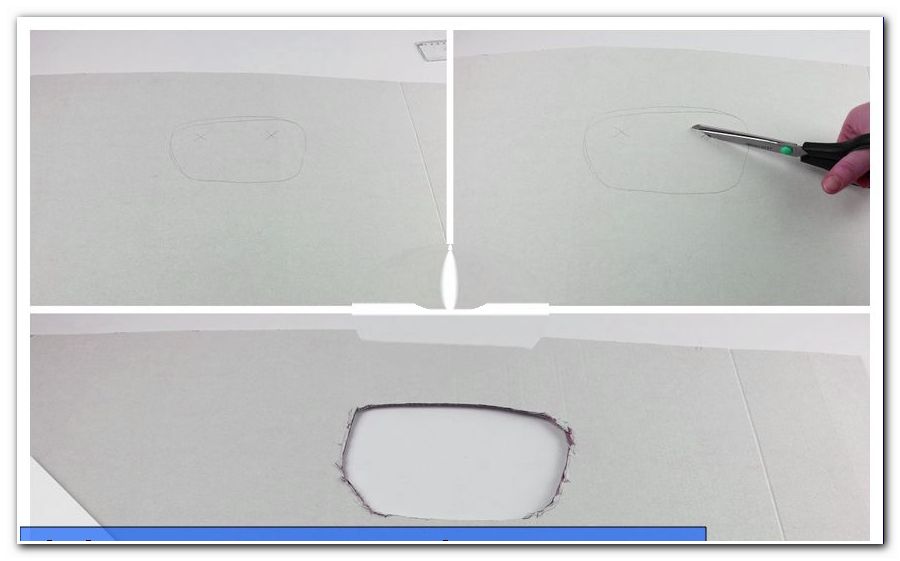
The pattern for the hood is a simple rectangle with a sloping side, which is cut twice. Pick up the piece of paper (either an A3 size or two sheets of A4 size that you stick together) and use pencil and ruler to draw the following pattern. The seam allowance of 1 cm is already included.
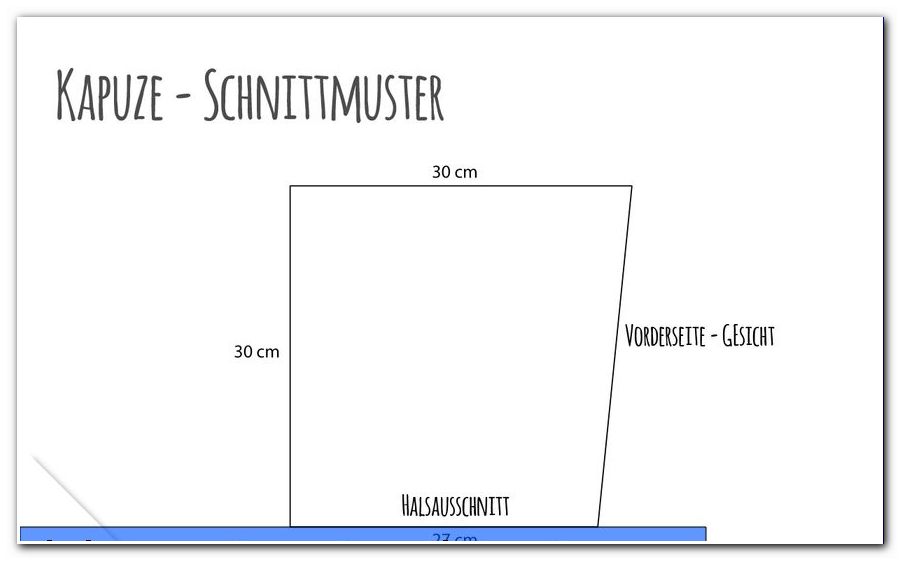
Note: If you have a pattern for a hoodie or jacket at home, you can also use this hoodie cut.
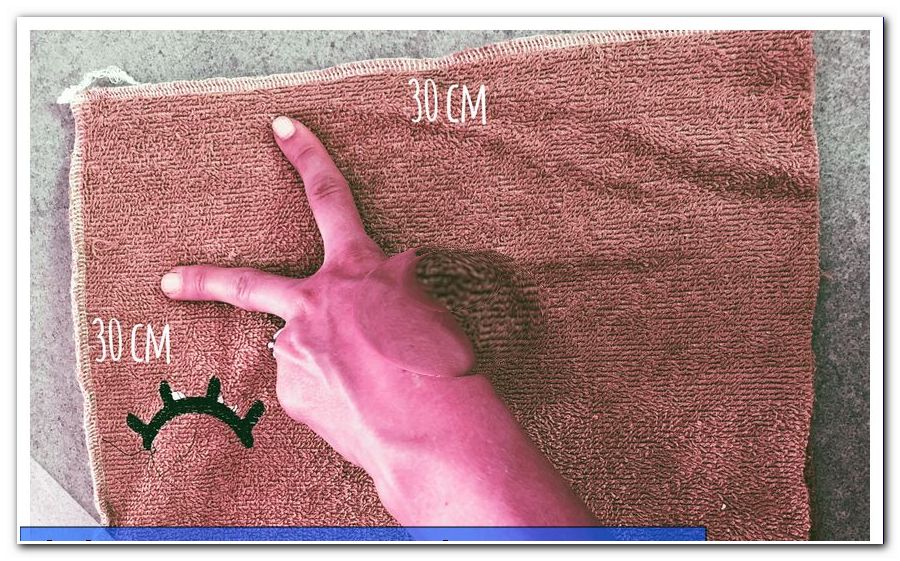
We first cut out the hood after the pattern twice - make sure that the fabric is cut out right to the right. Then we put both fabrics right to right and attach them with the Wonder Clips or with the help of the pins.
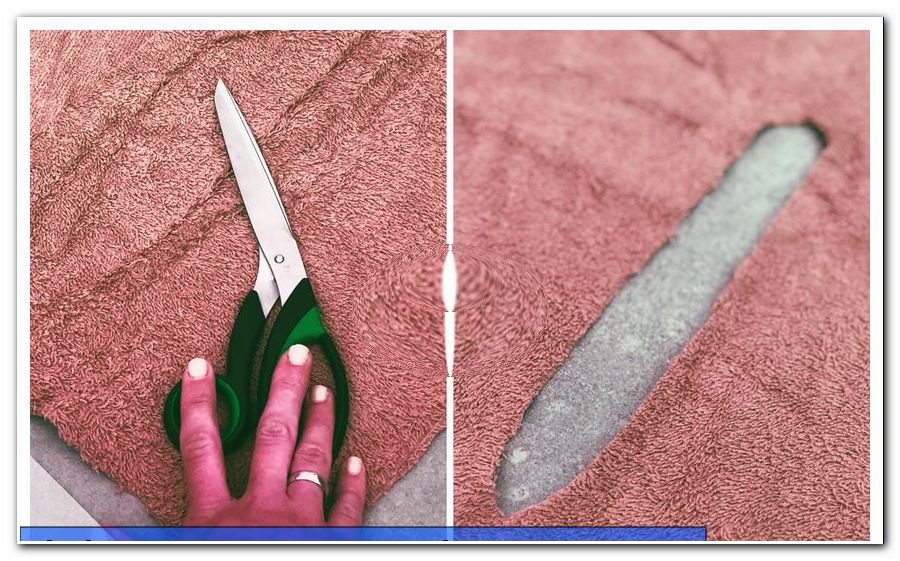
Next we cut 108 x 56 cm pieces of terrycloth. We put the fabric right to right and cut in the middle of a 24 cm long neckline.
Sew bath poncho
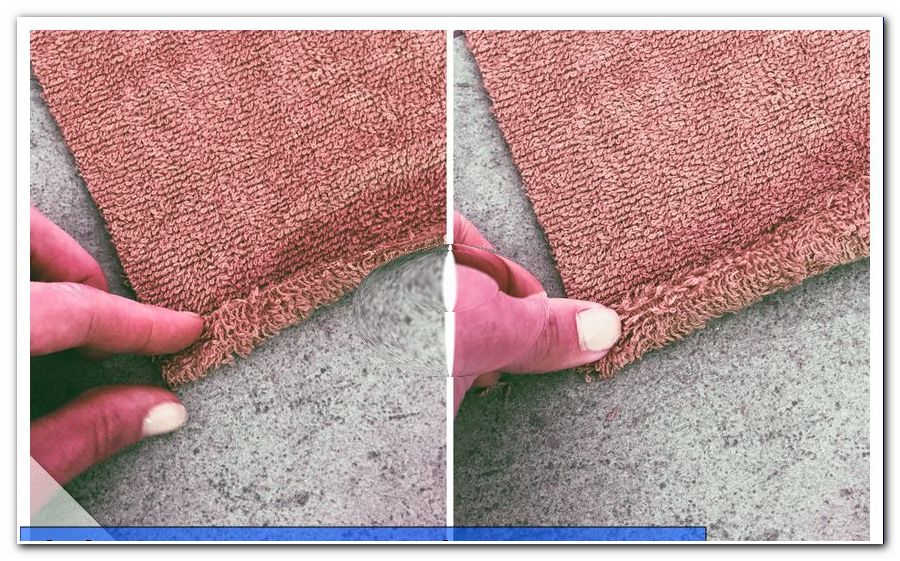
First, the hood is sewn. If you do not have overlock, you should use the right-to-left seam (or self-cleaning seam), so that the terry does not later fray.
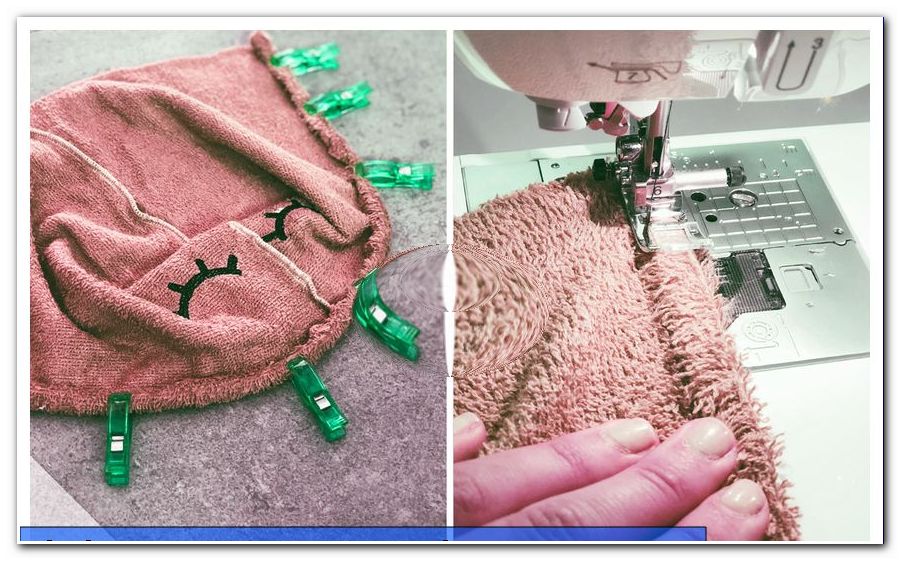
The fabric is right to right. Sew the two straight sides together with 30 cm of the hood. The slope is the edge that frames the face. The lower edge with a width of 27 cm is the edge that is sewn to the poncho later.
Then we knock the edge of the hood that frames the face twice, that it is serged. The Wonder Clips help us again. Finally, this is sewn with the simple straight stitch.
Tip: If you want, you can mess up the edges with a bias tape.
Next, we sew the hood to the neckline. We put the boxes right to right, so that the rear hood seam is centered on the back side. Finally, we flip the edges twice and sew them with a simple grand stitch.
Now we flip the edges twice as we did before. We start with the longer sides of the towel. When the two sides are done, we also sut the last two edges.
When the poncho is ready, we can sew on a hoodie bag or different applications.
Tip: You can also embroider the hooded towel.
Finally, wash the bath poncho to 60 degrees so that the terry toweling is better absorbent.

Tip: You can, for example, sew a matching washcloth from the fabric scraps.
Quick guide
1. Print out the pattern
3. Transfer the pattern to the terry and cut it out
4. Cut out the hood and sew together
5. Dress the edges of the hood
6. Sew on the hood and sew on the neckline
7. Overcast longer edges of the bath poncho
8. Overcast shorter edges
9. Sew on different applications and embroidery
Have fun sewing!