Paint your room: this will make your walls look like a pro
- What color "> Room painting
- Prepare room
- Check room
- Clean the wall
- Prime walls
- Corner to surface, ceiling in front of wall
- Painting ceilings
- paint walls
- Tips for quick readers
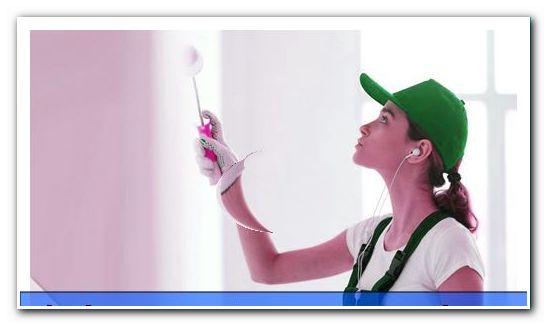
The swipe of a room always looks so easy when watching. But those who have tried it without the necessary background knowledge will quickly be taught otherwise. If the paint peels off, the paint becomes stained or the edges have run in, then most of the time, only the wallpaper remains. So that your renovation project succeeds right away, we have put together this guide.
It is easy to paint a room. However, a room is made up of many segments, each with specific challenges for painting. A room consists of:
- ceiling
- Solid wall
- Exterior wall with window
- Interior wall with door
- baseboards
- doorframe
- window frame
The ceiling is, unless it is suspended, covered or stuccoed, a continuous surface. This makes the painting easy at first glance. In fact, here are strict rules to be followed, if you want a flat, seamless result.
The solid wall has no openings such as windows or doors. It is, like the ceiling, completely spreadable. The solid wall is particularly suitable for setting interesting accents of various kinds.
A window wall has only a small area to be brushed. The frames and radiators are an additional challenge to painting.
The interior wall with door requires a particularly careful handling of the frame when painting.
Door and window frames as well as ceiling and skirting boards are not painted but varnished. One should pay particular attention to this in rental apartments. Sprinkled with emulsion paint, painted or smeared frames or moldings are a serious shortcoming, which can endanger the entire deposit!
What color?
Before you reach for paint and brush, it is worthwhile to think about the design of the room. Although a neutral white coating is the easiest to implement and does not create any unwanted contrasts with the device. Nevertheless, a skilful choice of colors can control the spatial effect in a desired manner. The following rules apply:
Spread the room: paint the ceiling and side walls light blue. The room is also "cooler". If you want to avoid this, a dark floor will have the same effect on white / light walls and ceilings.
Reduce space: Paint ceilings and side walls in reddish brown. The room also looks "warmer". Alternatively, you can paint the walls with diagonal stripes. The room is also visually restless.
Reduce the room height: The room looks optically lower when the ceiling is dark. Another trick is to continue the ceiling color as strips of 20-30cm on the side walls.
Emphasize room height: Darker side walls than the ceiling increase the space. The effect is enhanced when the wall paint is transferred to the ceiling as a broad strip. Another way is to paint the sidewalls with vertical stripes.
Shortening space: If the screen is painted in a darker color when viewed from the door, the room looks shorter
Extend room: With the reverse contrast, the room is extended.
Paint a room
Prepare room
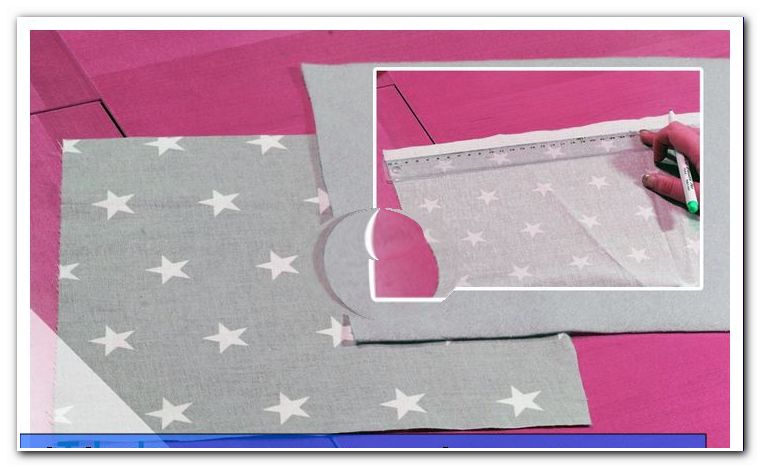
In order to optimally prepare the room for painting, everything is dismantled and cleared out of what is possible. Switches and sockets are designed so that they can be safely removed. The umbrellas are removed from ceiling lamps. Subsequently, the door frames and window frames are taped with easily releasable creping tape. For the floor is everything that is cheap.
A tip: The remaining rolls of printing companies give excellent cover paper for the floor. They are designed very fast and efficiently and are also available for free. For safety, the floor should be designed with this inexpensive solution but at least twice, better three times.
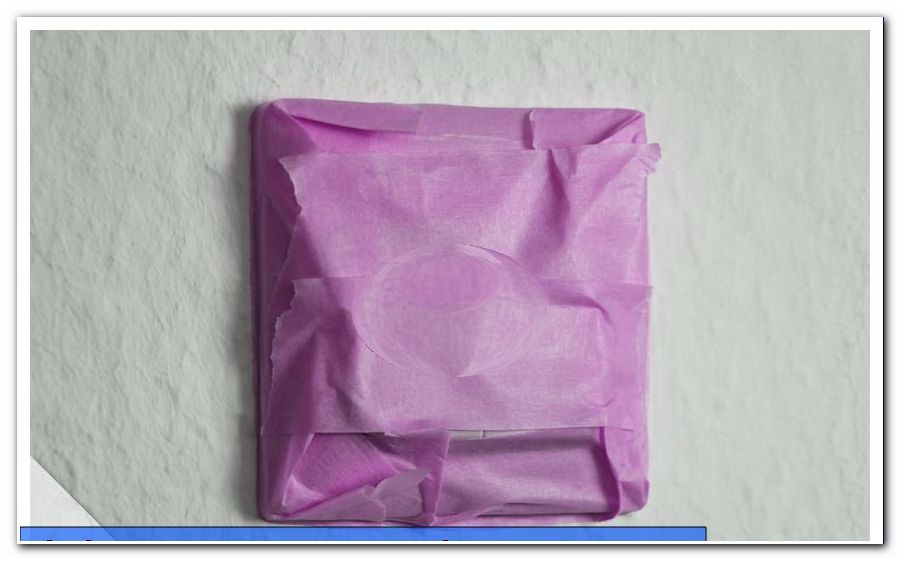
Important: Sockets are carefully masked with crepe foil and plastic foil. They must not be soiled with paint when painting. This can override the protective contact, which can damage connected electrical appliances.
Check room
One step many do-it-yourselfers forget when painting, check the walls before painting. However, this is important if you do not want to waste a lot of time and money.
One generally distinguishes between painted and plastered walls. To check a painted wall, first dry it with the flat hand over it. If the paint does not peel off, stick a piece of crepe tape to the wall and tear it off again. If no paint has peeled off during the coating and later also during the tearing test, you can save the priming. Otherwise, it must be primed.
For plastered walls, one strokes with the palm of your hand over the wall and checks if sand separates. Then splash the wall with a little clear water. If it moves in deep immediately, the wall must also be primed.
Drywall made of plasterboard is always primed.
If you save the primer, the fresh paint may not adhere properly. She then flips off, which can be straightened in the end only by new wallpapering.
Clean the wall
If the old paint is easily removable, it must be removed. This is a big challenge, especially with wallpapered walls, because under no circumstances should the wallpaper be removed. For washing old paint a rough sponge and warm water is used. You have to act quickly. The water should moisten only the color, but not the wallpaper. With large, circular movements, the moisture is distributed as widely as possible and at the same time the old color is removed. Instead of a rough sponge you can also use a scrubber. Then the dissolved color is washed off again with a soft sponge. Then let the wall dry.
For plastered walls, an old paint can usually be scraped dry with a spatula. Scratched marks and holes are less dramatic on plastered walls as they can easily be repacked with plaster.
Prime walls
To prime the wall you need:
- Tiefengrund
- Quast
- water bucket
Tiefgrund is offered ready to use or as a concentrate. Ready mixed underground costs about 8-10 euros for the 5 liter container. Concentrate for self-mixing costs about 5-8 euros per liter. A good quast is available for about 6 euros.
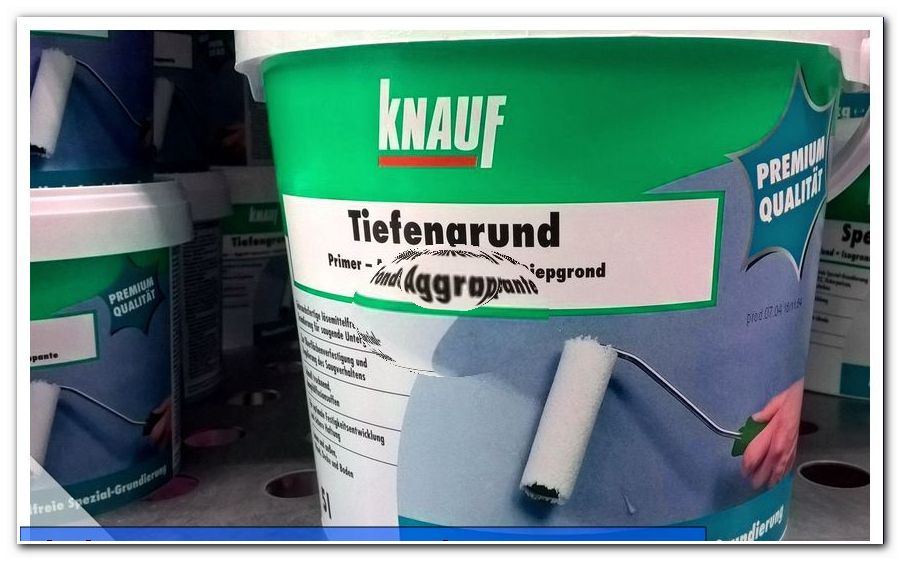
The base is premixed according to manufacturer's instructions and absorbency of the substrate. When applying with the puff, make sure that the base is evenly distributed. Too thick applied base creates barrier layers on which the paint no longer adheres. One recognizes too deep applied deep base at the shiny places after drying. Here, something has to be removed from the underground with a rough sponge.
Corner to surface, ceiling in front of wall
To paint the room you need:
- High quality wall paint in the desired tint (about 5-8 euros per liter)
- Brush (10 Euro in a set of 4)
- Small role (5 Euro)
- Big role (8 Euro)
- Pull-off grid (1 Euro)
- Color bowl (1 Euro)
- Head (100 Euro)
You always sweep a room from the corner to the surface and from the ceiling to the wall. First, all taped surfaces are blotted with a brush. Dabbing prevents paint from entering under the tape. Then the corners are pre-painted with a brush.
When painting with the roller, it is never completely immersed in the paint. Always immerse until the fleece is wet. Then the roll is turned a little further and wetted again. This is repeated until the whole roll is moistened with color but not soaked.
Painting ceilings
When stroking the ceiling, one strokes with the brush squares of about 1 m². It suffices to paint quickly, roughly and thinly, since these squares serve only for orientation. The blanket is now painted square by length first, then across. It is important that the squares overlap when painting and that always wet-on-wet is painted.
After the surface has been painted, let it dry for at least 2 hours. An on-heating on medium heat can help to shorten the drying time. If the wall is dry, the result is checked. Individual areas can be carefully repaired with a brush. The safer way, however, is to cross the area again in the cloister.
paint walls
Walls are painted in webs of about 1 meter wide. The big roll is led from top to bottom. If the color is pre-painted in layers, the color is distributed in the oblique cloister and the line is thereby removed. That's why you have to work a bit fast here. The oblique cross-spreading of the paint must happen, as long as the paint is still wet. The next web is overlapped. When the wall is finished, it is allowed to dry again and the result is checked. If the wall has to be painted a second time, start again with the splices.
Here is a tip: If tape was used to create accents of color, it is best removed as long as the color is still wet. This gives you the cleanest transitions.
For window walls, the frames with the small roll are painted. Careful work is very helpful here. Dried paint on windows, window sills, frames and radiators is very difficult to remove.
The small roll is also used for painting the wall behind the radiator. Although this spot in the room receives little attention, it is precisely this detail that can significantly improve the overall impression. This includes thoroughly washing the radiator, window frames, skirting boards, switches and sockets before reassembly.
The difference between a unrenovated and a freshly painted room is enormous. You can almost feel the room seemingly exhaling its gratitude when the renovation work has been successful.
Tips for quick readers
- Prepare room thoroughly
- Check adhesion of plaster and paint
- Do not prime too thickly
- Mask off sockets
- What is not deleted, wash off thoroughly
- Restrolls are available for free in print shops