Knit vest - free guide for beginners

- Material and preparation
- Basics
- Knit vest
- back
- First front part
- Second front part
- completion
- Quick start Guide
- Possible variations
A cuddly vest made of thick new wool warms your back comfortably in winter. Or may it rather be a noble piece of filigree yarn ">
How do I manage to knit a vest to fit exactly? This flexible, customizable guide will tell you how to match the number of stitches and rows to your yarn and dress size. You will also learn how to tighten and loosen stitches to get a beautifully shaped vest. The simple garment is knit only from right stitches, so it is easy to work on for beginners. With thick wool you are done on a weekend, with thin yarn is a project for the holiday out of it.
Material and preparation
You can basically use any yarn. Wool and other natural materials are more comfortable than polyester or similar. However, pay attention to good washability. The banderole of your yarn gives you more information. There you will also find information about the right needle size.
Before you start the actual work, you first need a stitch test. Knit a piece and measure how many stitches and rows correspond to ten centimeters width or height.

We have processed very thick new wool with needle size twelve. In our stitch test, nine stitches and eleven rows make a square with ten centimeters of edge length. If you follow our instructions exactly with a yarn of the same thickness, you will get a waist-length vest that fits with dress size S (36/38).
If you need a different dress size or if your stitch sample results in different values, you will need to calculate the required number of stitches and rows yourself. First measure your body:
- from the beginning of the neck to the desired length
- the simple width from armpit to armpit front and back
- the height of the armhole from the shoulder seam to a hand's breadth below the armpit
- the width of the neckline, one finger away from the neckline starting and ending
Along with the stitch values, you can now calculate how many stitches and rows you need to match the garment.
sample calculation
The vest should be 52 inches wide and 14 stitches equal ten centimeters. You count:
- 52: 10 = 5.2
- 5.2 x 14 = 72.8
You need 73 stitches at the widest part of the back.
It is best to make a sketch of the front and back part and enter the calculation results. Read this manual carefully and adjust all numbers according to your stitch test and measurement results. Make a note of how many stitches you need to increase or decrease at which position to reach the calculated values.
Wool consumption varies greatly depending on yarn size, dress size and length. The price also depends on the material used. For a waist-length model of wool in size S, you should budget about 20 EUR.
You need this for a vest:

- 200 g wool (for waist long in size S, otherwise more)
- Pair of knitting needles in matching thickness
- darning needle
- Fast motion or big safety pin
- If you are using thick wool: 1 rest thinner yarn in matching color for the seams
- If desired: 1 button
Tip: A circular needle (needles connected with a hose) is a good choice because the wide back part fits better on it.
Basics
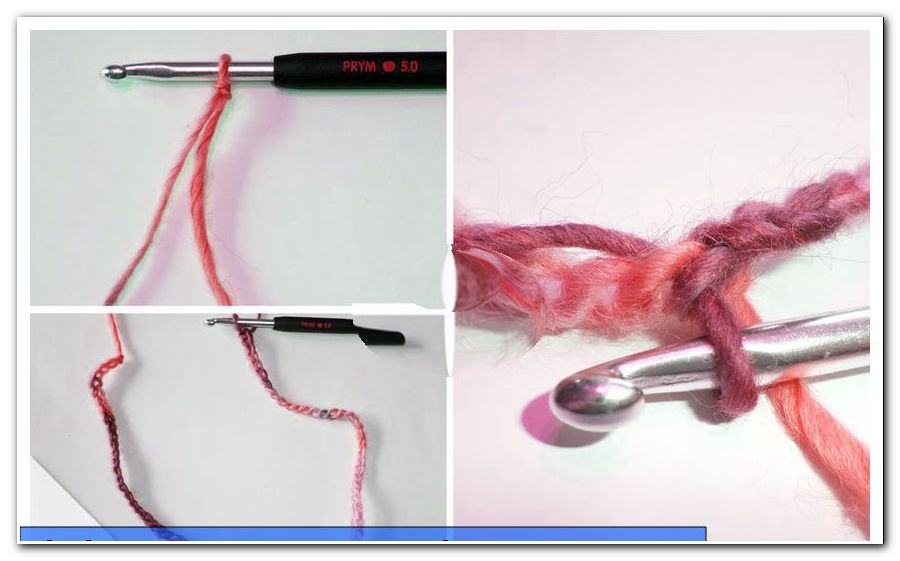
The waistcoat is knitted tightly on the crotch, that is, it consists only of right-hand stitches. In addition, you should already master the stitch stroke and the chaining. In addition, you only need the two simple knitting techniques described below.
Double stitches
Work the stitch as usual, but do not let it slip off the left needle. Insert again into the stitch and knit it crossed. This means that you pick up the back of the stitch instead of the front. With this technique you increase the mesh count by one.
Knit two stitches together
Knit two stitches at the same time by piercing both with the right needle. After that, only one stitch remains, that is, your mesh has decreased by one.

Knit vest
back
Hit 32 stitches. Knit four rows, doubling the second and last but one stitches. You then have 40 stitches on the needle. Now work three rows without increments.
Tip: If your vest should reach farther than the waist, extend it at this point. As soon as your piece reaches the desired length from the desired length to a hand's breadth under the armpits, you begin with the decreases for the armholes.

For the armholes, knit the second stitch together with the third and the penultimate one with the penultimate one. Then you work a series without declines, before you repeat them again. There are 36 stitches left.

Kick up 23 rows.
Now the neckline begins. Start with nine normal stitches, then chain 18 stitches and finish the row with nine knitted stitches.

From the remaining stitches, the carriers are knitted successively. Initially, rest the nine stitches that the work thread does not hang on a safety pin or a stitch.

With the other nine stitches, knit two rows, knit two stitches on the side facing the neckline. There are seven stitches left. Work three more rows and then chain the backing.

Push the stitches from the safety pin back onto the knitting needle. Knot a new thread in the first stitch.
Tip: If you are using a multicolored yarn, make sure you match the gradient when knotting. If necessary, cut off the thread to start with the appropriate color.
The second carrier works like the first one. The back part is ready!

First front part
For the front part you propose 18 stitches. In the first rows, double stitch on one side to give the vest a nice curve in the area of the button. At the same time remove stitches for the armholes on the other side.

Tip: If you would like to lengthen your vest, you will work the decreases for the armholes later. Orient yourself at the back. Note, however, that the model in this manual is four rows longer at the back than at the front.
1st row: Double the second stitch.
2nd row: double the penultimate stitch.
3rd row: Double the second stitch.
4th row: Knit the second and third stitch together and double the penultimate stitch.
5th row: Without increases or decreases.
6th row: knit the second and third stitch together.

You now have 20 stitches on the needle. With these you work six rows before the slack starts for the slant. To do this, knit two stitches together in the three following rows at the edge of the piece. There are 17 stitches left.
Tip: Make sure the picks are always on the same side of the knit. The edge with the armhole should be knitted up straight, while on the other side, the slope is created. Because you always do the work, you have to knit alternately at the beginning and at the end of the row of stitches.

In the next 20 rows knit two stitches on the side with the slant in every other row, ie ten times. After that you only have seven stitches on the needle. Unwrap them and the first front piece is ready!

Second front part
The second front part work like the first one. The pattern on the crotch right both sides of the knit look the same. Simply flip the second front piece over and you will get a mirrored piece.
If you want to close your vest with a button, you need a hole in the front.
Tip: To find out how wide the buttonhole must be, hold the button of your choice to the fabric and count how many stitches it will be. Pull one to two stitches off, because the hole is stretchy.
The buttonhole should sit on the curve at the front. After the row numbers in this guide, start in the eighth row with the buttonhole. To do this, chain two stitches from the edge to your calculated number of stitches. In our button, these are two stitches. In the next row, at the same place, turn the corresponding number of stitches again.

completion
First sew all hanging threads. Then close the seams at the shoulders and at the sides. The pink markings in the photo illustrate the position of the seams. Note that the vest is four rows longer at the back than at the front. Therefore, place the lower edges of the armholes together and sew only the three rows underneath. If you are knitting with thick wool, use a thinner thread of matching color to sew. This will avoid unsightly bulges.

Finally, sew the button on the front without buttonhole.

Your vest is ready!

Quick start Guide
1. Make 32 stitches for the back, increase in 4 rows in total 8 stitches, then knit 3 rows straight.
2. Remove two stitches on both sides in the following three rows for the armholes, knit 23 rows.
3. Bind off 18 stitches in the middle of the neckline. Separate the straps separately over five rows, removing two stitches in the first two rows on the side of the neck. Bind off.
4. Cast on 18 stitches for the front piece. In the first four rows on one side increase a total of four stitches. In the fourth to sixth row on the other side remove two stitches for the armholes.
5. Knit six rows, then remove 13 stitches one-sided for the slant in 23 rows. Bind off.
6. Work the second front part identically, knit a buttonhole at the same time.
7. Close the shoulder and side seams and sew on a button.

Possible variations
1. Close the vest with a loop instead of a button. Make two chains and sew them to the curves of the front pieces. Alternatively, you can sew on a hook and an eyelet or do without a closure.
2. Crochet the edges with Kettmaschen. This gives you stable, thickened edges, which look very decorative because of their pommel-like appearance.
3. Knit in a nice pattern. Note that the fabric contracts in many patterns. Make sure you make your stitch sample in the selected pattern. If the front and back of the knit are different, you must work the increments and decreases on the second front each on the opposite side to the first. This is the only way to get two mirrored pieces.