Sewing Christmas decorations - 4 ideas and free instructions

- Sew the door wreath
- pearl sapling
- Gingerbread man as a Christmas decoration
- Christmas decorations
Is there anything better for the Advent season than to visit Christmas markets, drink a punch and decorate your own home with your own Christmas decoration ">
Today I show you a particularly flexible project on Christmas decoration. And four different ideas, which you can combine with each other! In detail, this means: a sewn door wreath, which can be used year-round, depending on the choice of fabric, and three other ideas for Christmas decoration, which you can either attach somewhere in the home or combine on your door wreath.
Difficulty level 1-2 / 5
(suitable for beginners)
Material costs 1/5
(between EUR 0, - from the remainder utilization up to EUR 6, - per workpiece)
Time required 1-2 / 5
(depending on motif selection and ability variable)
Sew the door wreath
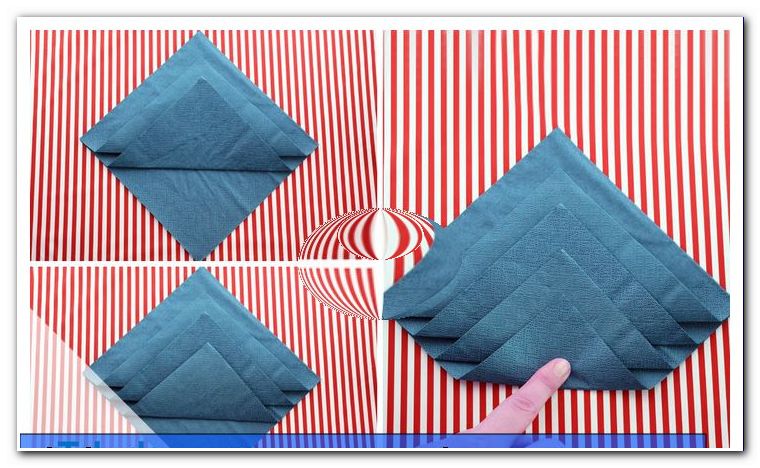
For the door wreath as a Christmas decoration you need one to three pieces of cloth about 110 cm wide and about 12 cm high. I like to use Fat Quaters. These are patchwork fabrics that have already been cut to a size of approx. 45 cm x 55 cm and color-coordinated. Fat Quaters uses only high quality patchwork fabrics, so you're always on the safe side. So I cut two strips of each Fat Quater 12 cm high and sew them together to get about 110 cm wide strips.
The strips are now folded lengthwise, so that the height is halved and staked with pins and then sewn together with Dreifachgeradstich.

Tip: Cut the fabric with zig-zag scissors so it will not fray easily. If you do not have any such scissors, sew with an extra wide seam allowance of about 1.5 cm or pinch the edges of the fabric.
Proceed with all three strips of fabric and apply them after sewing. Now fill in the strips of fabric.
Tip: The easiest way is to always put some filling material in the opening and then push everything to the middle with a tool. I use the handle of a child broom. To fill everything from both sides evenly.
Now lay the fabric ends of all three fabric snakes on top of each other and fix them with a pin or safety pin.

Tip: If you are unsure about filling at the bottom end, secure the bottom ends SINGLE with pins, safety pins, or Wonderclips.
Now start weaving the wreath like a hair pot. When you're all around, put the matching, opposite ends together. Here it may be that you have to try something and loosen or tighten, so that everything gives a nice picture.

There are two variants for sewing together:
version 1
You put the seam allowances inside, put the fabric right to the right and sew the two openings together, as far as they come. Close the remaining opening with a conductor stitch. Since the filled wreath has the tendency to come up again and again and this variant is very fitzelig, I put to you variant 2 to the heart:
Variant 2
Simply close both openings of the same fabric color and sew them together. The seam allowance can remain quietly visible. For this we will sew a stitch that covers everything well:
Cut a fabric piece with a height of 20 cm and a width of 15 cm. Now fold the top and bottom edges overlapping to the middle and fix the sides.

Sew on the fixings with normal seam allowance and triple straight stitch. Cut back the corners and apply the rectangle. Fold it once in the middle and put over and under another fold. Fix all wrinkles in the middle with a pin.

For the loop for hanging the Christmas decoration I use textile gift ribbon. You can also sew a ribbon for yourself which is made of the same material as your wreath or you can just take another finished ribbon that you like. It can also be a web or a rubber band. The length of your band should be about 110 cm. Fold it in the middle and place it around your stitch at this point. Double tie at the back and tie an extra loop underneath your stitch. Then tie the loop bows. Tie the two band ends around the wreath where you sewed the snake ends together. Further above, knot the ribbon and form another ribbon with the ribbon ends, which you then secure by looping the ribbon bows.

And already the cornerstone of the Christmas decoration is ready and ready to be decorated further.
pearl sapling
For my tree I use foam rubber and red wooden beads. But you can also use other materials, such as felt and gold beads.

First, I cut a 1 cm wide strip of my foam rubber piece. You can also work with pinking shears, but this is less recommended for sponge rubber because it will fray. There should be no difficulty with felt or paper.

Now thread a thread in a matching color around one of the beads and fix it. Then pierce with the needle through the end of the foam rubber band, then comes again a pearl and so on. Fold the foam rubber band for your Christmas decoration so that it makes ever larger bows and gradually becomes a tree. You can just finish when the sponge tape comes to an end, you can attach and sew a single bead or you piece - like me - still a small tree trunk with brown wooden beads. At the end, at any rate, it is sutured and knotted. And the second Christmas decoration is already finished.

Gingerbread man as a Christmas decoration
This idea is super-easy to implement with felt. Make a template of a gingerbread male and cut them out.
Tip: If you can not draw well, are uncertain or want to get ideas for detail design, you will quickly find the Internet. If you search for coloring pages or use the terms scissors or shadow cropping, there are many suggestions that you can print and cut out.
Transfer the template to the felt and separate it from a double layer. One of the two sides is now decorated a bit. I also used felt for it, and it was self-adhesive. For the eyes, the nose and the buttons I used our office punch, that worked wonderfully. But you can also sew on small real buttons and embroider nose and mouth by hand. The deco strips on the extremities can also be wavy or zigzag. Sew together roughly and fill everything with some filling material.

Tip: Do not use too much filler, otherwise it could wriggle out on the sides. The all-round seam is particularly even with the sewing machine, but a hand seam brings a little more charm.
Christmas decorations
A particularly sweet idea are homemade Christmas tree balls. These can of course also be used off the tree. For example, on a door wreath.
To do this, draw a circle in the desired size. In my case, the circle has a diameter of 8 cm. It should not be much smaller either, otherwise it will be difficult to design the motifs. Now transfer the circle to light blue felt.
Tip: You can later glue the two circles together back to back, if they are supposed to hang freely in the room and turn. In that case, I think it's best if both sides have the same subject.
I would like to attach my two circles to my new door wreath as a Christmas decoration and therefore chose two different motifs: the deer and the penguin. In any case, I need two circles.
To give the whole thing a wintery touch, I also cut out a white circle in the same size and halve it with a curved line. The two semicircles I stick now directly on the blue circles, so that a snowy landscape arises. In the next step, I draw my motives and cut them out.

I stick my motifs in layers on the circles. In the background I make little trees out of felt remnants from green triangles and brown rectangles and from the remnants of the cut I make small snippets, which I stick to it as snowflakes.

What a cute Christmas decoration idea! I think I have to do a few more of that!

If you like, you can now repaint the motifs just like in an application. However, this is not absolutely necessary. If you want to hang the "felt balls", place a halved string with the open ends in between the two balls before sticking together. If you do not have a self-adhesive craft felt and work with normal felt, just sew the "felt balls" together like the gingerbread man. Then you can also fill them to give them a little more volume.
For my Christmas deco wreath I have now combined all these little ideas and I have to say: I'm completely in love! He has become much more beautiful than expected!
Have fun sewing!
The twisted pirate