Knit teapot warmer - Instructions for a can warmer

- Material and preparation
- Planning and sketch
- Knitting teapot warmer
- The bicoloured pearly patent
- Increases and decreases
- sew together
Autumn and winter are the seasons for hot tea. Some drink it only when they are ill, others also to warm themselves in between. One thing is always very important: The tea must be really nice and hot and it will stay up to the last drop. This is ensured by the can warmer.
Knitting a teapot warmer is not a big challenge in terms of knitting itself. Only the planning in advance is a bit expensive. Each pot has its own shape and this must be considered in the teapot warmer knitting.
In the end, the pot warmer not only keeps the tea at a pleasant drinking temperature. He also peps up the old teapot optically. If necessary, you knit a few more cup warmer. This is how a colorfully mixed tea service turns into a uniformed warming unit for your hot drink.
Material and preparation
You need:
- 100% cotton yarn in two colors
- Needle game in matching size
- wool needle
- pushbuttons
- Sewing needle and yarn
In spite of many other suggestions on the Internet, we definitely recommend pure cotton yarn for teapot warmer knitting. It is the material that is most robust to heat. With synthetic fibers, your new can warmer melts away in the worst case. Other natural fibers, on the other hand, are deformed by rapid temperature changes.
Prior knowledge:
- right stitches
- left stitches
- Increase mesh
- Remove stitches
Planning and sketch
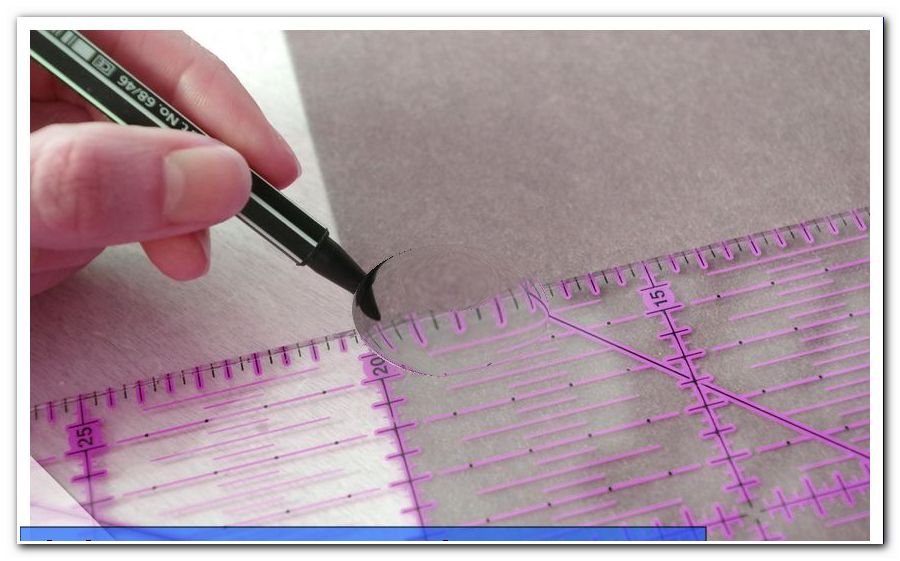
First, you need to make a knitting plan specifically for your own teapot. To do this, make a mesh sample of 10 x 10 cm in the two-colored pear patent explained below. We come on 24 stitches and 34 rows. Now, if you know how many rows and stitches you need for 10 cm, measure your teapot . Measure the circumference of the bottom, the thickest part and the lid opening. Also note down the distances between these three circumferences. In the case of a nearly spherical teapot like ours, the total height from the bottom to the opening is sufficient. Half way there is the thickest point.
Note: Measure your can warmer with a tape measure close to the pot. Be generous in the scope, as you need a small overlap for the buttons.
As you can see on the sketch, our teapot is 18 cm high overall. At the bottom and the lid, the circumference is 26 cm, at the thickest point 46 cm. In the sketch half of the circumference is entered, because we knit the front and back separately.

Now you have to think about how many stitches you have to take over how many rows and then lose weight again. In the case of the bicoloured pearly patent, it is best to increase or decrease an even number of stitches every other row.
In order to spread the increases and decreases better, you can cheat a bit on the number of rows needed for the height. For one, we start with a cuff around the ground. This is stretchy and therefore does not rely on an exact number of stitches. You can make it 4 or 6 rows high before you start with the increases. At the widest point we knit several rows with the same number of stitches. You can knit this stripe over 2, 4 or 6 rows.
As you can see in the second sketch, we have come from 62 rows in total on 26 rows each with increases and decreases. After a series of strokes, the cuff follows 4 rows. Only then does the teapot warmer knit the pearly patent with the increases. At the widest point we knit 4 rows of maximum stitches.

The pattern for the increases and decreases is based on the shape of the teapot : close to the center is less frequently increased and decreased than the lid and the floor. Since we start at 34 stitches on the ground and the thickest point counts 56 stitches, we have to increase a total of 22 stitches. Spread over 26 rows results in an increase of 18 stitches in 18 rows and another 4 stitches in 8 rows. Adapted to the pearly patent, this means that we increase 2 stitches 9 times in every 2nd row, then 2 times in each 4th row. The decompressions work the same way: first we take 2 stitches in every 4th row twice. Then we take 2 stitches 9 times in every 2nd row.
Knitting teapot warmer
The bicoloured pearly patent
To knit a teapot warmer, offers a patent sample. It's thicker than other patterns, keeping the heat better. The two-tone pearly patent is easy to knit, looks pretty and looks very different depending on the color combination.
Hit an even number of stitches equal to half the bottom circumference.

Knit a row of smooth right or rows in the crease pattern. Change to the second color. After the right edge stitch knit alternately a lower stitched right stitch and a normal right stitch. For the lower stitched right stitch, plunge into the stitch of the previous row. Finish the series with a right-hand stitch.

Knit the back row with right stitches. Switch to the first color. After the edge stitch, knit another stitch on the right. Then the change starts again from a lower stitched right stitch and a normal right stitch. Also finish this row with a right stitch. The back row knit with right stitches.
These are the 4 pattern rows that you are now repeating steadily. With 2nd color, always start the series with a right edge stitch, followed by a lower stitched right stitch. The 1st color is offset by one. Therefore, knit one more stitch to the right after the edge stitch and only then the lower stitched stitch.

Increases and decreases
Increases and decreases in the pearly patent
When knitting your teapot warmer, you need to add and remove stitches in the pear patent. This happens in each case in the back rows, which consist only of normal right stitches. You gain weight by knitting a new stitch out of the cross thread between the first and second stitches. The same thing is repeated between the penultimate and last stitch. So after a back row you have 2 stitches more on the needle.

For the declines, knit the second and third stitches together in the back row. At the end of the row, lift off the third last stitch and knit the penultimate normal right. Then lift the third last over the penultimate stitch.

Watch out! As you increase or decrease 2 stitches, the next row in the new color will start the same pattern as the previous one. An example: In the red row you knit the stitch to the edge stitch lower right. On the back row take 2 stitches. In the following green row start again with an edge stitch and a lower stitched right stitch.
sew together
First you have to knit the front and back of the teapot warmer. Then it goes to sewing together. First use the wool needle to sew only the front underneath and above the spout. Under the handle we do not sew, but put buttons on. Otherwise it would be impossible to put the teapot on and off.

Now take the stitches of the front and back pieces on a double needle play. Either you do not chain them or you take the stitches on the needles. Now knit about 5 rounds across the stitches. The lid will disappear a little way under the can warmer. However, since you do not further reduce the mesh size, it can still be easily removed.

Depending on your needs, sew 2 to 3 press studs on the back. Here you can balance wonderfully, if you have the extent of something miscalculated. Just let the two knitted parts overlap slightly more or less.

Tip: Knit a small square piece of cloth to close the lid opening. Sew it on one side and close it on the other side with a button or a bow.
Your teapot warmer is now ready. Thanks to the lid opening, the hot tea can easily be poured into the dressed pot. For washing, simply remove the can warmer.