Knit cardigan - simple free instructions for beginners
- Material and preparation
- yarn
- swatch
- Basics
- Knit cardigan
- sleeve
- belt
- Complete
- Possible variations
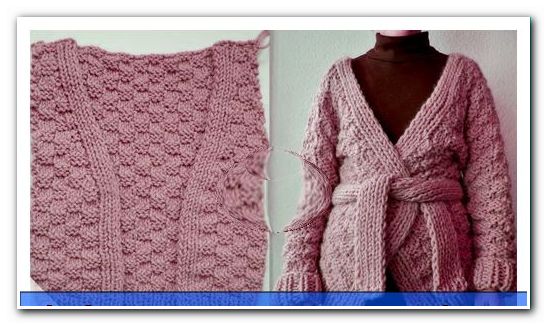
A cuddly cardigan is the ideal garment for cold winter days. It keeps you cozy and warm and easy to take off when the fire or a hot tea provides warmth. Naturally, she enjoys being made with her own hands. In this beginner's guide, we'll show you how to knit a warm knit cardigan yourself.
They think it would take months to knit a cardigan "> Material and preparation
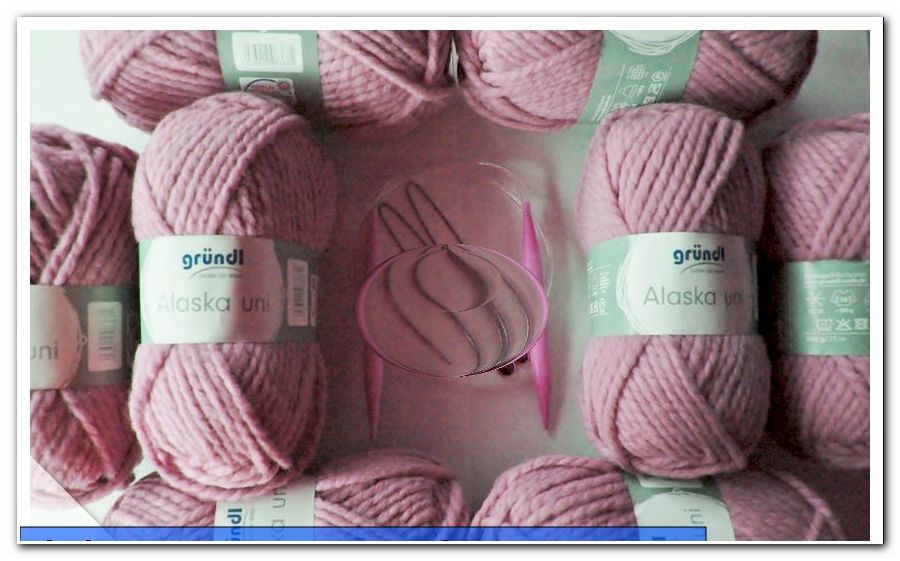
For the cardigan from our instructions for beginners, we have decided for needle size twelve. With such a thick wool, the good piece is cuddly warm and is ready knitted after one or two weekends. Look for the banderole when selecting the yarn : there you will find the recommended needle size, material composition and care instructions.
If you want to wear your cardigan for a long time, you should pay attention to good washability. The cheapest are yarns of polyacrylic and similar artificial materials. With a virgin wool portion, the jacket warms better. Use a smooth yarn, ie no fleece wool or the like, to make the checkerboard pattern look its best.
yarn
How much yarn you need depends on your dress size, the length of the wool and your knitting style. You will often find the size of a sweater in size M on the band. You will need about the same amount for your cardigan. In any case, buy generously and inquire about exchange options. Make sure that the same lot number is noted on all balls. Otherwise, slight color differences could be seen in your cardigan. Depending on the quality of the wool you should plan 40 to 100 EUR.
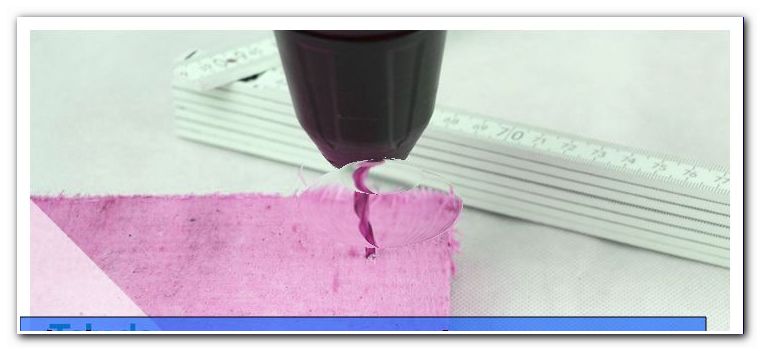
swatch
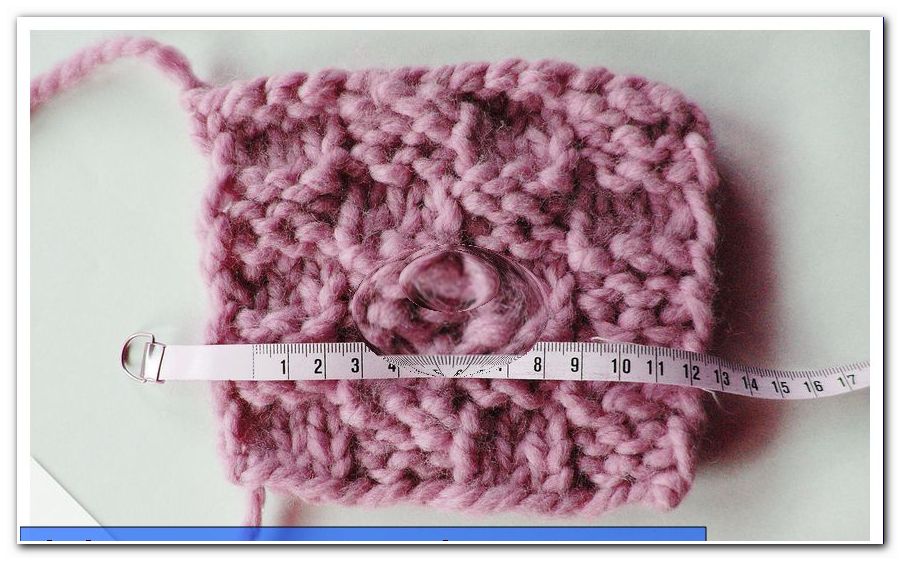
On the banderole of your yarn is usually noted how many stitches and rows make a square with ten centimeters in width and length. Take the values there as a guide only and make your own stitch test before you start with the cardigan. Knit a piece in the checkerboard pattern and count how many stitches and rows you need for ten centimeters.
Save the first and last stitch of your specimen during measurement, as they are often looser. The stitching is very important for the finished jacket to suit you, because how big the stitches are depends on the individual knitting style and pattern. In addition, you will learn how tight the knit feels with the selected needle size.
The numbers of stitches and figures given in this manual for beginners refer to a cardigan in size S / M and a yarn with a stitch of nine stitches by 12 rows. If you need a different dress size or your wool gives you significantly different measurements, you must measure your body and calculate the appropriate numbers. How this works, we explain to you. If your mesh sample differs only slightly, you can make another test piece with a different needle size.
To measure your body, wear a thin shirt as you would wear it under the finished cardigan. Measure the stitches in stitches or rows with the help of your stitch sample. Round up the results. For stitches always add two edge stitches.
Calculation example: Nine stitches correspond to ten centimeters and your piece of knitting should be 46 centimeters wide. You calculate: 9 * 46: 10 + 2 (edge stitch) = 43.4 = You hit 44 stitches.
Determine the following dimensions:
- Waist circumference plus ten centimeters (or more on request, overlapping the front pieces), converted into stitches
- from the shoulder seam to the desired length of the jacket (= total length), converted into rows
- from the end of the shoulder to the neck, converted into stitches
- Width of the back from armpit to armpit plus two centimeters, converted into stitches
- from shoulder to armpit plus three centimeters (for much air under the armpits, otherwise less admit), converted into rows and stitches
- from the end of the shoulder to the wrist (= total length of the arm), converted into rows
- Circumference of the upper arm a hand's breadth above the elbow, converted into stitches
- Circumference of the wrist, converted into mesh
You need this:
- 900 g thick wool (for size S / M)
- Circular knitting needles or knitting needles in matching thickness
- 2 fast motion or big safety pins
- Needle for sewing
- tape measure
Tip: Knit the cardigan in rows. However, since the pieces are very wide and the stitches would not fit on normal knitting needles, use a circular needle. In such a two short needles are connected to a flexible hose. You can work in rows as usual. Alternatively, there are extra-long knitting needles, which are quite impractical because the weight of the drooping knit pulls on the arms.
Basics
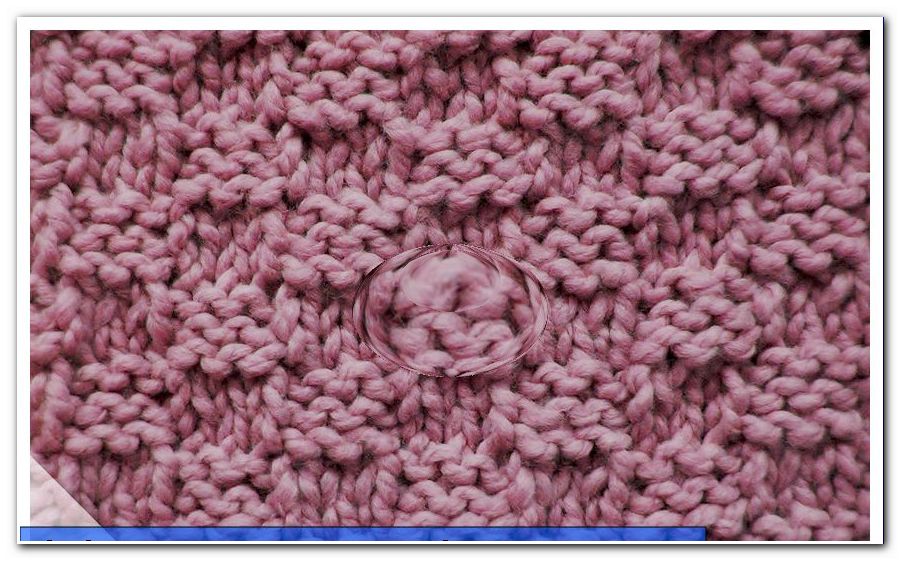
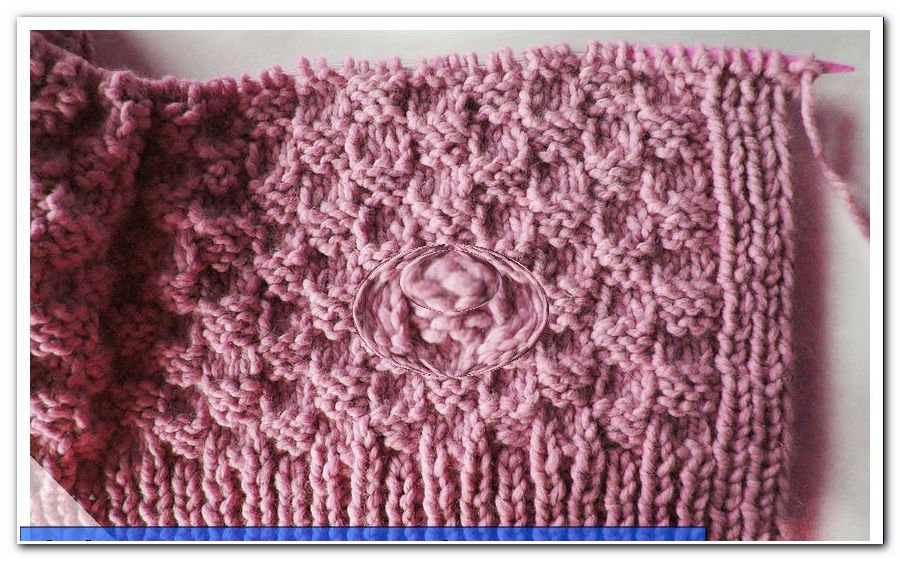
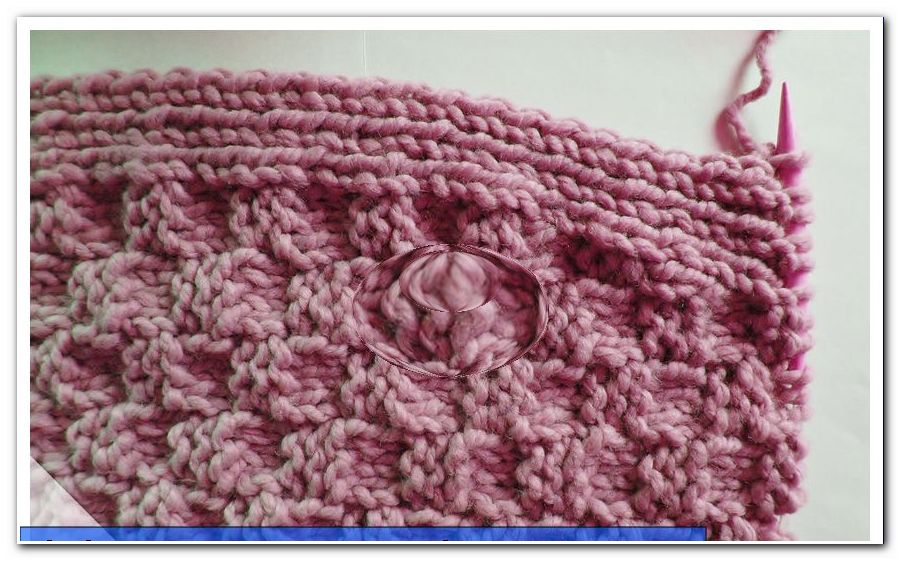
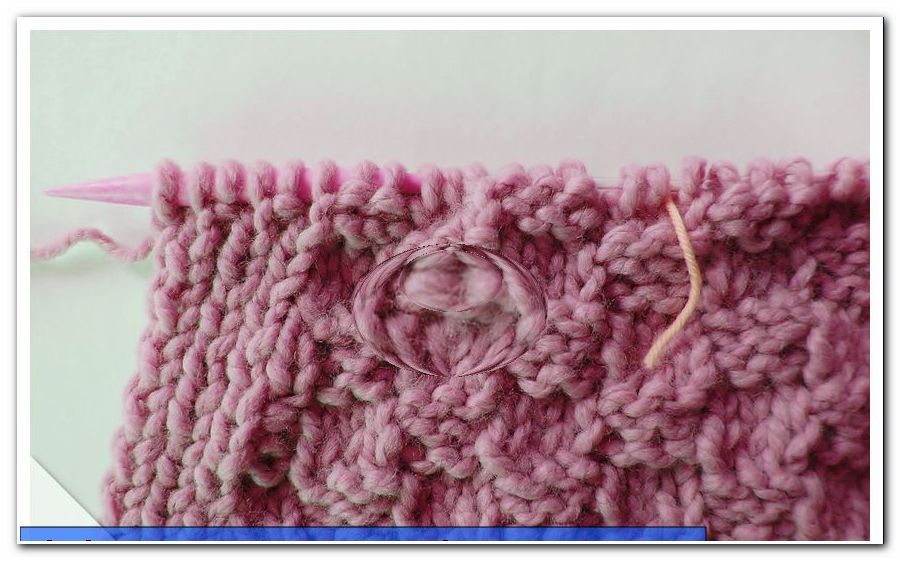
checkerboard
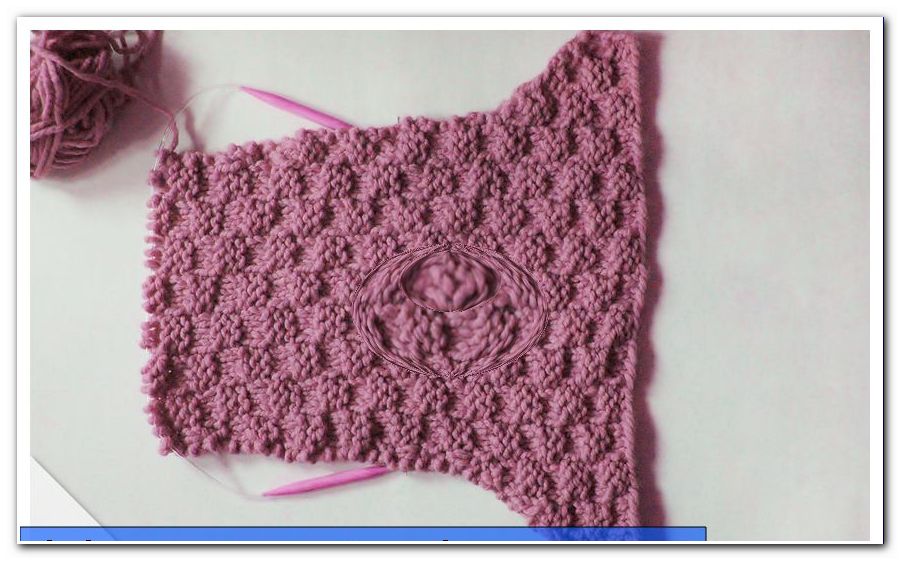
The checkered look succeeds through different mesh structures. Each knitted stitch has a flat, v-shaped side and one with a knot. When you knit a right stitch, the knot behind your work and the V-shape in front of it. In a left-hand stitch, it is the other way round. In the first row of the pattern, knit alternately three stitches left and right. In the next two rows repeat what you see.
If there is a nodule under the next stitch, knit on the left. If you see a V-shape in the previous row, work right. Each square of the checkerboard pattern is three stitches wide and three rows high . In the fourth row you knit the opposite of what you see. The next two rows should look like the fourth row. After that change the mesh structures again for the next squares and so on.
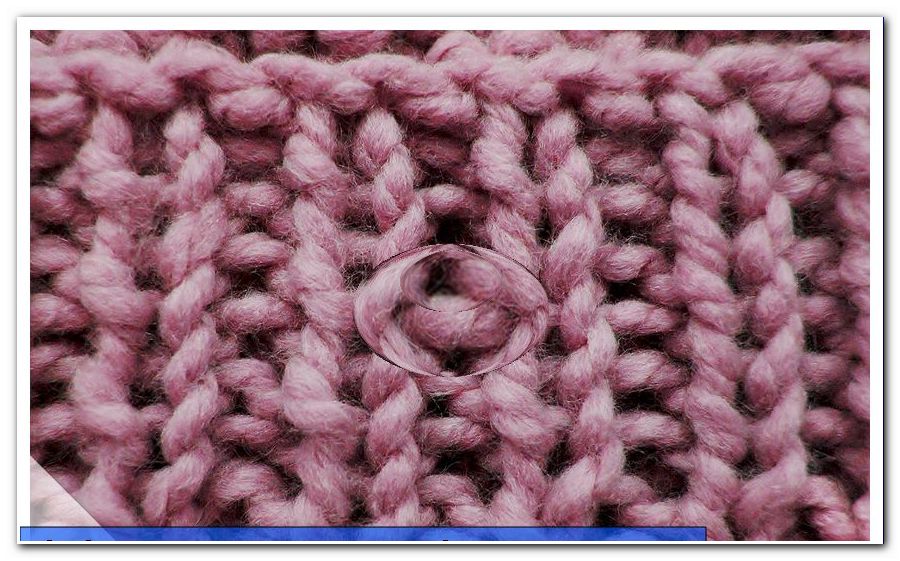
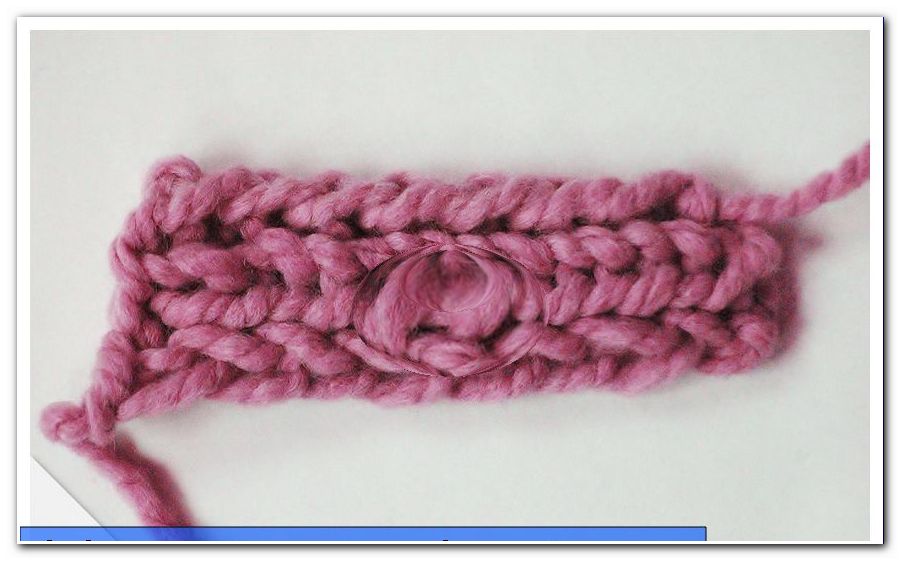
rib pattern
This elastic pattern is used for the cuffs of the cardigan. Knit alternately one stitch each on the right and left. In each row you work as you see in the previous row.
Knit two stitches together
Pinch in the next two stitches at the same time and knit both as if it were a stitch. This process has reduced your mesh size by one.
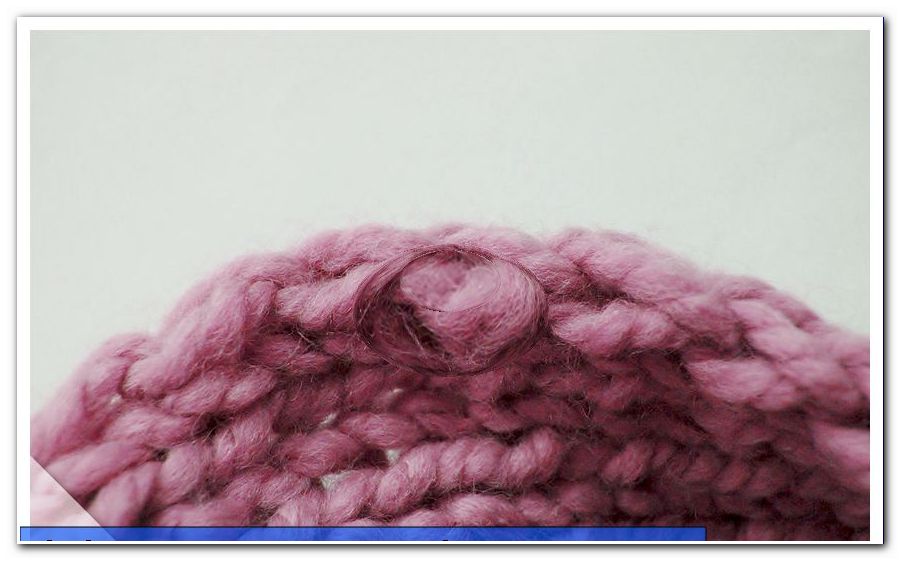
Kettrand
The first and the last stitch of each row are the edge stitches . These are knitted for a beautiful finish regardless of the pattern. For the edge of the kilt, put the first stitch on the right needle, which means you will not knit it. Put the thread to work. The stitch at the end of the row always knit right.
nodules edge
This edge is particularly good when the piece of knitting is to be sewn together with another. Knitt all edge stitches on the right.

Knit cardigan
Front and back
We knit the back and front pieces together so no side seams are needed. Hit 84 stitches (or the number that results from the circumference of the hips).
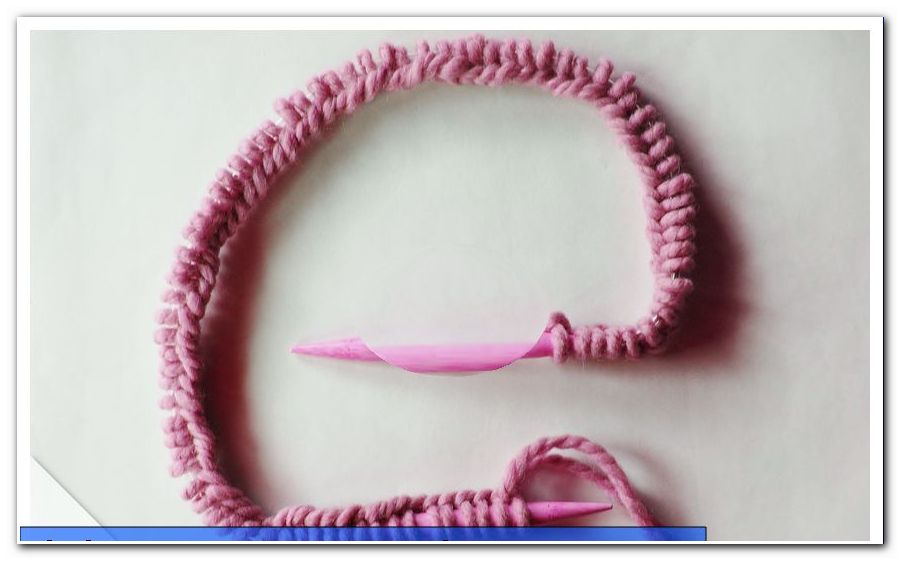
Knitting for the cuff six centimeters ribbed with ket edge.
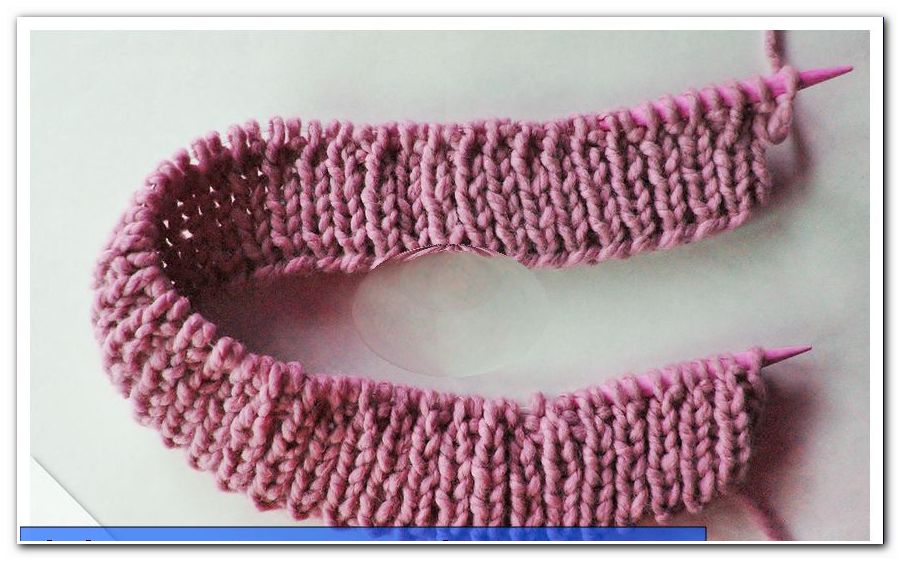
Knit up to a height of 30 centimeters including cuffs (or up to five inches before half the total length) in the checkerboard pattern. The first and the last five centimeters of each row knit in a ribbed pattern with a chain edge. This results in the vertical cuff.
Now work a slant for the neckline on both sides of the knit. To do this knit ten times in each fourth row on both sides of the two stitches next to the vertical cuff (or evenly distribute the decreases to the part of the total length to knit).
You can find out how many stitches you need to remove per side by subtracting the stitches for the back width from the total number of stitches and dividing the result by two. The difference between this number and the required stitches from shoulder to neck gives the "extra" stitches you need to lose weight.
After a total of 44 centimeters (or the total length minus the length from the shoulder to the armpit) separate the stitches for the two front pieces from those for the back piece. Divide first the 44 stitches for the back (or the stitches for the width of the back) in the middle of the knit with different colored threads from those for the side panels.
Now slide the stitches for the side panels from the knitting needle onto two stitches or safety pins .
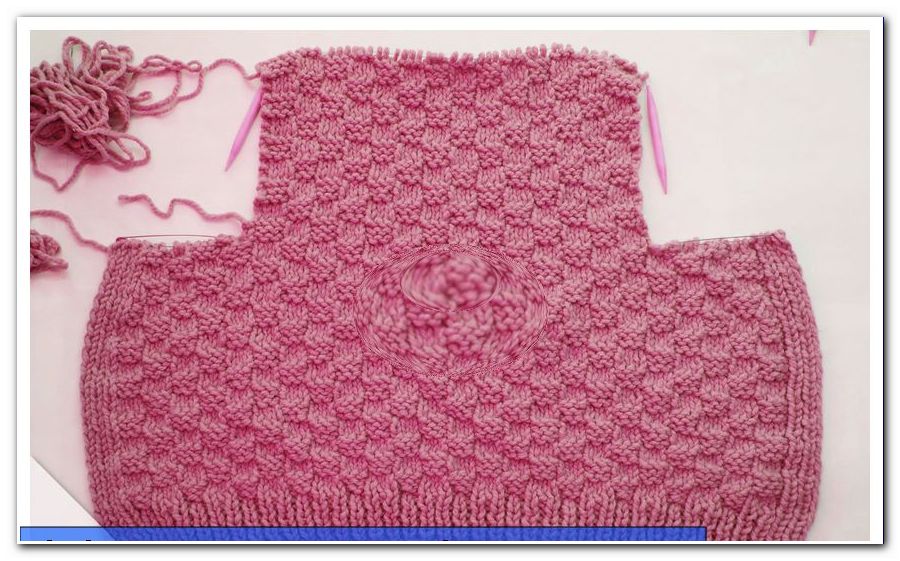
Knitting only with the stitches for the back without removing 24 centimeters (or to the total length) in the checkerboard pattern with knot edge without cuffs. Unlock the stitches.
Tip: When knitting, always knit the stitches as specified by the pattern.
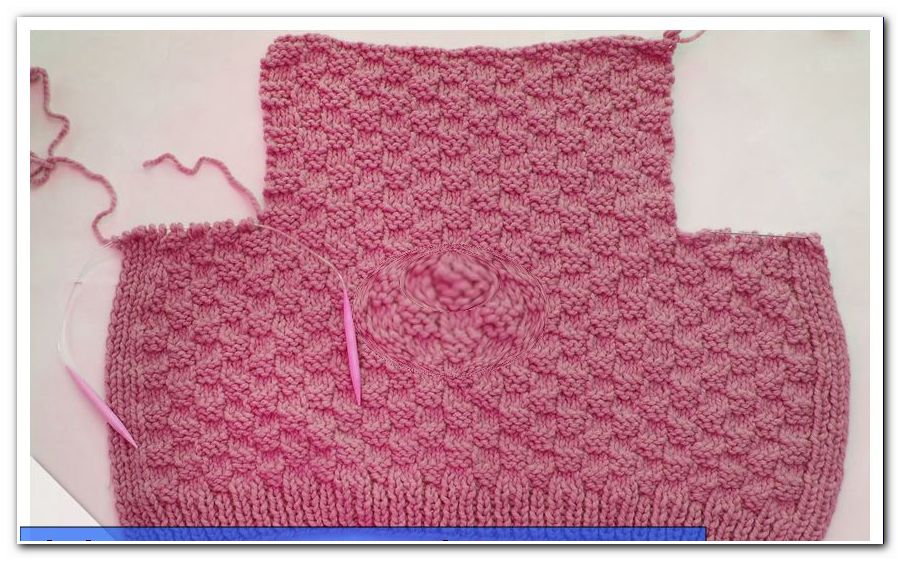
Take the stitches for one of the side pieces back on the knitting needle and knit 24 centimeters (or to full length) in the checkerboard pattern. Continue along one edge of the vertical cuff and the edge of the edge and continue evenly on this side with the decreases already started. The other, the back part facing edge knit with Knötchenrand. Unlock the remaining stitches. The same procedure applies to the second side panel.
sleeve
The sleeves knit from the shoulder to the wrist. Hit 46 stitches (or the stitches taken for the length from the shoulder to the armpit times two). Work in checkerboard pattern with knot edge. From the sixth to the 20th row knit two stitches in each second row, ie eight times, on both sides next to the edge stitches .
Further decreases follow in the 33rd, 45th, 52nd and 59th series. Knit a total of 56 inches . (Or, in the first third of the total length of the arm, make even stitches until the required mesh size for the circumference of the upper arm is reached.) Over the remaining length, distribute the decreases to the required stitches for the wrist.)
Tip: Make a note of the exact positions of the declines so that both sleeves get the same shape.
Knitt six centimeters of the ribbing for the envelope cuff and chain the stitches. Make the second sleeve identical.

belt
For the belt, make nine stitches (or five centimeters in a rib pattern plus two edge stitches.) Measure the required stitch count at the cuff. Knitted in rib pattern with 140 cm (or until the belt fits around the waist and can be knotted easily). Choke the piece off.

For the belt loops, hit five stitches (or two centimeters in the rib pattern plus two edge stitches) and knit ten centimeters into the ribbed pattern with the edge of the chain before you tie off. Work the second loop as well.
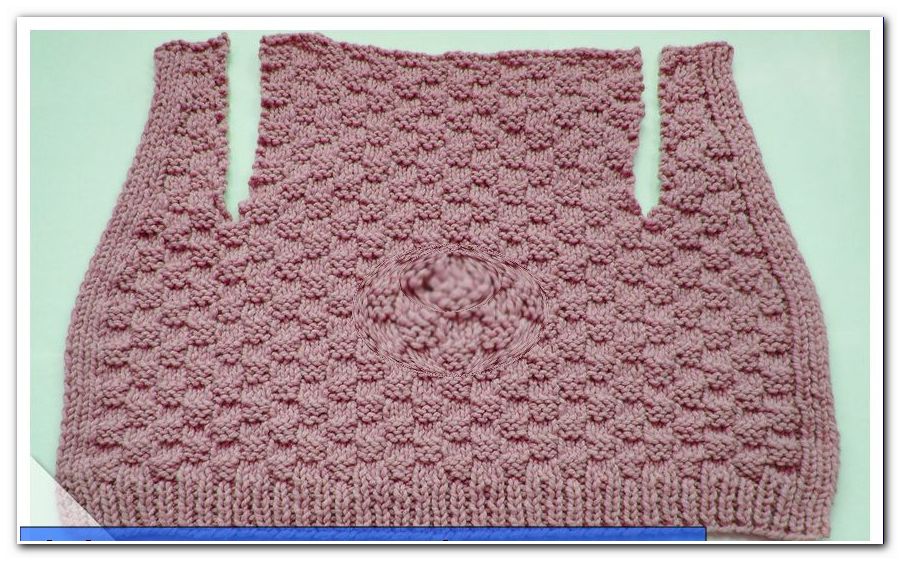
Complete
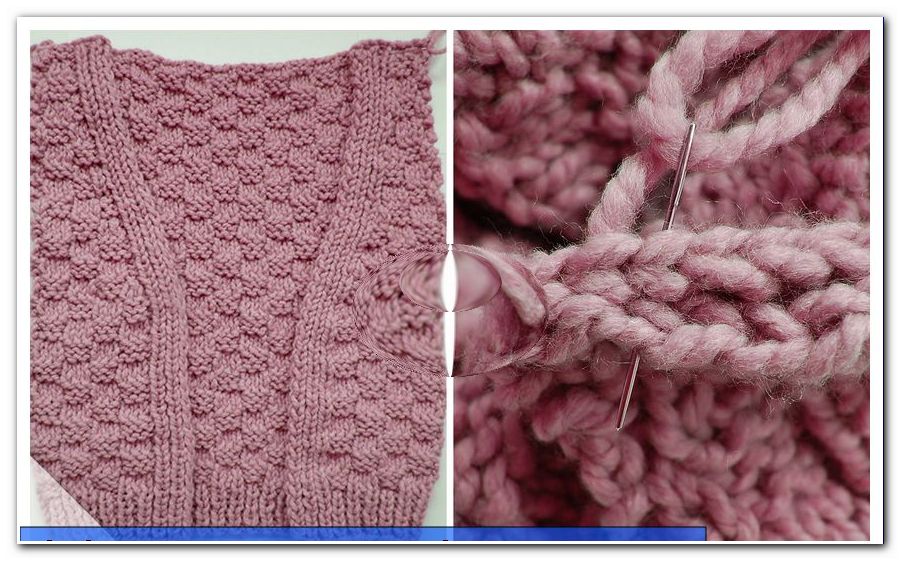
Flip the front pieces over the back and close the seams on the shoulders. The sleeves sew together to form hoses and then attach to the openings in the front and back sections. Begin by the shoulder. If the slots are too large, close the excess pieces under the armpits with sutures.
Tip: Turn all pieces to the left to sew, so that the seams in the finished jacket are inconspicuous. Be sure to hold only one stitch or row at a time with the needle. Sew the meshes exactly together, ie at the edge of the knot you connect two nodules or two intermediate pieces with each other.
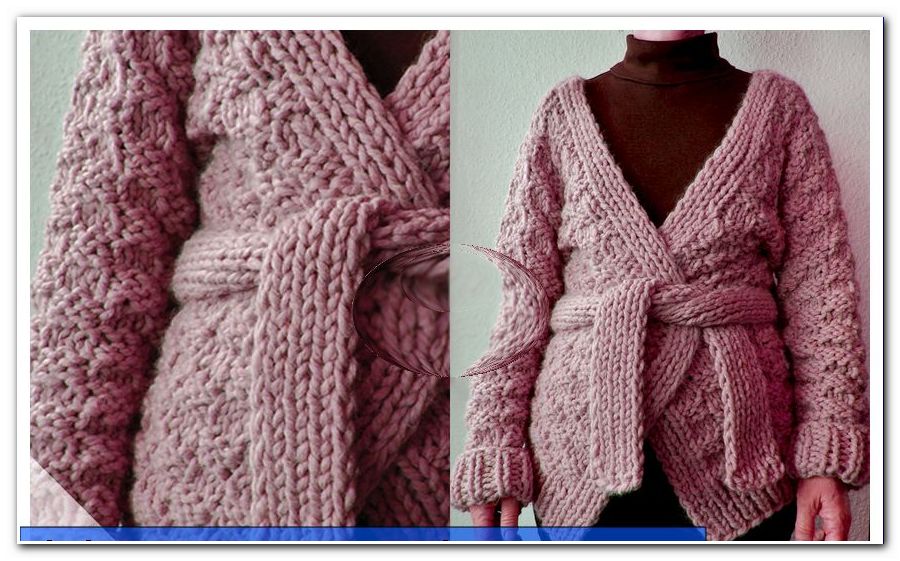
Attach the belt loops at the side. Put on the jacket to find the perfect positions. Finally, sew all the threads, flip the cuffs and thread the belt. Your cardigan is ready!
Possible variations
1. Knitt the cardigan in a different pattern, for example in a pear pattern . To do this work alternately one stitch each to the right and left and in each row a knot to a V-shape and vice versa. Be sure to make your stitch test in the pattern you choose.
2. Use an irregular fancy yarn, such as bouclé. Since patterns do not look good, you should knit (except the cuffs) smoothly on the right, that is, all the stitches on the right.