Rethread Zipper Zipper - DIY Guide

- Thread zipper zipper
- Materials and tools
- preparation
- Thread Zipper: DIY Guide
A threadbare zipper zipper is a tricky business. The sliders need to be threaded in a certain way to function properly and not get caught within seconds. The threading of a zipper is necessary if the previous slide is stuck or broken. In this case, the exchange is worthwhile, which runs smoothly with the appropriate instructions.
Thread zipper zipper
Threading a zipper is not an easy job. The metal or plastic component is needed to close and secure the zipper so that it does not yield even when moving and under high pressure. It may happen that over the course of the use of the zipper zipper must be replaced when it is no longer moving, completely bent or broken.

Here the threading is used, a step that requires a bit of tact. If you are looking for a detailed DIY guide for threading the slider, you are in the right place. This explains the processes for successfully assembling the new sled.
Materials and tools
If you have become aware of a broken or zippered zipper, you do not need to be discouraged or take your garment directly to a change tailor. If only the zipper has to be replaced, it is easy to thread it in and then reuse it.
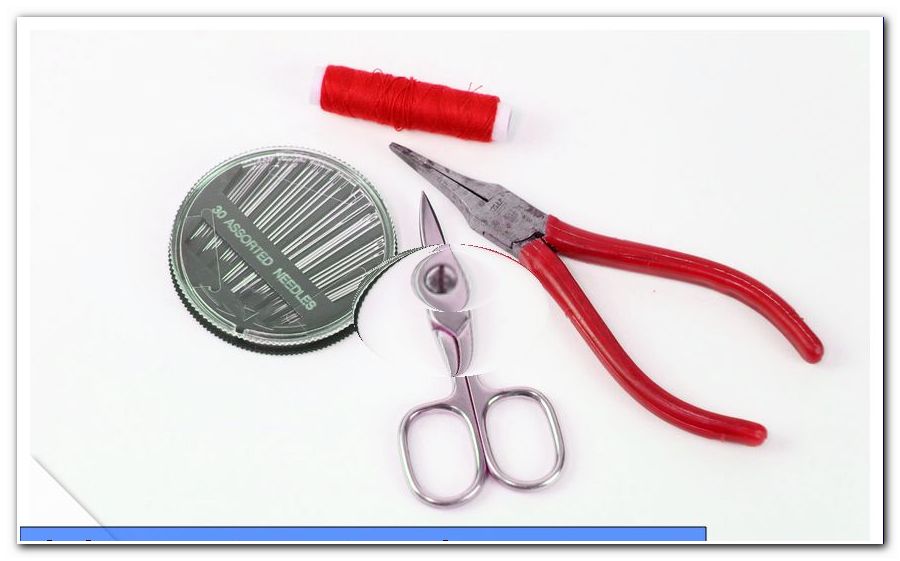
To realize this, you only need the right tools:
- flat-nosed pliers
- new zipper (also called slide or slide)
- needle
- sewing thread
- Zipper clip (if damaged too)
Pay attention to the material when selecting the new zipper. Although plastic slides are much cheaper and are often offered in large quantities at low prices, they are not really robust and break quickly. Metal sleds only sometimes bend over time, but almost never break. They are much better able to cope with large forces and must be replaced less frequently.

If you do not have flat-nose pliers, you can choose other small-size pliers as long as they do not have a sharp edge. You do not want to damage the new zipper zipper immediately when threading. When selecting the yarn, you have to look at what variety has been used and get the same.
Tip: If you order a new zipper, you should bet on the YKK and OPTI metal products. These are the largest zipper manufacturers on the market and are known for their high quality, durable zipper zippers.
preparation
Before you thread the new slide, you must remove the old one. If it has not stopped or has resolved by itself, you have to do it yourself.
Proceed as follows:
1. The majority of the zippers are attached via a clip located at the end of the zipper. Pick up the pliers and push apart the wings of the clip so they can be removed.

Do not pull on the clip, as this could damage the fabric. If the clip is not broken or broken, you can continue to use it. Otherwise, it must be replaced so that the slide does not slip out again.

2. It is also possible to fix a zipper over a thick seam .

If this is the case, you must open it with a seam separator. Simply insert the seam separator underneath the seam and separate the seams.

3. Once the staple or suture has been removed, simply pull the zipper zipper down.

If the zipper jams, it is bent up with the pliers and can then be removed.

4. Finally, you should once again check the zipper for bent teeth or similar. Maybe it is necessary to exchange the entire zipper, which saves you work. Check it as thoroughly as possible.

In many jackets, skirts or some clothes, the zippers are not completely closed on either side. The zipper zips, on the other hand, can be understood with a so-called endstopper . This is located directly in the slide and prevents the accidental loss of the zipper.
If it is such a slider, you simply have to open it up or bend with the pliers to release the end stopper . Then you can remove the part and thread it in the same way as described in the DIY tutorial below.
Thread Zipper: DIY Guide
With the right DIY guide, it is easy to thread the zipper and make it functional within a few moments. Here you will find a detailed DIY guide to zipper zipper, which makes it easier to change the zipper. This is suitable for both forms of sled, with or without endstopper.
The instructions in detail:
1. First, check the new zipper zipper for possible damage. Sometimes it can happen that they come out of production incorrectly. If the sled is in order, you can use it and you do not have to worry about it getting damaged in the future.

2. Threading is always done first from the right as this is the longer side of the zipper. Only rarely is the left side used as the leading one. Look, therefore, which of them is longer than the other. Then thread the zip zipper over it. In some zippers this is noticeable on the box part, a square tail on one of the two sides, which is clearly visible.

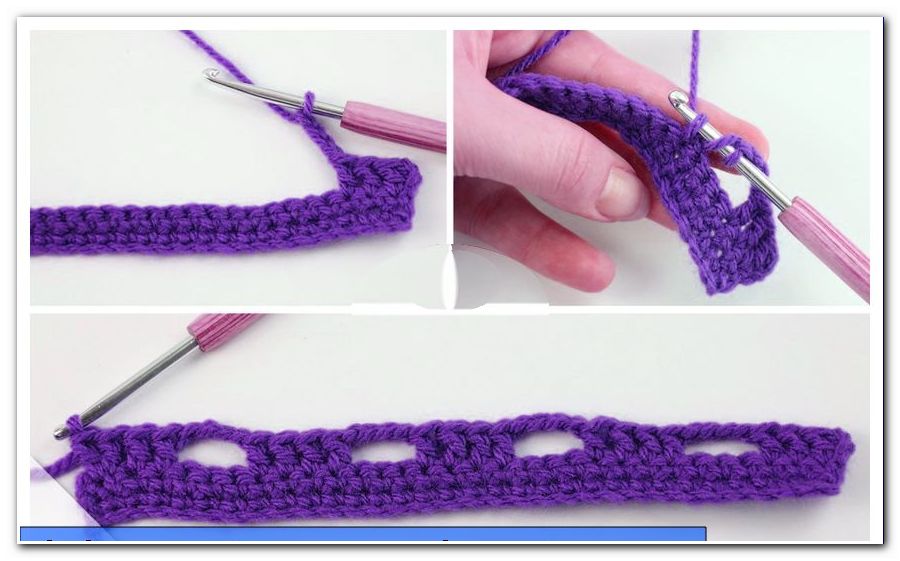
3. Take the Zipper Zipper in your hand and align it so that the handle points upwards. The thinner end of the zipper must look towards the end of the zipper. Now thread the leading side into the sled. This actually works the same way as closing your jacket.

4. After the first page has been threaded, the second follows.

Proceed in the same way, just angle them slightly to make them easier to thread. After threading both sides, bend them slightly down to prevent the sled from accidentally loosening.

Now carefully close the zipper and leave it in the closed position.

5. Finally, fix the clamp in the same place with the help of the pliers. To do this, press the ends of the clip through the fabric and turn it over. More is not needed for the completion of this variant.

6. For zippers with a seam, sew the end.

Take the yarn, thread it into the needle and close it with a knot.

Now, at the point where you previously loosened the seam, sew several layers directly to each other to allow a stop mechanism .

Once it's thick enough, you can finish the project.