Repair parquet - remove scratches and dents

- Instructions I - dents in the parquet
- Instructions II - Scratches and marks
- 1. Black lines
- 2. Simple sanding marks <1 mm
- 3. Visible scratches 1 - 2 mm
- 4. Coarser damage> 2 mm
- Instructions III - Replace parts
A high-quality noble parquet must be exchanged in the rarest cases completely. Most dents or scratches can be eliminated with simple means. Even the exchange of single sticks or belts is possible. The various instructions for the beauty repair of very different damage to your parquet can be found here.
Parquet costs considerably more than other floors due to its labor-intensive installation. Whether simple home remedies or technical solutions, scratches and dents in the parquet can be removed by any home improvement. From toothpaste to iron to walnut paste, there are many different ways to repair the parquet. You can grind serious damage or replace a damaged area. Thanks to the solid wood in the parquet, you can replace individual areas with matching chopsticks and bars. We show you the different instructions that will help you. Your parquet floor will shine like new after the beauty repair.
You need this:
- Iron
- abrasive paper
- grinding machine
- eraser
- sponge
- ruler
- Brush / paint roller
- cotton cloths
- crowbar
- rubber hammer
- spatula
- Japanese saw
- toothpaste
- furniture polish
- walnut paste
- wax
- paint
- wood oil
- pieces of wood
Before you change apartment as a tenant, usually one or the other beauty repair is on the program. You should definitely remove damage to the parquet floor before moving out, as this could otherwise lead to the loss of the deposit. But even if it is not a rented apartment, a beautiful parquet floor is always a real increase in value of the property. Our first guide therefore shows the removal of dents in the parquet floor. Below you will find the appropriate instructions for repairing different levels of scratches on the floor and for the exchange of individual pieces of wood.
Tip: As a renter, be sure to check the parquet floor before you move out. In a rented apartment next to the administrator and the new tenants like to look for damages. The repair of this damage will be forfeited from your deposit. Therefore, you better improve the soil yourself and then photograph the soil in great detail, to later have a proof.
Instructions I - dents in the parquet
Whether it was high-heeled shoes or furniture that was to blame for the small depressions in the floor, if they are not too deep, they can often be repaired with steam. If there are some deeper holes in the wood, you can find the correct method in Tutorial II below. These holes can then be filled with hard wax and adapted to the wood color.
Step 1: Test the paint and prepare the floor
Since you are using this method with great heat on the floor, you should first test in a hidden place, whether the paint on the parquet floor tolerates the heat. If the floor is not sealed with a paint, you can go straight to step two. Otherwise, the paint should be removed at the damaged areas. For this you have to sand the paint and seal the affected area after mending.
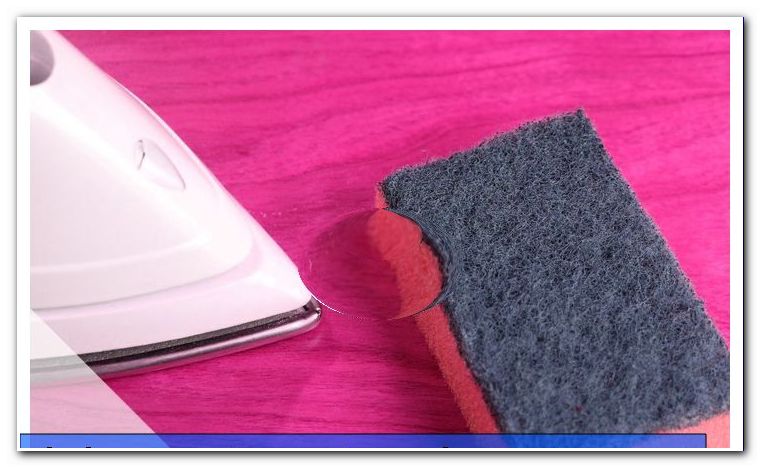
Step 2: Steaming and ironing
Preheat an iron. If the iron has a steam function, you can also use it for steam generation. However, the moisture from the steam iron alone will not be enough, so moisten the recess with a sponge and hold the hot iron briefly on the water. Be sure to use only a few drops carefully with the sponge in the damaged area. Working with an electrical device in a proper puddle is extremely dangerous. Due to the moisture, the wood expands again, but the strong heat evaporates the moisture before it can also cause damage.
Step 3: Rework and seal
Depending on how the parquet floor was originally treated, you should sand the repaired area again later and treat with oil, wax or varnish. If you have a whole track of small dents, for example, through shoe prints, then you should treat the entire track in one go. So the renewed place does not even notice.
Instructions II - Scratches and marks
Depending on the depth and severity of scuffs in the parquet, another method works to repair the small damage. We show the methods listed here for the depth of the scratch.
1. Black lines
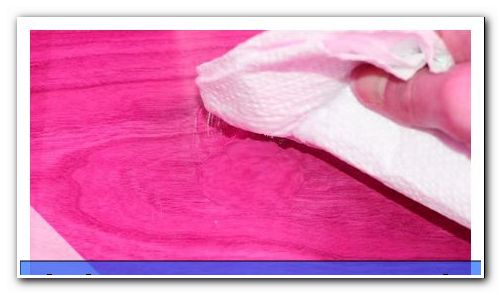
You can be so careful as a tenant, but sometimes a visitor comes with black soles on your floor. The black lines caused by such soles are very difficult to remove when wiping. Especially as you should wipe the parquet as dry as possible to later receive the deposit when moving out of your rental apartment.
1 of 4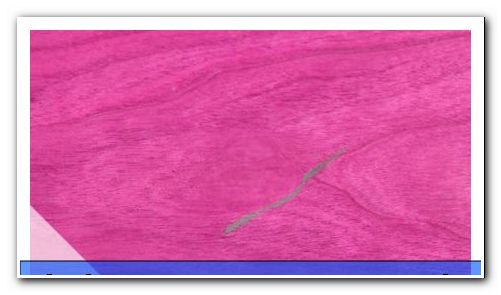
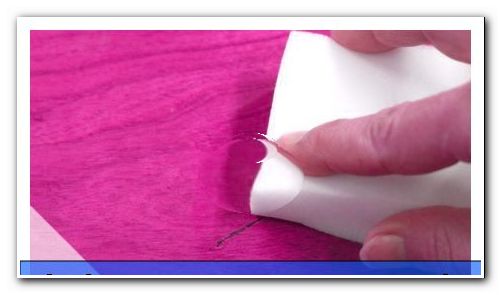
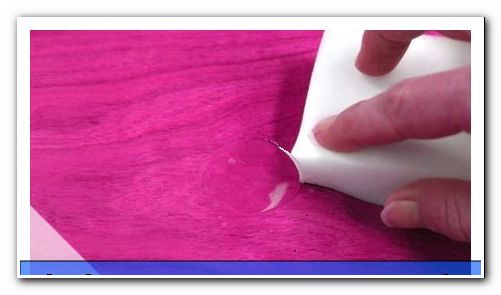
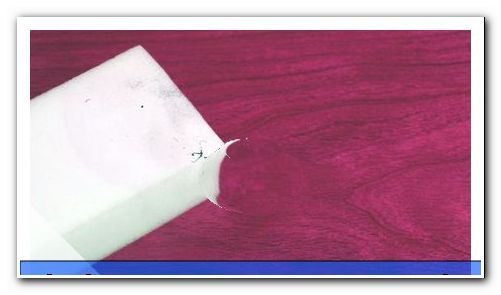
A good color-neutral eraser can easily erase these stripes. But do not use any of the brightly colored erasers of your children, as they only replace the black stripes with colorful stripes. An alternative are so-called Schmutzradierer, which are available in every drugstore.
2. Simple sanding marks <1 mm
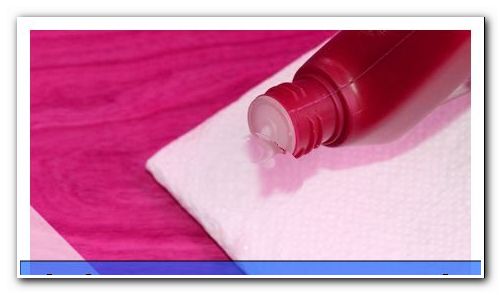
Instead of getting on with the sanding paper, slight scratches can be eliminated with a good furniture polish . To do this, take a soft cotton rag and put a little polish on it. The big advantage is that this method works on both oiled and varnished parquet floors. However, depending on the damage you should polish for some time. Use only polishes that contain no mineral oil. Mineral oil derivatives settle on and in the wood and later darken considerably.
1 of 3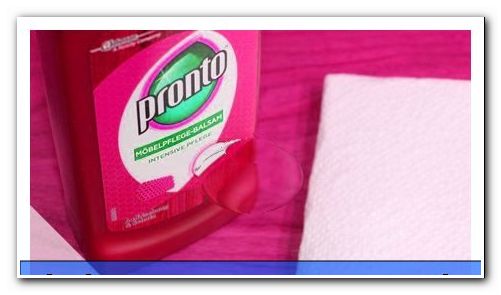
Tip: With oiled parquet, minor scratches can often be removed with a cotton ball and some baby oil . The wood is easily roughened by the scratch and then quickly picks up the baby oil. But careful, because too much baby oil makes the parquet a slide, so you really should use it only very limited. You should not use olive oil at the same time on a very light parquet because the parquet may darken considerably.
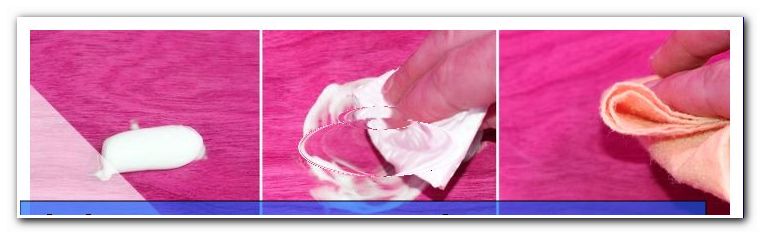
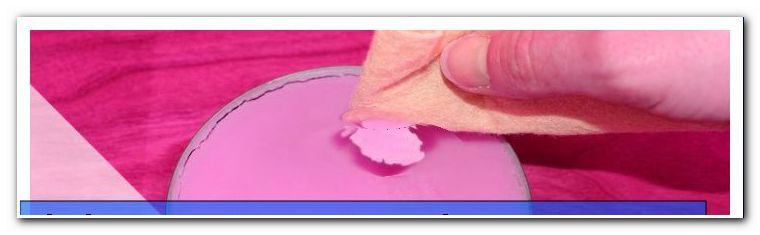
A special case with the simple beauty repair is the water stain. For a wooden floor, which was not sealed with a lacquer, the furniture polish can also help here. However, if dark ugly rings have already formed, use some white toothpaste instead of the polish. Place them on a soft cotton cloth and rub the area until the stain disappears. Thereafter, the corresponding spot should be re-oiled or waxed again.
3. Visible scratches 1 - 2 mm
A clearly visible scratch should first be scraped a little more with a sharp nail or a carpet knife. So, rough up the wood inside the scratch. As a result, the repair compound can later better connect to the wood. In the hardware stores there are repair kits with special hard waxes, which are melted by a small wax smelter or with an old iron.
- light repair wax and fill hole or scratches to about 75 percent
- Add wax in a slightly darker tone
- with very little dark wax representing the grain of the wood in the scratch
- Follow the wood grain with the shashlik skewer
- Pre-smooth the treated area with a spatula
- Grind large area around the repaired area
- Apply new sealer with wax, oil or wood varnish
In order to make the wood look completely natural at the repaired area, you should never mix the wax mass in advance, but always work in about three stages. In a very dark parquet such as smoked oak or a walnut cone, you often need even more bandwidth, as this grain is very varied in color. Most repair kits with hard wax contain different tones, which are adapted to the respective wood color.
Tip: The sets usually also contain a small smelter. However, if you buy single poles, you can also use an old iron again to melt the hard wax. Some do-it-yourselfers recommend a soldering iron, but the danger of damaging the wood is actually too great.
If you have melted the different colors with wax into the crack or the hole, you can use a sharp shish kebab to slightly distort the colors. Always pull the skewer towards the grain of the wood to adjust the wax.
The colored wax bars in the repair kits are all the same length. But you usually need one color more than the others. In many DIY stores are therefore already offered single rods. If you want to repair just a single scratch to get the bail, then it is often enough to buy a bar hard wax. If you have, you can take a piece of wood out of the parquet to find the right color. When in doubt, always choose a slightly too light color, because darken the parquet floor in this area easily with a hot teabag.
4. Coarser damage> 2 mm
If there are many individual damages or deep cracks in the wooden floor, it is often not worth repairing the individual areas. You have a similar problem if the parquet has been sealed with several coats of paint. Touch ups with hard wax fall out of the wells after a short time. The wax does not bond permanently with the paint, so it can be repelled. Thus, for larger damage only the solution, the entire wooden floor to be sanded.
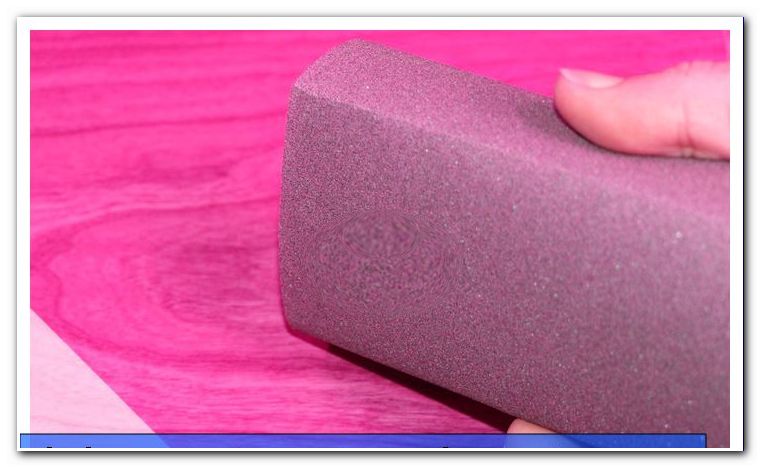
- Floor grinder borrow in the hardware store
- Remove skirting boards
- Grind the ground with a grain size of 40 to 60
- further sanding cycles in increments of 20 with the grain
- Last grinding cycle takes place with 120 or 150 grit
- Apply a seal of your choice
Tip: If you work up the parquet to get the deposit for your rental apartment, you should also pay attention to what seal was previously applied. Although it may be easier to oil the parquet later only, instead of applying a seal with paint. But that could be charged to you negatively, because a lacquer seal protects the wood significantly better.
Instructions III - Replace parts
As an experienced handyman you can renew limited areas of the parquet. However, you absolutely need the right kind of wooden aprons. In addition, the entire floor must be sanded and worked up, since the replacement otherwise remains clearly visible.
Tip: If a parquet floor in your house or your rented apartment is relocated, you should not return the entire surplus. If you keep about half a square meter dry and clean, you will later have a good reserve for a repair.
Drill several holes side by side in the damaged area and then pry out the individual wooden rods that need to be replaced. This is often not easy with a well-bonded parquet. Check carefully which surrounding parts are still damaged while you're at it.
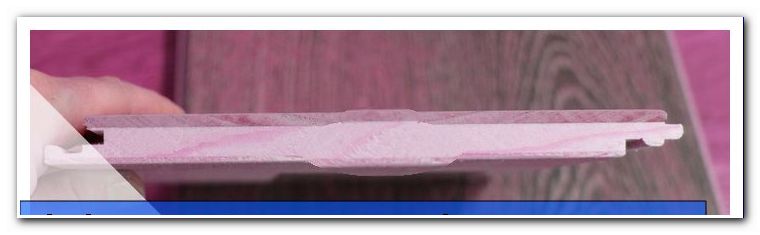
Then the substrate has to be removed from the adhesive. You may have to chop it off with a wide chisel. Then insert the pieces of wood in the gap and see if they fit really well. Although there should be no joints, but the wood should not be beaten by force in the gap, as it can throw here otherwise later.
If you are sure that the individual elements fit in the gap, you can insert them with parquet glue. Then you have to sand the floor completely and re-seal it as described above.
Tip: In terms of color, the renewed area can be adjusted with tea or with a slightly grayer wood tone, with ashes from the chimney. Depending on the type of wood you should always work extremely carefully so that the spot does not become too dark. You can also achieve a certain balance with a varnish that contains only a small amount of tint.
Tips for quick readers
- Moisten dents with sponge
- hot iron pulls up the indentation
- Reseal reconditioned areas
- Repair scratches with furniture polish
- Do not use furniture polish based on mineral oil
- Baby oil makes small scuffs disappear
- Olive oil darkens chafe marks slightly
- Walnut kernels for scarring on dark wood
- fill deeper damage with hard wax
- Adjust color to hard wax
- grind up the repaired area
- Apply sealant
- pry out individual bars or straps
- insert matching hardwood with parquet glue
- grind and seal the entire floor