Easter bunny tinker | Instructions for the Easter Bunny fold out of paper

- Make Easter Bunny
- Easter Bunny | Sitting rabbit variant
- Easter Bunny | Variant rabbit face
Soon it will be time again and then we are all looking for the Easter Easter the many colorful Easter eggs in the garden, in the house and at the most remote places. And what must not be missed at Easter, of course ">
Make Easter Bunny
With our free guide fold in just a few steps an Easter Bunny. Through our step-by-step instructions, the Easter Bunny can make it in no time, even your children and grandchildren will love the small, cute and homemade bunnies. And these little cute easter bunnies are the icing on the cake in every colorful Easter basket . And to give away joy and small presents, is the most beautiful thing there is, because the glow in the eyes of the loved ones is simply priceless!
We show you how to make an Easter bunny out of paper in our tutorial about Easter bunny and show you two different variations.
Easter Bunny | Sitting rabbit variant
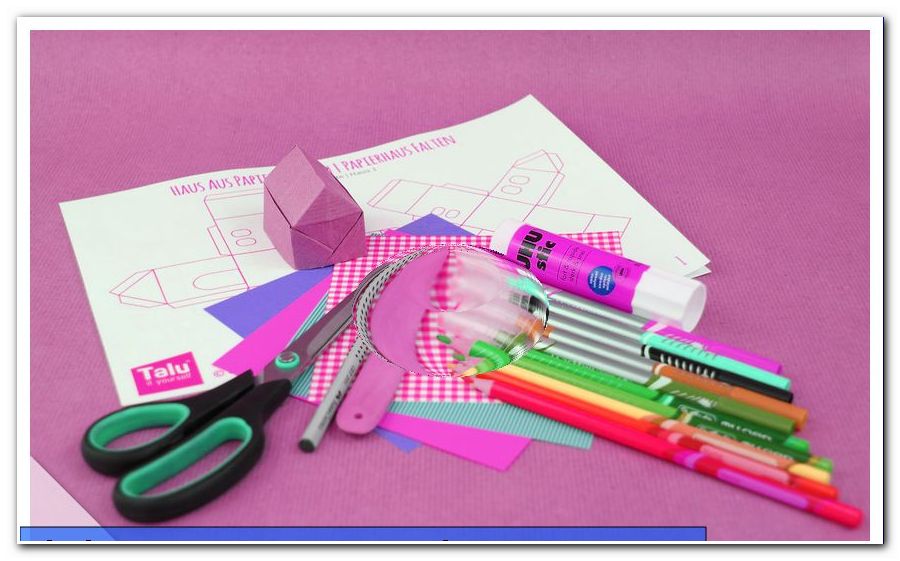
With this crafting idea you make an Easter bunny out of a square piece of paper. You just need the piece of paper just mentioned, a pair of scissors and a folder, and that's it.
required materials:
- a piece of paper measuring 15 cm x 15 cm, 80 g / m 2, colored construction paper or sample paper is suitable
- scissors
- bonefolder
- possibly a fiber pen or fineliner for painting the folded Easter bunnies

Step 1: Pick up a piece of paper first and place it in front of you. If you are using sample paper, the printed side should be facing down and the solid side is facing up. Of course, with monochromatic paper, the upside-down side is irrelevant.

Tip: Do not use too thick paper or construction paper, otherwise the individual folds will not be that easy.
You can cut a larger paper size to 15 cm x 15 cm, also an individual measure can be used, only square it must be at the end. Incidentally, note paper note paper is also suitable for folding Easter Bunny.
Step 2: Now fold the lower right corner to the upper left corner. The result is a folded triangle. Pull your fold with the Falzbein.

Step 3: Now unfold the folded triangle again. Now fold one corner parallel to the folded center line.

Step 4: Now do the same with the other corner and fold it along the center line as you did in step three. A long peak has been created.

Step 5: Turn your folding work so that the long point points upwards. The lower tip is now folded up to meet the folds from the previous steps.

Step 6: Now fold a part of the just folded tip back in the opposite direction, say down again. Place the new fold so that a piece of lace protrudes beyond the edge of the straight fold.

Step 7: Turn your folding work over to the other side. The elongated tip shows after turning also back up, that is, the previous position is taken. Then fold down the upper elongated tip until it touches the straight fold above the slightly protruding tip.

Tip: Pull your folding with the folder or alternatively with a ruler. This makes your individual fold lines even more precise and precise.
Step 8: Turn your folding work now, in this step, a quarter turn to the left.

Then take the folded piece of paper in your hand and fold it down the center line.

Step 9: Now unfold the fold of the elongated tip and pick up a pair of scissors. Use this to cut the long point a few inches inwards.

Tip: You should not cut more than half of the long tip, otherwise the folded ears fall laterally to the sides and down.

Step 10: Fold the long and cut tip back to its original position.

Take the incised tip in one hand and the rest of the folding work in the other hand. Now slowly and carefully pull both parts of the folding work a good distance apart.

Fix the new position and then fold it with your fingers and finally with the folder. The ears have now reached their final position.

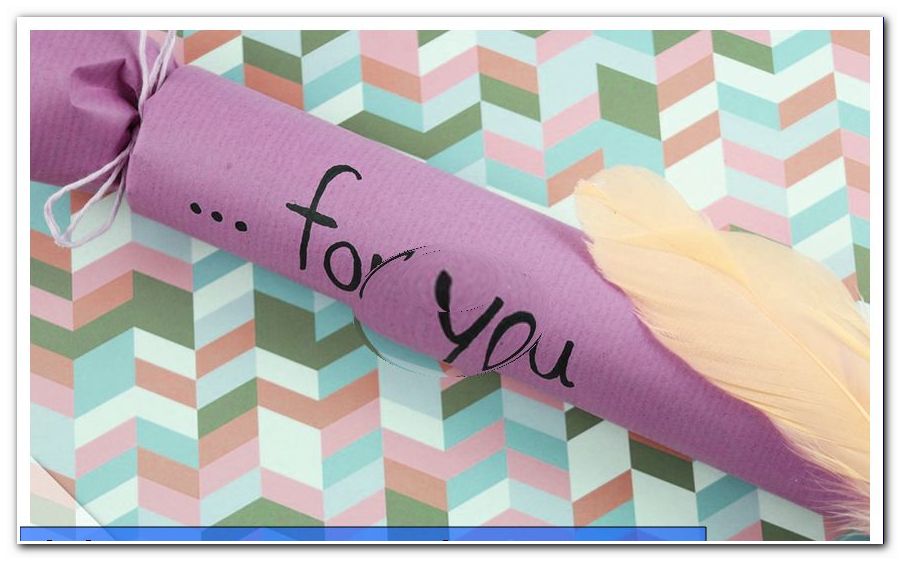
Tip: Decorate your folded Easter bunnies with pens or decorative elements as you wish or leave them as it were. It is allowed, what you like and tinker at the Easter bunny, the creativity knows no bounds.

Schwuppdiwupp is your first Easter Bunny made and he can jump into the Easter basket for one of your loved ones, where he is just waiting to be found at Easter!
Easter Bunny | Variant rabbit face
With this crafting guide you fold a cute rabbit's face out of a square piece of paper. Again, you do not need much more than paper, folder and one or two fiber pens.
required materials:
- a piece of paper measuring 15 cm x 15 cm, 80 g / m 2, colored construction paper or sample paper is suitable
- scissors
- bonefolder
- Fiber pen or fineliner for painting the folded rabbit's face

Step 1: First of all, pick up a piece of construction paper in the color of your choice. As a first step, fold a corner onto the opposite corner to form a triangle.

Again, take your shinbone or an alternative object, such as a ruler, to refold the fold.

Step 2: Now fold the left outer corner on the right outer corner. An even smaller triangle appears after this step.

Step 3: Now unfold your fold from scratch. The top of the triangle points upwards.

At the bottom of the long side, fold a small fold of about one centimeter upwards. Pull this fold over the entire length and fold it with the Falzbein.

Step 4: In the next step, fold the left outer corner towards the center, exactly along the center line. Do the same with the right outer corner. This too is folded up towards the middle.

Tip: Again, use your folder to refold the new fold lines.
Step 5: Turn your folding work to the other side and fold a small triangle with the tip down just below the rabbit's ears.

Fold this tip back along the straight fold line.

The tip is now inside and in front of the ears.

Step 6: Turn the folding work over to the other side again. The rabbit's ear tips point upwards. Finally, fold the bottom tip a good inch upwards. This folded-up corner even allows the bunny to stand upright.

Step 7: As a last step, give your Easter bunny another face and a nose.

You can paint both individually with the help of fiber pens.

In just a few steps, another Easter bunny is made from a small piece of paper. Your second Easter bunny, to make Easter bunny, is ready.

We wish you a lot of joy in crafting our Easter bunnies, whether you are making them for yourself or making the Easter Bunny for a loved one or together with your children or grandchildren. We wish you the best of luck! How, of course, great anticipation when giving your crafted Easter bunnies!