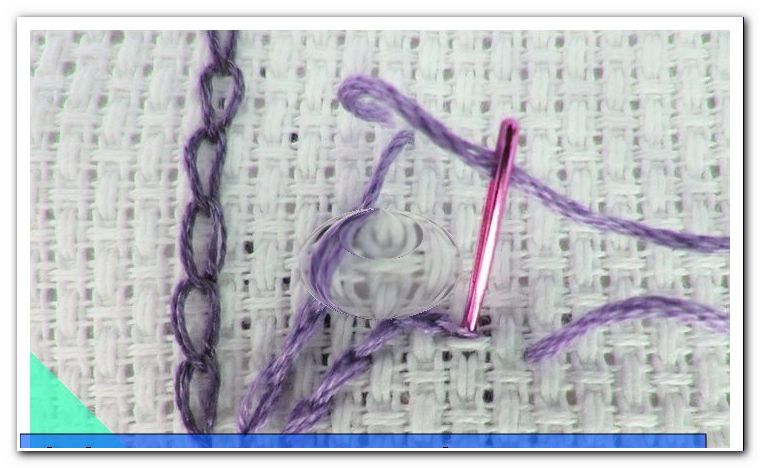
Embroider lines with the splinter stitch instructions

Splinter stitch is another way to draw lines in the stitch image. In our example, it was used to represent blades of grass.
1. Pierce the needle from the back to the front through the embroidery base
2. Leave about 3 cm of yarn for later sewing
3. Grasp the needle from the front
4. Guide the needle one unit to the right and prick it
5. Guide the needle on the back of the fabric 1.5 units to the left and pierce forward again

6. Grasp the needle from the front and prick about one third of the height through the yarn from the previous stitch
7. Repeat steps 5 to 6 until the line has reached the length you want.
You can either start the splinter stitch, or use it to describe a left or right turn. To change the direction, attach the needle to the fabric in step 5.