Paint and paint plastic - four detailed instructions
foreword
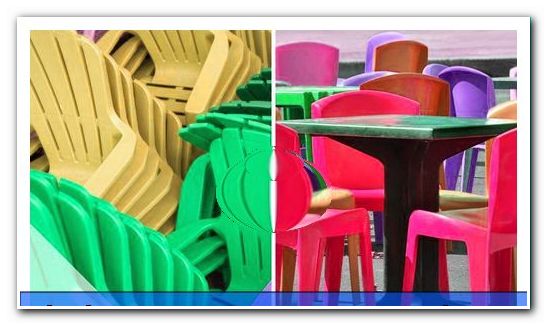
Garden chair made of plastic paint
Repaint kitchen cupboard
Paint plastic windows
preparation
So go ahead
Paint PVC floor
Important information about the paint
Conclusion
The garden chair is covered with scratches, the kitchen cupboard an impertinence for the eye. Not to mention the windows and floors, which need urgent attention. The problem is: they are all made of plastic - and to paint plastic parts requires the most accurate knowledge and an accurate approach of the renovator. With our detailed step-by-step instructions, however, we succeed in mastering the adventure of "painting plastic parts" successfully - on our own!
Painting plastics is a big challenge for the DIY enthusiast. From cleaning and roughening over the primer to the paint really everything must be right, so not only a handsome, but also long-lasting result is achieved. In our article we do not want to spoil the porridge for long: We provide you with four very concrete instructions on plastic elements that sooner or later need a new coat of paint due to scratches, unsightly grease residues or other soiling or damage. Learn more about how to properly paint or polish the plastic parts of a garden chair and kitchen cabinet as well as plastic windows and PVC floors!
foreword
Before we start directly with the garden chair, we provide you with some basic information and advice on painting plastics.
The main difficulty lies in recognizing what kind of plastic the object is. This is not always 100% sure, so you should bring a little experimentation with painting plastic parts. Maybe the material stamp indicates, that would of course be the most optimal solution. Otherwise, only paint samples will help. Let yourself be advised also in the hardware store, which products are most suitable, if it is not clear, with which plastic variant you have to do it. If you feel sufficiently competent, it is sufficient to read the technical data sheets of the relevant articles thoroughly - ideally also on site, ie before the actual purchase.
Incidentally, plastic parts made of PE and PP (short for polyethylene and polypropylene) are particularly unruly. Even softer PVC mixtures (polyvinyl chloride) often cause adhesion problems due to the plasticizers they contain. Primer and varnish must be selected accordingly, otherwise it can not be ruled out that you will be quite disappointed at or at the latest after the act of painting. But now purely in the practice!
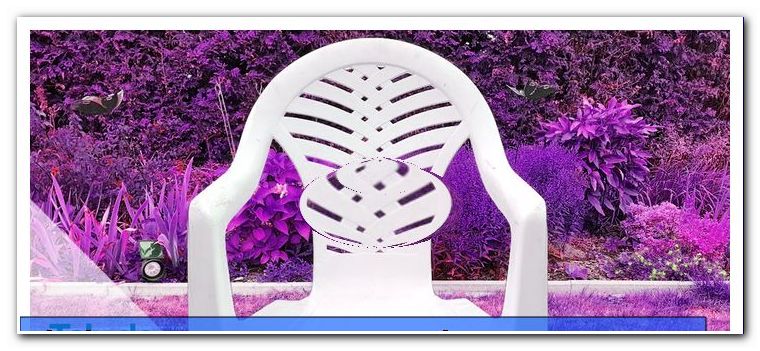
Garden chair made of plastic paint
His many scratches have made the folding plastic garden chair really unsightly over the years. High time to change that!
You need this:
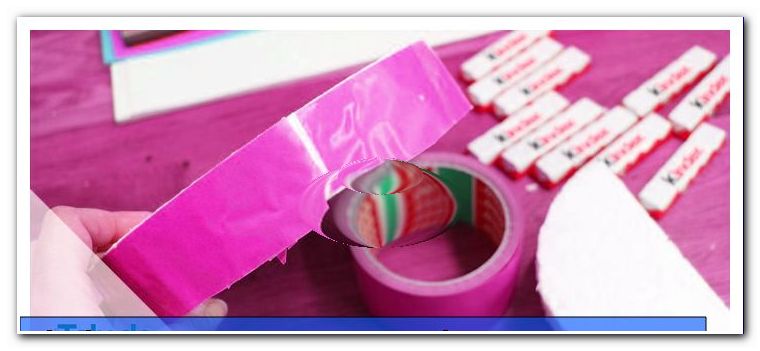
Bucket, water, plastic cleaner and sponge
abrasive paper
bonding agent
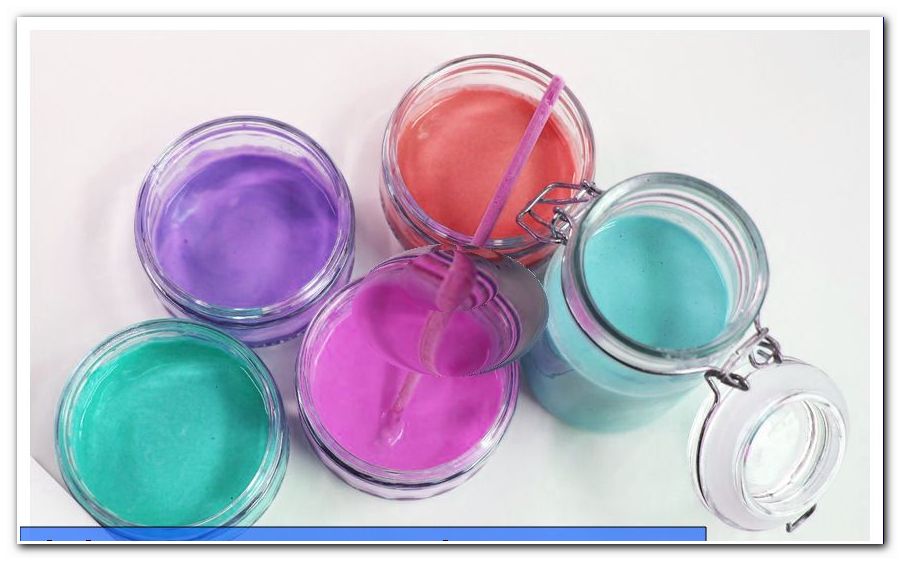
acrylic paint
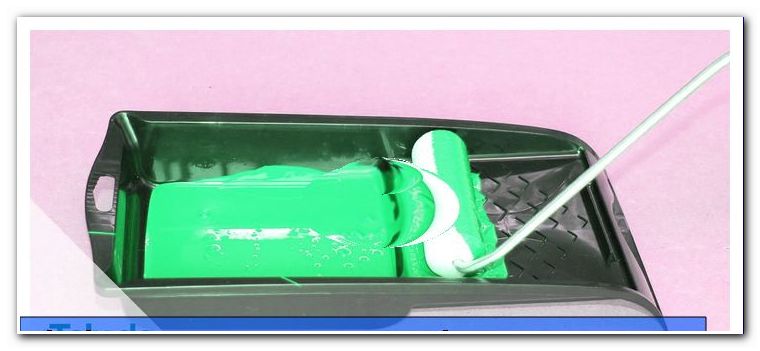
Paint roller, paint brush and paint tray
How to proceed:
Step: Clean the entire chair with water, special plastic cleaner and sponge.
Step: Sand the plastic parts with sandpaper. The grain is secondary. However, be sure to completely remove surface material destroyed by UV light. Resulting dust residues remove with a damp sponge.
Step: Then apply the primer (for example, the two-liter 2in1 water-based antirust primer from Alpina, which can be bought or sold online for about 20 euros from specialist retailers and which supports adhesion to "problem plastics" such as rigid PVC). Larger areas are treated with a paint roller, smaller corners, however, with a paint brush.
Tip: The bonding agent is not always necessary, especially when the actual paint as a primer and paint in one acts. However, it reduces the risk that the paint used will not adhere. For this reason, its application is recommended.
Step: As soon as the bonding agent is dry (observe the manufacturer's instructions!), Sand the entire chair once more lightly.
Step: Paint the plastic parts with acrylic paint in your desired color (for example, the Alpina 2in1 Premium paint in blue or moss green - 500 milliliters cost around five euros).
Step: After the drying time, gently sand the plastic again.
Tip: You wonder what you have to grind the plastic parts constantly ">
Step: Apply the second coat of varnish. Let it dry again. Your new old garden chair has already been painted!
Note: The (mentioned) paint adheres to both the plastic surfaces and the coated steel frame of the folding garden chair, which now looks like new.
Repaint kitchen cupboard
Fine scratches, fingerprints and grease - the kitchen cabinet made of plastic-coated chipboard has its best time long behind. To save it from bulky waste, the plastic-coated cabinet is simply repainted!
You need this:
Bucket, water, plastic cleaner, sponge
Sandpaper (P180)
Primer and hardener
Acrylic or alkyd resin paint
Paint roller, paint brush and paint tray
Sand cabinet
How to proceed:
Step: Carefully clean the cabinet, freeing it from grease and fingerprints.
Step: Sand all surfaces and edges with fine sandpaper (P180). Bear in mind that edge banding in particular can cause liability problems. In this respect, you should sand these places particularly thoroughly.
Step: Thoroughly mix primer and hardener (eg DurAcryl 2K from Schöner Wohnen - available in a set for around 30 euros) in the correct ratio (5: 1).
Step: Process the primer within 1.5 hours after mixing. Depending on the surface size, use a paint roller and / or a paint brush.
Step: After about twelve hours, you can apply the acrylic or better Alkydharzlack in your desired color. If you undertake this task within 48 hours of the primer, you do not need to grind it again first. The freshly painted kitchen cupboard is ready!
Paint plastic windows
The now heavily battered plastic windows should finally shine again in beautiful white or be refreshed by an upbeat color "> Preparation
Bucket, water, detergent, sponge, possibly also alcoholic detergent (turpentine substitute) and scraper
Masking tape and cover film
Sandpaper (P240)
Primer (and possibly general primer)
acrylic paint
Synthetic enamel
Paint roller, paint brush and paint tray (possibly spray can)
Note: For the inside of your windows you should always use a water-based plastic paint - ie acrylic paint. Compared to synthetic resin paints this is significantly poorer in toxins. The outsides of the windows, however, benefit from a chemical-based synthetic resin paint. It shows itself much more robust against weather influences and scores by the long durability, with which it goes along.
So go ahead
Step 1: Carefully clean the plastic parts to be painted. The more meticulous you work, the more worth seeing is the painting result. At the end of this first step, the surface must be free of dust and dirt and absolutely even (moderate).
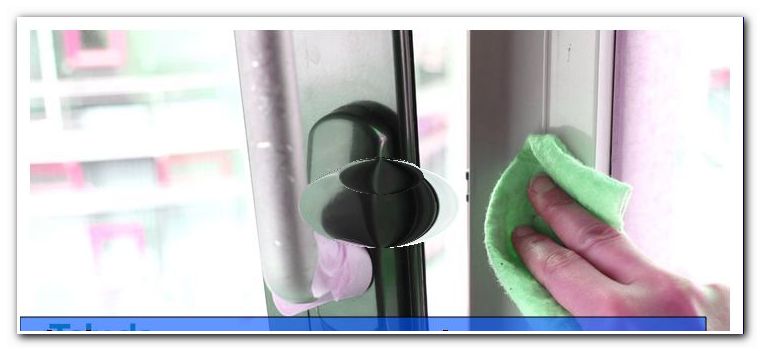
clean the windows
Tip: For smaller soiling, water, detergent and sponge are sufficient for cleaning. More stubborn areas (such as residues of stickers) you plow with alcohol-based cleaning agents such as turpentine and a scraper. If you use substances that are harmful to health, you should if possible operate with the window open and necessarily "lock out" your children.
Step 2: Before painting, glue or cover window handles, hinges, washers and gaskets. Especially with the latter, it is important to be very precise, because they are very sensitive to primer and paint. For masking and masking, simply use masking tape and cover foil.
Mask the window
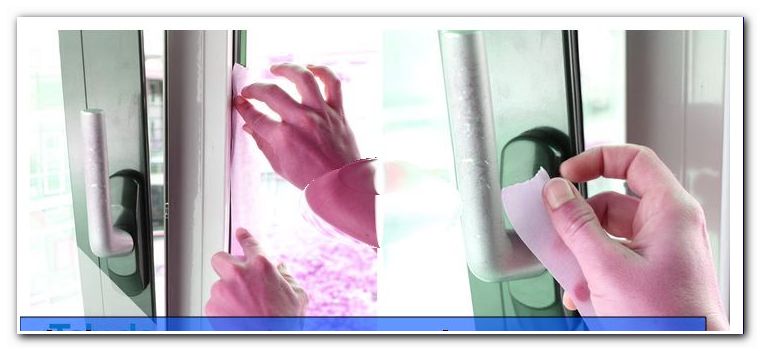
Step 3: Rough the plastic surface with sandpaper (grit 240). Do not do this too vigorously to avoid damaging the material. Remaining dust residues remove with a damp sponge.
Sand window slightly
Step 4: Apply the primer to the roughened frame using a paintbrush.
Step 5: After the drying process apply the general primer.
Tip: This step may not be necessary depending on the substrate and the type of paint. If you want to be on the safe side, however, you should not give up the general primer - even if it implies extra work and higher costs.
Step 6: Lightly roughen the plastic parts of the frame and remove the dust with a damp sponge.
Step 7: As soon as the drying time specified by the manufacturer is over, the actual paint is used. Here you have the choice between classic white and many bright colors. Apply it by always working lengthwise from top to bottom. For larger surfaces, the paint roller is suitable, smaller corners and grooves, however, can be optimally processed with a paint brush or a spray can.
Tip: Do not apply too much paint to avoid unsightly paint noses.
Step 8: If necessary, increase the opacity with a second pass. Of course, only when the first layer is dry and you have roughened again (which prevents a later peeling of the paint).
Tip: The second coat is especially recommended if you want to paint colored plastic windows white. However, he generally ensures - regardless of the old and new color - for a perfecting of the result.
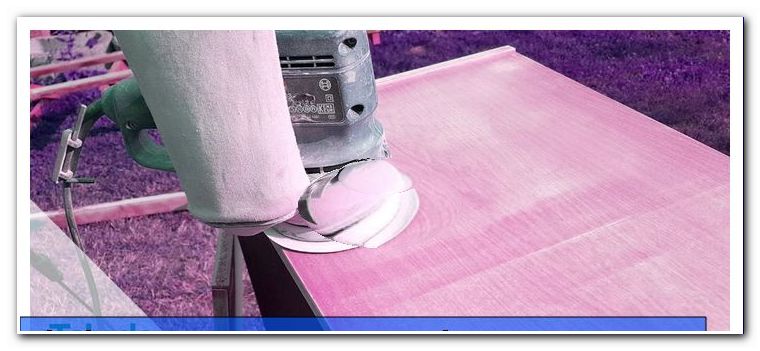
Paint PVC floor
Over the years, a PVC floor wears off. The resulting sight is therefore not beautiful. Paint it again and let it shine again in fresh splendor!
You need this:
Bucket, water, plastic cleaner, mop
Sand paper (P400) and special cleaning fleece
primer paint
PU paint
possibly additional hardener
Paint roller, paint brush and paint tray (possibly also spray can or spray gun)
How to proceed:
Step: Ensure absolute freedom from grease and dust by wiping the PVC surface thoroughly several times. This is best done with a mop and a diluted plastic cleaner.
Step: Then sand the surface evenly with a fine 400 grit paper (cross sanding in this case refers to the superposition of rotating and straight movements of the sanding paper). The resulting sanding dust particles can be removed with the special cleaning fleece. Work exactly, there must be no leftovers!
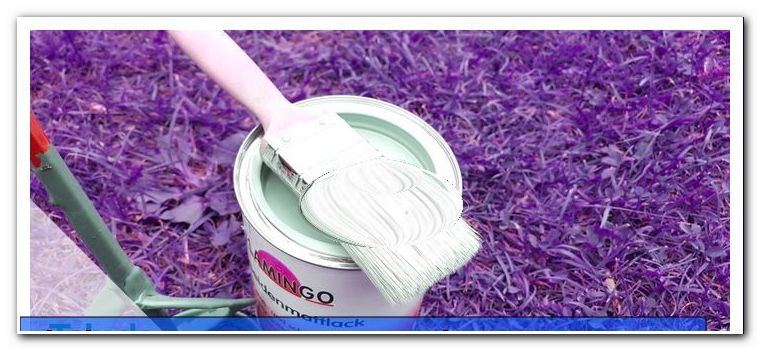
Step: Apply thinly and evenly the primer in the color of the later coat. Operate with paint roller and brush and pay attention to the leveling of all grinding grooves when painting. Allow the primer to dry for at least 24 hours and follow the manufacturer's instructions.
Step: The first coat of paint follows. If it is a very smooth and hard surface, you can apply the paint with a spray gun or spray can. However, it is safer to paint with a roller and brush, as it may compensate for porous or leaky areas.
Step: Depending on how opaque the first coat was, one to three further passes with the lacquer are recommended. In between, there should be at least eight hours of drying time each.
Tip: For an all-round nice result, it is better to always apply thin layers and instead start four times discreetly than just twice really thick.
Important information about the paint
Most paints identified as PVC floor paints use a urethane-acrylate dispersion as a base. This type of paint can be thinned with water and may contain additional hardeners (if this is not the case, you should buy an extra hardener to optimize the result). In addition, there are special paints called PU varnishes in practical quick-drying variants.
For coating a PVC floor, the coating compositions used must not only have a pronounced abrasion resistance but also a high extensibility. For what reason ">
Conclusion
The cornerstones of plastic painting are determining the type of plastic used and the use of primers and paints that harmonize with the respective variant. Only in this way can a nice and, above all, really (long-term) liable result be achieved. With the right products, ranging from sandpaper and cleaning fleece to primer, paint and spray cans to paint brushes, rollers and pans all available at local or online hardware stores, even a home improvement enthusiast can easily make his lawn chair, Kitchen cabinet, repaint the windows or the PVC floor!