Pillow knit with cable pattern - instructions for thick wool

- Material and preparation
- Knitting pillow - instructions
- 1st stitch test
- 2nd stitch stop and the first laps
- 3. The cable pattern
- 4. The shutter
What could be more comfortable than relaxing in the evening in the sofa cushions ">
A cushion cover is like a white canvas. The shape is very simple and the size is already given. The only question left is how the new cushion should be designed. In this tutorial we show you a classic pattern that can be executed in infinite variations. The cushioned pillowcase breathes new life into your old sofa. The delicate turns lure you to look again and again. Since we use thick wool, it does not take long to knit this eye-catcher. Much prior knowledge is just as necessary. You should already have acquired a certain instinct for the knitting needles.
Material and preparation
Material for a pillow with 40 x 40 cm:
- 150 - 200 g wool (for needle size> = 7mm)
- Circular needle (80 cm)
- single knitting needle or pigtail needle
- wool needle
- 4 - 6 push buttons
- sewing needle
- sewing thread
Knitted pillow cases are ideal for cuddly sofa cushions or comfortable chair cushions. To embroider a big sleeping pillow would take a long time. The surface would probably not be very pleasant to most people's face. On the other hand, the couch or armchair can be wonderfully polished with one or more new pillowcases. Choose the color of the wool so that it fits well with your interior. Maybe you knit several covers in different colors!

Since the pillow is invisibly closed with snaps, it is usable from both sides. No matter how you lean against it, you will never feel an uncomfortable pressure in your back. Nevertheless, the cover can be easily removed and cleaned if necessary. For this you should follow the instructions for your specific wool. Basically, a rather gentle gentle cycle is preferable or hand wash.
Prior knowledge:
- circular knitting
- right stitches
- left stitches
We knit the pillowcase on the circular needle, because it is very easy. In the end, only a single page needs to be sewn. From the beginning it can be checked by means of a fitting to see if the knitted fabric fits on the pillow.
Knitting pillow - instructions
1st stitch test
As with most knitting works, a stitch test is also necessary here before starting with the actual work. A peculiarity of the Zopfmusters is that the knitting piece is significantly narrower than in the same number of purely right or left stitches. When using circular knitting needles with 80 cm we recommend a maximum width of 40 cm. For wider pillows you should use longer circular needles.
The stitch sample consists of a pattern set with four edge stitches. This means you have to strike 24 stitches. Knit the stitches in the back row according to the following scheme: 4 left, 6 right, 4 left, 6 right, 4 left. How exactly then the pattern is knitted, read below under "cable pattern". The back rows are always knit as the stitches appear. Quietly knit 34 rows or higher. This corresponds to two small pigtails. This gives you a first opportunity to familiarize yourself with the cable pattern.

Now stick the stitch sample firmly on a cushion or something similar with pins. Basically, width is the most important measure for us. Whether the cover is long enough, you can constantly check during knitting. Measure the width of the stitch sample without the first four left stitches. Divide the measured width by two. Then you know how wide a braid is.

Now divide the total width of the pillow by the width of the plait. In our case a plait is 6 cm wide and the cushion is 40 cm. So we put 6 braids on a pillow side under. The remaining 4 cm are "filled" left and right of the 6 braids with left stitches. Use the left stitches in your stitch sample to estimate how many stitches you need to fill. The passage with the many left stitches will be the edge from front to back later on the pillow.
Now you know the number of braids and the edge stitches for a pillow side. Since you are knitting the front and back in parallel, you must knit the pattern twice in succession in one turn.
Our pattern for the pillowcase is: 4 left, 6 right, 4 left, 6 right, 4 left, 6 right, 4 left, 6 right, 4 left, 6 right, 4 left, 6 right, 4 left (= front). 4 left, 6 right, 4 left, 6 right, 4 left, 6 right, 4 left, 6 right, 4 left, 6 right, 4 left, 6 right, 4 left (= back).
2nd stitch stop and the first laps
Hit the calculated number of stitches for the pillow on your circular needle. In our case, that's 128 stitches.

When closing the round of attacks, it is important to take care. With so many stitches on the needle, they twist slightly against each other. During the first round, and especially when closing them, check that all the stitches are in the right direction.
The first three laps are still without cable pattern. You just follow the left-to-right scheme that emerged from your stitching. All over the pillowcase right stitches are always knit on the left and left stitches always on the left. The scheme does not change.
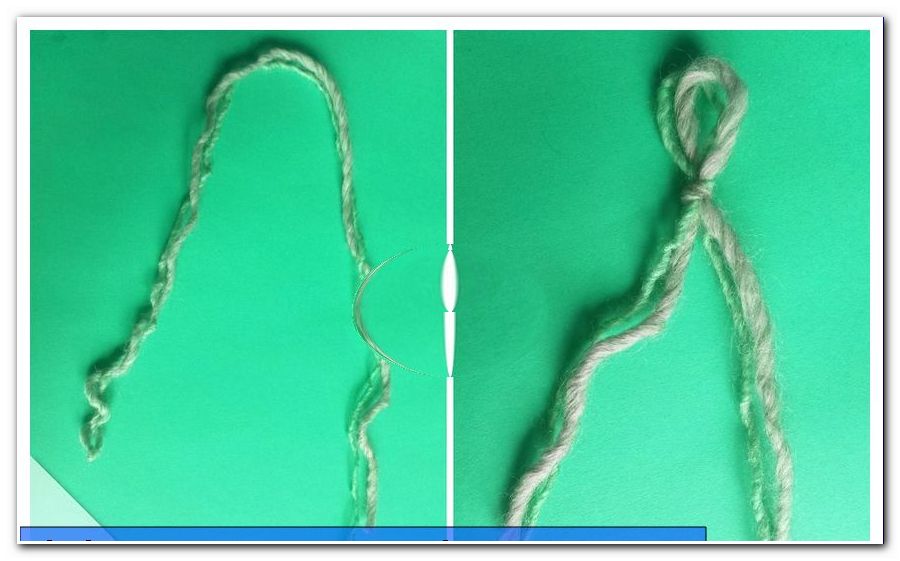
Note: There are special braid pins for knitting a braid pattern. These are not absolutely necessary, but they make it easier for beginners to do their work considerably.
3. The cable pattern
 In the fourth row you start with the braid. For this you need the auxiliary or pigtail needle. Knit all left stitches at the start of the round until you reach the first stitch on the right. Take the first three right stitches without knitting them on the needle. Put the needle in front of the knitting work. Behind it, knit the next three stitches to the right. Now pick up the needle and knit the stitches there to the right. Just the first stitch may seem a little unwilling, because the thread is stretched by the crossover strong. But with a little practice, it's not that hard.


Note: When knitting the needle, be careful not to let the thread loose. This can lead to holes in the braid.
Four left-hand stitches follow. Knit the coming right stitches as usual. We only knit a braid into every other strand of right-hand stitches. The scheme is thus: left stitches - braid - 4 left stitches - 6 right stitches - 4 left stitches - braid - 4 left stitches, etc.

The round with the crossovers is followed by three rounds in the usual left-to-right scheme. In the fourth round you knit again the crossovers in the same strands as before. After the fourth round with crosses, only a "normal" round follows.
Then the braids are shifted by one strand. This means that you now cross the first three with the second three stitches in the skein without braid. In the skein in which the braid has been worked, knit right-hand stitches as normal.

After another four crossovers, replace the cable pattern back to the original braid strands. This creates the pattern with the short, mutually offset pigtails.
Lay the pillow next to the work to see when the cover is high enough. If in doubt, pull the knitted over the pillow. If it completely disappears in relation, you can go to the shutter.

Tip: The braid can of course also wind in the other direction. To do this, place the needle with the three stitches crossed over behind the piece of knitting instead of in front of it.
4. The shutter
If there is no more cushion left at both ends of the pillowcase, it is time to knit the closure strip. For this you must first chain off half the stitches. Be sure to chain off exactly the stitches for a pillow side. This should be the case if you start off the chain right at the beginning of the round. To check: We have filled the pattern set at the beginning left and right with additional left stitches. In the middle of these many left stitches starts and ends the binding off.

We knit the remaining half of the stitches in rows. The cable pattern will no longer be continued. You just continue to knit the left stitches on the left and the right stitches on the right. In between, test whether you can comfortably fold the resulting rag around the edge of the cushion. You need 10 or more rows for that. 3 to 4 cm of supernatant over the chipped edge are sufficient. Now also remove the remaining stitches and sew the thread.

Turn the pillowcase to the left. Sew the lower end with a piece of thread from the knitting wool. To do this, attach the needle to a corner. Pierce through the two opposite stitches. Once from front to back and through the next stitches from back to front. If the side is completely sewn, knot and sew the thread end.

Now the snaps are sewn on. You decide how many you need exactly. In each case a button must be placed close to the outer edge. The remaining buttons are fixed at a constant distance from each other. In our case, more than 40 cm cushion width 5 push buttons were enough.

Note: Snap buttons quickly confuse the top and bottom. When sewing, always check if the button can still be closed.

Now the pillow is ready! Once you understand the cable pattern, you can vary it as you like. For example, the braids may also be continuous. In one strand he could turn to the left, in the other to the right. The braids can be wider or narrower, as well as the distance between them. Try it!